« August 2015 »
S M T W T F S
1
2 3 4 5 6 7 8
9 10 11 12 13 14 15
16 17 18 19 20 21 22
23 24 25 26 27 28 29
30 31
You are not logged in. Log in
Entries by Topic
All topics  «
3D paperwork
A - Z challenge 5
A - Z challenge 7
A - Z challenge round 4
A to Z challenge round 3
A to Z round 2
A to Z round 6
A-Z round 1
Around the House
Art Challenges
Artist Trading Cards
Backgrounds
Beads
Bible Journaling
Books
Boxes
Collage
Color Challenge
Coloring
cookbook
Die Cuts
Digital Projects
Digital Stamps
Drawing
Dry Embossing
Fabric Stuff
Fantastic Folds
Field Trip
Home Decor
How Does Your Garden Grow?
Hymnal Art
In The Kitchen
In the studio
Jewelry
Lettering
Links
Multi-Technique
Music to Work By
Musings
Nail Art
New Work
Online Class
Other Hobbies
Other Projects
Painting
Paper Embroidery
Paper Piecing
Photo
Pretty Paper
Quilting
Random
reading
Scrap Recovery
scrapbooking
Sewing
Sketch Challenge
Some Backlog
Stamping
Stencils
Stickers
Supplies
Teabag Folding
Techniques
Testing
tips and tricks
Tutorial
Web resources
Welcome to my Blog
Work By My Friends
workflow
Writing
Blog Tools
Edit your Blog
Build a Blog
RSS Feed
View Profile
Group One
In & Out of Studio 3D
Sunday, 30 August 2015
12 Tags of 2015 - August
Topic: Multi-Technique

I'm back with my creation based on Tim Holtz's 12 Tags of 2015 - August edition. Here is the original:
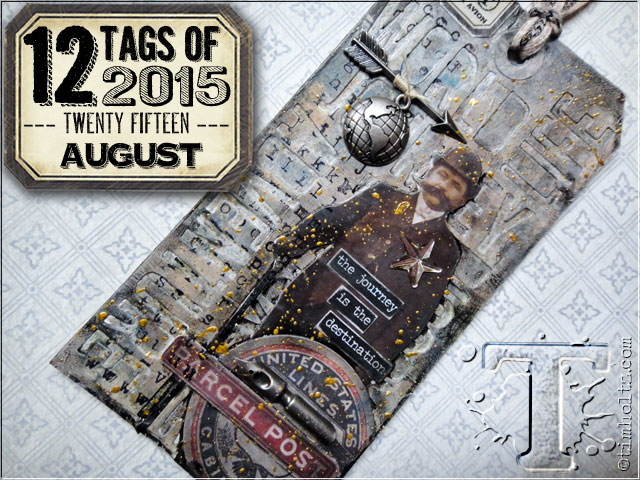

Once again, I created a display piece rather than a tag. I don't have much of an affinity for tags so creating something I can display is more to my liking.

You'll soon discover that my piece looks very little like the inspiration piece. I am pleased with this as I like mine better!

Since I did not follow the directions closely here are the steps that I used.

- Cut two pieces of heavy cardstock the same size (mine were 5.5 inches square)

- Use dies to cut shapes all over one of the pieces (I used 4 snowflake dies)

- On the second piece, use matte medium to adhere sheet music.

- Use matte medium to adhere the diecut piece over the music piece making sure all corners and edges are secure

- Seal the surface of the music with matte medium and dry with heat tool

- Paint white gesso over entire surface then wipe away excess gesso to allow music to show through. Dry.

- Smush three Distress ink pads onto surface (I used broken china, evergreen mough and shaded lilac)

- Immediately use thin layer of matte medium to blend the colors. While still wet, use paper towel to dab away excess ink. Dry.

- Stamp words on surface using Archival jet black.

- Use blending fluid to smudge and smear words on surface.

- Use black soot distress marker to draw inside snowflakes. Wipe away to create dimension.
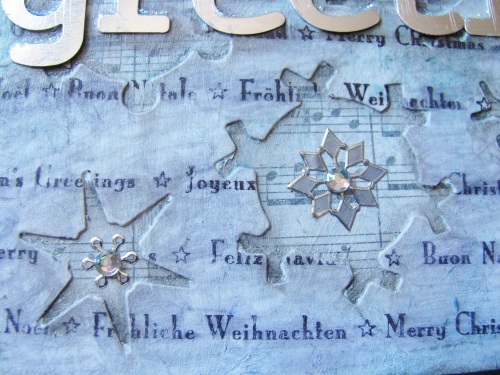
 

- Adhere metal letters using matte medium. Dry.

- Use soot black distress marker to draw drop shadow around letters. Wipe away to create dimension

- Apply rubon words inside one snowflake
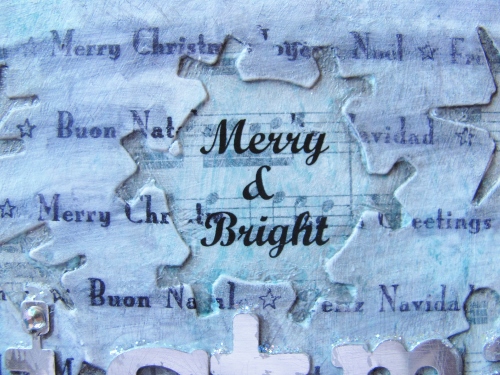

- Attach silver snowflake dazzles inside snowflakes

- Place rhinestones inside dazzles and to the dots on the 'i's
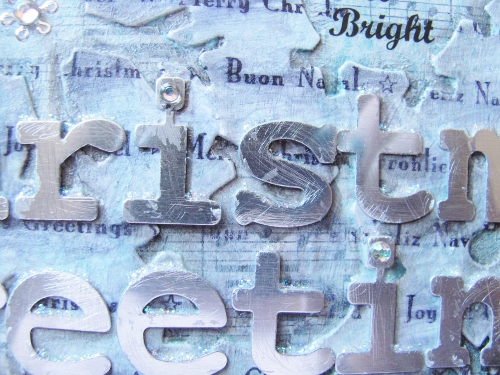
- Use stickles to add a snowcap to tops of letters
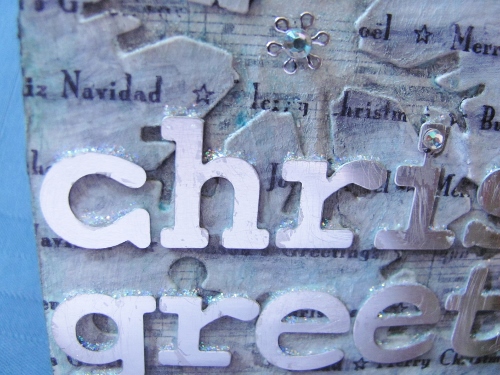
- Use black permanent marker to add a string to hold the dangling letter.


Here's the final product:

 

And there you have proof again that I cannot follow directions!

Ddd


Posted by studio3d@ccgmail.net at 12:01 AM PDT
Saturday, 29 August 2015
Bunny Mom
Topic: Around the House

We've always had lots of bunnies living on our property and are always excited when we see a new behavior. It helps us understand them a bit more. We're also impressed at their camoflage and understanding of what they need to do to survive.

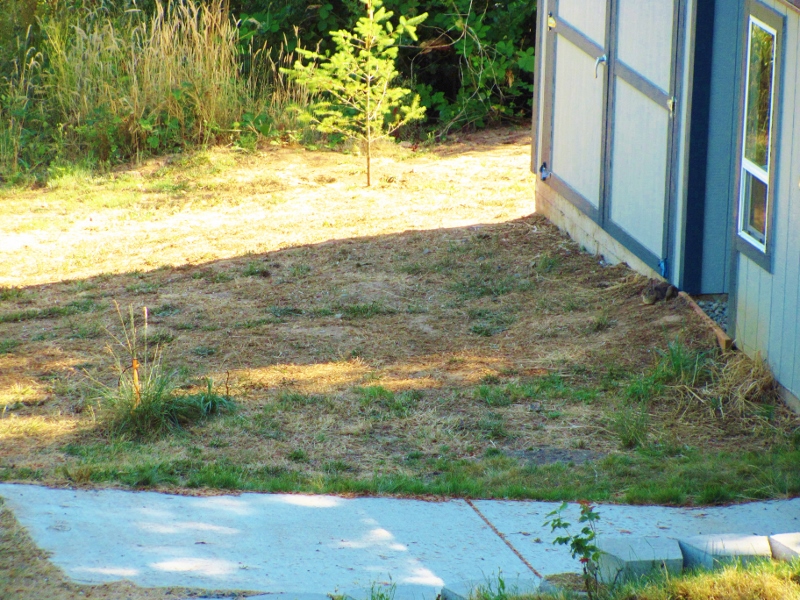
Look closely at this scene:


What do you see? This was just a day after hubby finished painting the trim on the new shed shown in the upper right. We noticed a bunny hopping straight to the corner of the building, turn around facing out, and scrunching down to make herself blend in. The next day she was still there but, when the sun shone on the front of the shed she moved to the gravel path between the two sheds and faced front again, from the shade.

Later in the day two big crows landed on the lawn and strolled over to the tall grass around the small twig tree (lower left of photo). When either of them came within 10-12 feet of it that bunny came flying out of her corner and went on the attack.. She was taking on two birds that were bigger than she was and they were sneaky, too. They split up and came from different directions but, I'll tell you, that bunny has some MOVES! The birds wised up and moved on.

When we thought bunny was missing we got out the binoculars and saw her laying in the tall grassy area with her belly to the middle. YES, she's got a nest of babies in there and she only goes close to nurse them Otherwise she keeps her post in camoflage.

We also noticed when two other bunnies came up to the general area and casually started grazing. At this point mama bunny left the babysitters in charge and went off to the creek area. She was only gone about a half hour and when she took up her post the babysitters went back up the road.

Fascinating!

So, let's take a closer look at the photo... Zoom in on the corner of the building and you can see mama:


Zoom in on the grass clump and you can see the pile of babies:


Oh, how I want to go get a closeup look at them. But she would just move them somewhere else. I'll be patient and wait for them to get pig enough to hop around their little home.

In the meantime, we keep a BB gun at the ready to discourage any of the big birds that hang around.

Ddd


Posted by studio3d@ccgmail.net at 12:01 AM PDT
Friday, 28 August 2015
Operation Write Home - sketch 258 #20
Topic: Sketch Challenge

Done in three... two.. one...

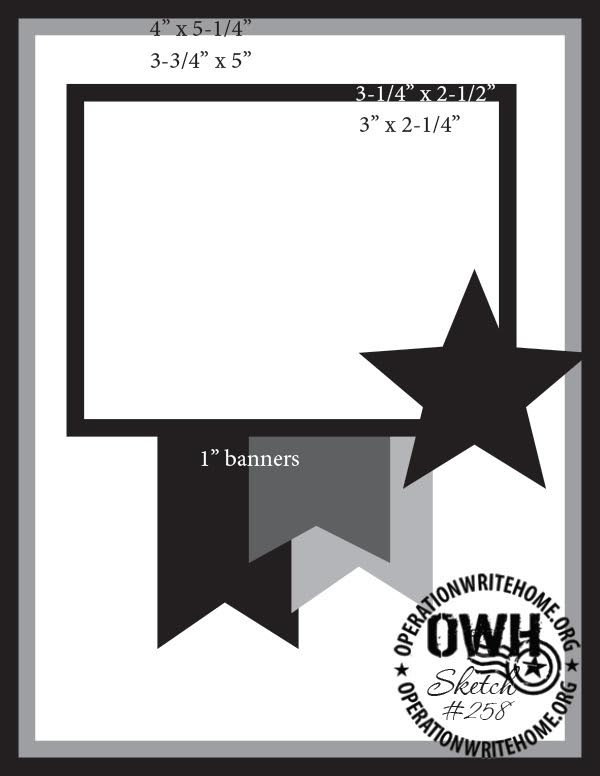
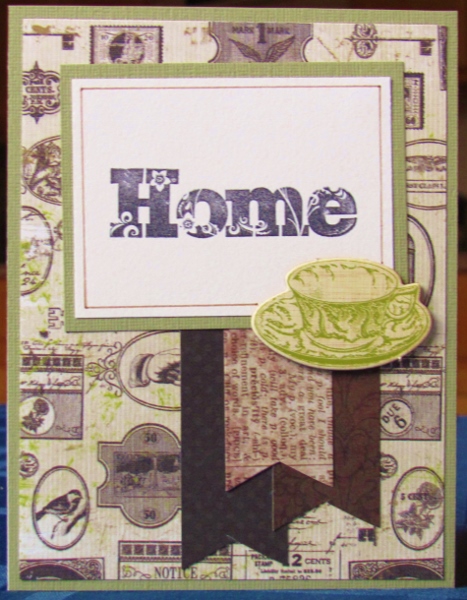
Yes, this is the last card made with OWH sketch 258:

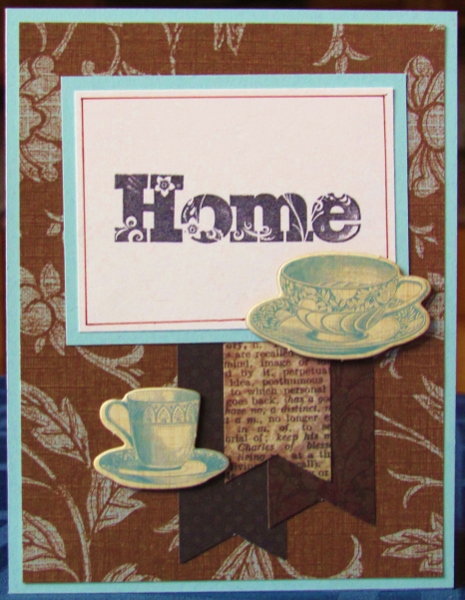
Again, I used a sentiment stamped on white leaving all the options for other elements open. I started with brown flags and then found this great 'label' paper in the 'vintage' divider of my papers. I thought that looked kind of homey.

I noted a greenish tinge in the background so I selected some light sage for the bordering elements. However, I used brown for the drawn border around the sentiment panel.


I reinforced the green with the use of a chipboard teacup element.

Now that this project is all done, what's on tap for tomorrow?

Ddd


Posted by studio3d@ccgmail.net at 12:01 AM PDT
Thursday, 27 August 2015
Operation Write Home - sketch 258 #19
Topic: Sketch Challenge

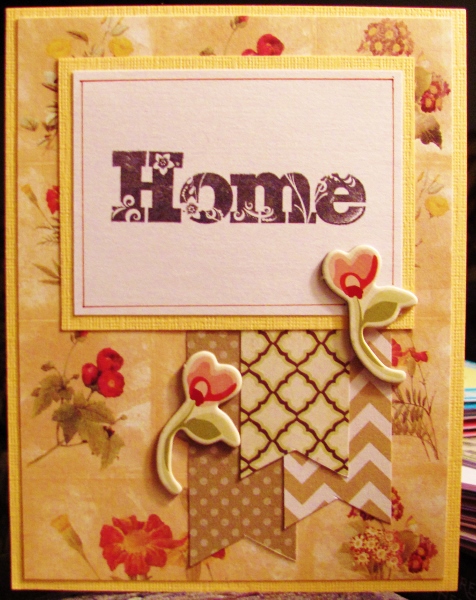
Keeping it at home... another OWH sketch 258 creation:


A panel of botanicals and some neutral flag prints lend a restful feeling to this card. The feel of those botanicals are echoed in the florals embelled in the text font.

Buttery yellow bordering is low-contrast for the elements so the sentiment needed that bordering line drawn in.


The lattice-look flag makes a good foil for the two chipboard rosebud elements.

Ddd


Posted by studio3d@ccgmail.net at 12:01 AM PDT
Wednesday, 26 August 2015
Operation Write Home - sketch 258 #18
Topic: Sketch Challenge

Another change in sentiments kicks off this last run of cards using OWH sketch 258:


I used what is probably my favorite color combination ever - light blue and chocolate brown. Did you know that these are actually complementary colors because borwn is really dark orange? But in these values you do not get the stark contrast that you do on the color wheel with true blue and true orange.

As justification for my color palette I give you the printed background. I added flags in the dark brown and bordering in the pale blue.

Then I selected two blue teacups to go with the 'homey' sentiment.


The brown drawn border on the sentiment ties it back to the background.

Ddd


Posted by studio3d@ccgmail.net at 12:01 AM PDT
Tuesday, 25 August 2015
Operation Write Home - sketch 258 #17
Topic: Sketch Challenge

Today's card looks like a little celebration! Here's that view of OWH sketch 258 (in case you could ever forget it!)


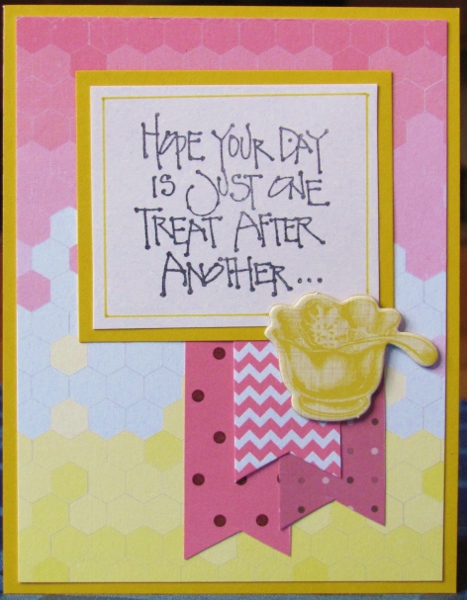
White panel sentiment means a wide open door. I first chose pink flags and then found the gradated background with pink and yellow. That set me on the path to selecting yellow for the bordering and also dictaated which end was 'up' on the background so the elements would have the best contrast.

I drew in that border with a marker again, using Distress marker.


The chipboard embellishment actually IS a little 'treat' as it is a dish of ice cream sundae.

Ddd


Posted by studio3d@ccgmail.net at 12:01 AM PDT
Monday, 24 August 2015
Operation Write Home - sketch 258 #16
Topic: Sketch Challenge

Here's one for Fall using OWH sketch 258:

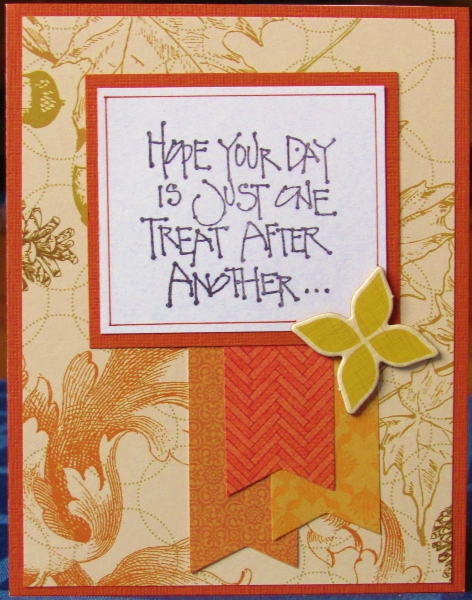
I've been holding on to a stack of this leaf-print background for a long time. I have plenty of it, too. Time to get some use from it.

I chose golds and oranges from the background to inform the flags and the bordering. The golden chipboard element can pretend that it is a set of leaves, too.


This white sentiment panel also got a marker-drawn border.

Ddd


Posted by studio3d@ccgmail.net at 12:01 AM PDT
Sunday, 23 August 2015
Operation Write Home - sketch 258 #15
Topic: Sketch Challenge

Are you sick of this sketch yet? Just a few more to go!


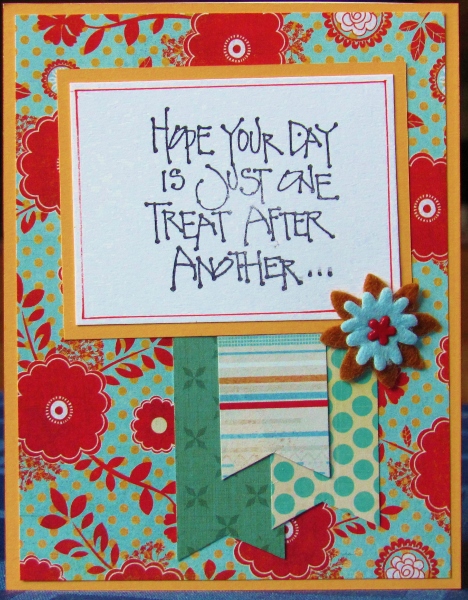
With a white sentiment panel I had all my options open for designing this one. I started with the three mostly-teal flags and when I found this red and teal background print I knew it would tie together with the single red line on the front flag.

I decided to pull the golden color from the background paper's dots for the bordering and realized that that front flag also has a golden line. SWEET!

I went to a different pile fo embellishements for this card, selecting a couple of felt flowers and stacking them together with a flower brad. The colors are similar but not matchy-matchy.


The sentiment panel was a little stark so I used a distress marker to add a bordering line.

Ddd


Posted by studio3d@ccgmail.net at 12:01 AM PDT
Saturday, 22 August 2015
Operation Write Home - sketch 258 #14
Topic: Sketch Challenge

With the sentiment more casual, the card becomes ore playful. Here's another OWH Sketch 258:


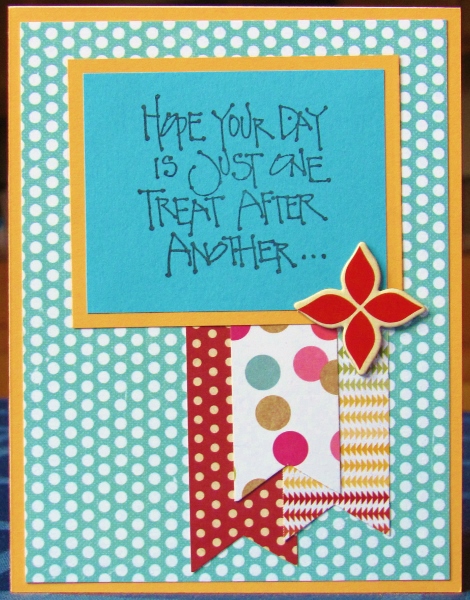
A bold teal sentiment panel called for other bold colors. I chose a red dot, a multi-dot and a multi-chevron for the flags and then tried a less bright teal dot for the background.

With all that brightness the bordering needed to be more subdued. I chose a buttery color from the chevron tag to use.


The red chipboard element echoes the color from the red dot, providing some continuity.

Ddd


Posted by studio3d@ccgmail.net at 12:01 AM PDT
Friday, 21 August 2015
Operation Write Home - sketch 258 #13
Topic: Sketch Challenge

Here we are at number 13 in our look at 20 cards from the same sketch:


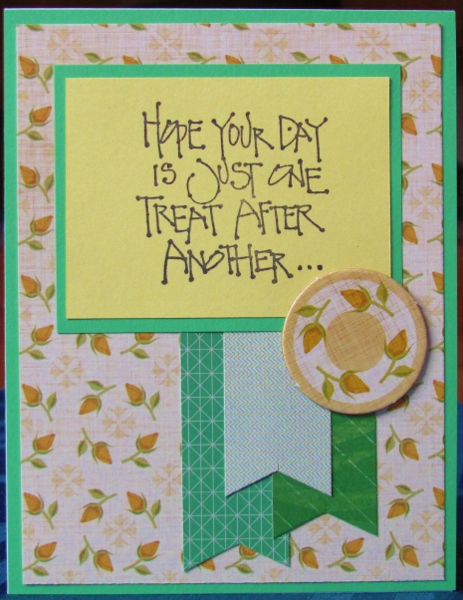
I switched to a new sentiment for the feature and the first one I picked up to work with was stamped on yellow. I didn't want to get al matchy-matchy with the color so I chose a background with a more golden yellow rosebud print.

Greens were chosen for the flags and borders as this was also on the background.


Those greens are showing too far on the blue scale, though.

And, look, I found the round chipboard element that matches the paper!

Ddd


Posted by studio3d@ccgmail.net at 12:01 AM PDT
Thursday, 20 August 2015
Operation Write Home - sketch 258 #12
Topic: Sketch Challenge

I used a totally different technique on today's version of OWH sketch 258, shown here:


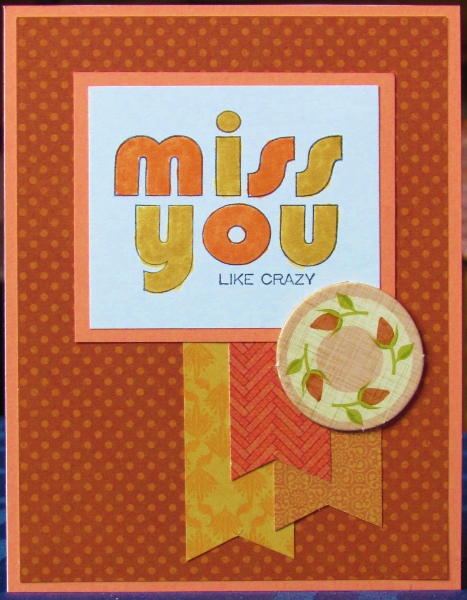
Well, it's not THAT special, but I hadn't up to now used any coloring on these cards. This white panel with a plain sentiment was just too plain so I colored in alternate letters with distress markers, to match the bordering and one of the flags.

I love the bordering that picks up the color of the dots in the background.


Neat how that round chipboard element has exactly the right colors.

Ddd


Posted by studio3d@ccgmail.net at 12:01 AM PDT
Updated: Thursday, 20 August 2015 8:31 AM PDT
Wednesday, 19 August 2015
Operation Write Home - sketch 258 #11
Topic: Sketch Challenge

We're now starting the second half of the cards made with OWH sketch 258 shown here:


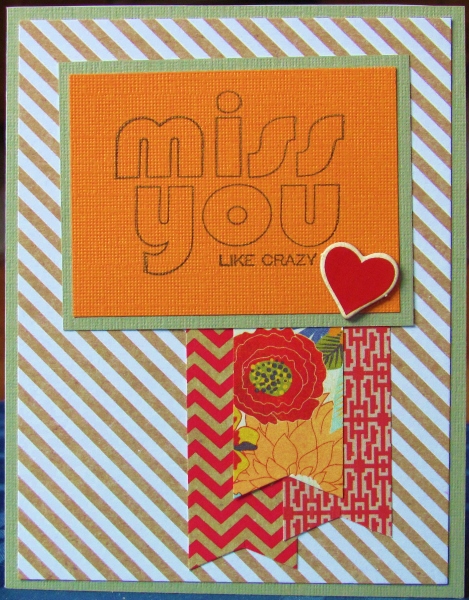
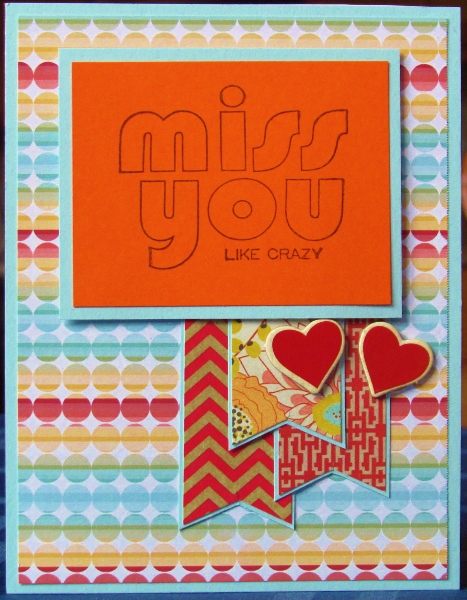
If you think today's card looks familiar it's probably because it uses the same (orange) sentiment panel, the same flags and the same red heart chipboard sticker.

The bordering is changed from teal to a grayed green and, the biggest change, there are bold diagonal stripes rocking the background.


So much energy in this card!

Ddd


Posted by studio3d@ccgmail.net at 12:01 AM PDT
Tuesday, 18 August 2015
Operation Write Home - sketch 258 #10
Topic: Sketch Challenge

Sometimes you just gotta wonder 'what was I thinking?' You'll see what I mean in this version of OWH sketch 258:


That questioning moment came when I found TWO sentiments stamped on bright orange. REALLY! That's hard to work with.

So I basically ignored the color of the sentiment and went with contrast - light teal, red and a dark yellow.

The only other touch of orange is in the foremost flag and it is a much lighter, softer tone.


Maybe it just speaks to the 'crazy' in the sentiment!

Ddd


Posted by studio3d@ccgmail.net at 12:01 AM PDT
Monday, 17 August 2015
Operation Write Home - sketch 258 #9
Topic: Sketch Challenge

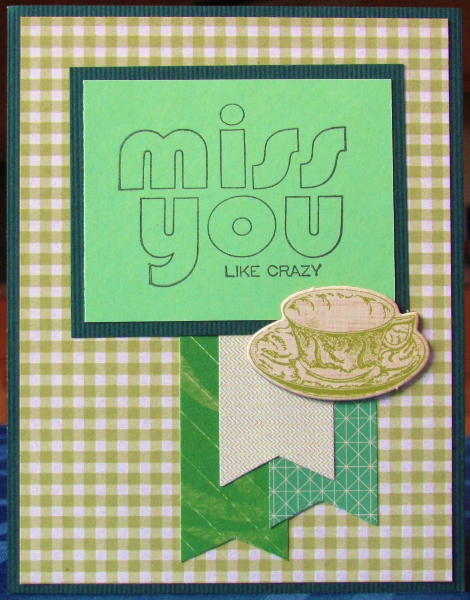
Working our way through the rainbow? That's what it felt like when I got to 'green' after pink, blue, yellow, etc. I don't do much green.

Here's the sketch again:


Al the sentiment was already stamped on green I really pulled out all the stops to keep this on that same track. The hardest part was getting greens that werent too yellow or too blue.

That gingham background is another thing I don't use too much. But on this, I think it looks good.

I used a very dark green for the bordering since all the other elements were so close in value.

Greens are not rendered very true by my camera as these all match much better than shown.

Ddd


Posted by studio3d@ccgmail.net at 12:01 AM PDT
Sunday, 16 August 2015
Operation Write Home - sketch 258 #8
Topic: Sketch Challenge

I'm a long way from done showing the multitude of cards I made from OWH sketch 258:


You'll notice - if you haven't already - that I dropped one layer out of the sketch on all of the cards, giving them a single border instead of a double one.

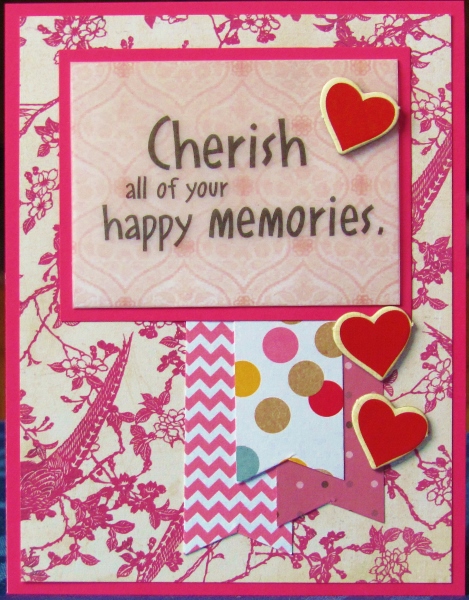
I decided to do one more with a vellum sentiment and backed this one with a printed pink paper.

I have several sheets of this bird printed cardstock but never found a good use for it up to now. The elements of this sketch cover enough of the birds that they cease to be identifiable as such. Then it becomes just a pink floral.

I liked that pink and used it in the flags and the bordering.

I selected red chipboard hearts for the embellishments that tie in with that one red dot on the front flag.

Ddd


Posted by studio3d@ccgmail.net at 12:01 AM PDT
Saturday, 15 August 2015
Operation Write Home - sketch 258 #7
Topic: Sketch Challenge

Here's another version of OWH sketch 258 - with many more yet to come. Reminder of the sketch:


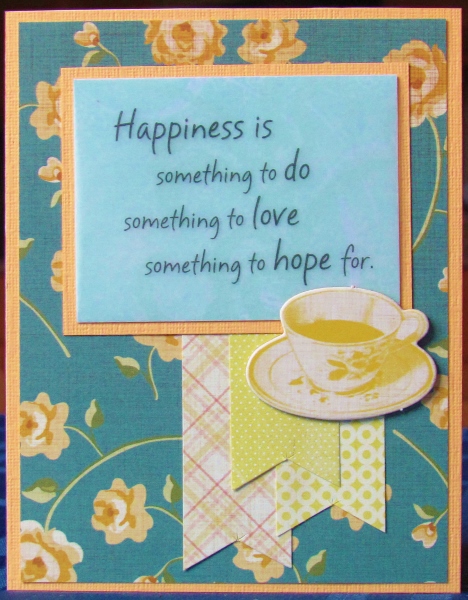
I liked the look of the vellum used for yesterday's card so I sought out another sentiment printed on it. This one I backed with a printed teal paper.

The yellow flags I chose seemed rather random until I found a backing paper with dusky teal and yellow. SCORE!

The bordering color is a buttery yellow-gold, picked up from the flowers on the paper.


The teacup embellishment goes back to the more yellow color of the flag papers on the right side.

Ddd


Posted by studio3d@ccgmail.net at 12:01 AM PDT
Friday, 14 August 2015
Operation Write Home - sketch 258 #6
Topic: Sketch Challenge

I had no idea when I sat down with this sketch that I would come away with 20 cards! Here's another look at OWH sketch 258:


The card today uses the same border color and the same embellishment and one of the same flag papers. So why does it look so different?

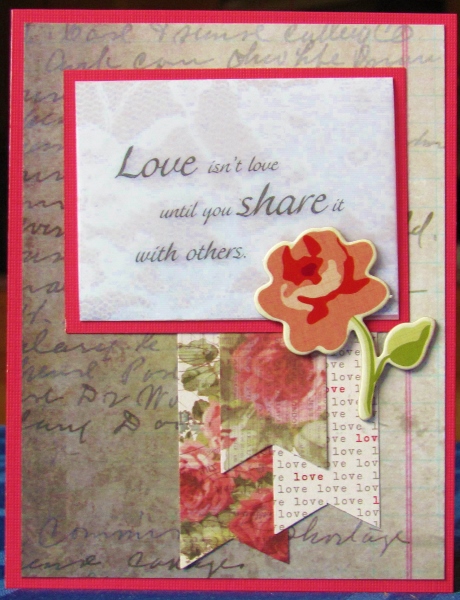
I started with a sentiment printed on vellum and backed it with a lace print paper. This immediately changed the feeling of the card. Add to this the use of flags with printed roses and a subtle script backing paper and you end up with a vintage look.

That embellishment color is not true in the photo as it is much closer to a true pink than shown.

Ddd


Posted by studio3d@ccgmail.net at 12:01 AM PDT
Thursday, 13 August 2015
Operation Write Home - sketch 258 #5
Topic: Sketch Challenge

When you find a sketch you like - keep going. Here's another OWH 258:

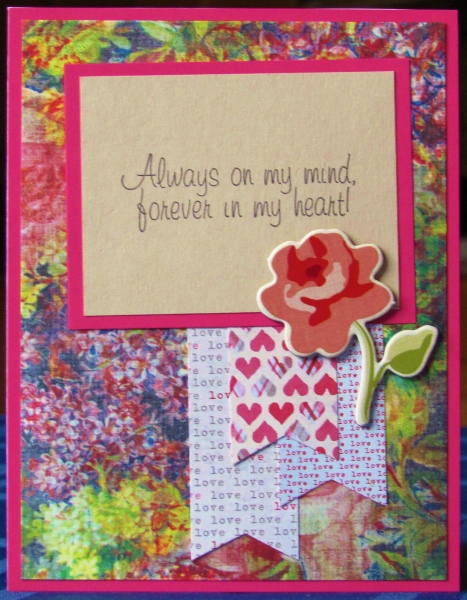
I tried to create a mix of simple and complex looks using this sketch. On this version the use of a busy floral background is echoed in the chipboard embellishment in theme and color.

I keyed off the sentiment to choose papers for the flags, using hearts and 'love' text.


The raspberry bordering matches some of the hearts and focuses the attention on the kraft sentiment panel.

Ddd


Posted by studio3d@ccgmail.net at 12:01 AM PDT
Wednesday, 12 August 2015
Operation Write Home - sketch 258 #4
Topic: Sketch Challenge

On with the marathon use of OWH sketch 258:


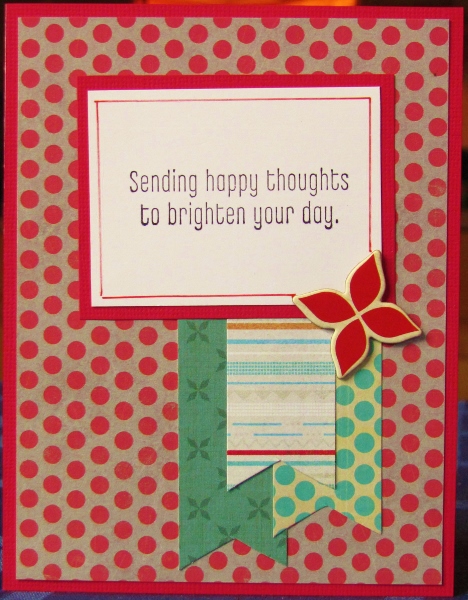
When I had a sentiment stamped on white cardstock it gave me a lot more flexibility in choosing papers to use in the design. I chose the flags first and then, instead of heading down the teal path as expected, I took that single red line on the striped flag and used it as the key to all the other elements.

I love the red dot paper which I matched in the bordering. The red also spoke to the selection of an embellishment.


Lest the sentiment look too plain, I added a red line border all around it.

Ddd


Posted by studio3d@ccgmail.net at 12:01 AM PDT
Tuesday, 11 August 2015
Operation Write Home - sketch 258 #3
Topic: Sketch Challenge

Continuing on with the multiple uses of OWH sketch 258:


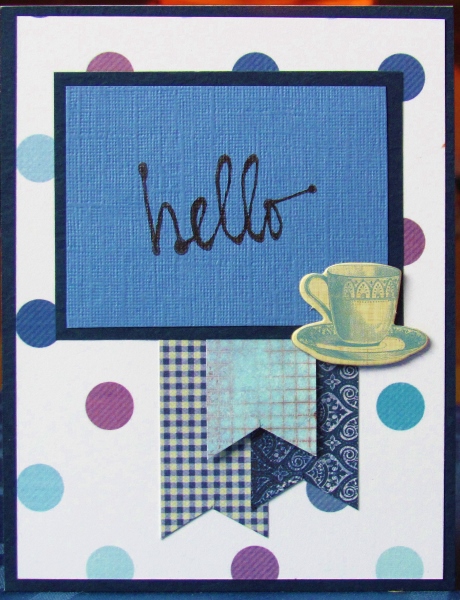
Today's version has a much cleaner look than yesterday's. This is predominantly due to the main background with its widely spaced large dots. I started out with a different pattern but when I turned the page over to apply the glue, this was the back of it. I liked it a lot better than the original choice.

The sentiment panel is very simple as well with that single word in script.

The three blue flags are dark, medium and light giving them good contrast and I used foam tape under the lower edge of the top one.


The chipboard embellishment used on this one is a blue teacup.

Ddd


Posted by studio3d@ccgmail.net at 12:01 AM PDT

Newer | Latest | Older