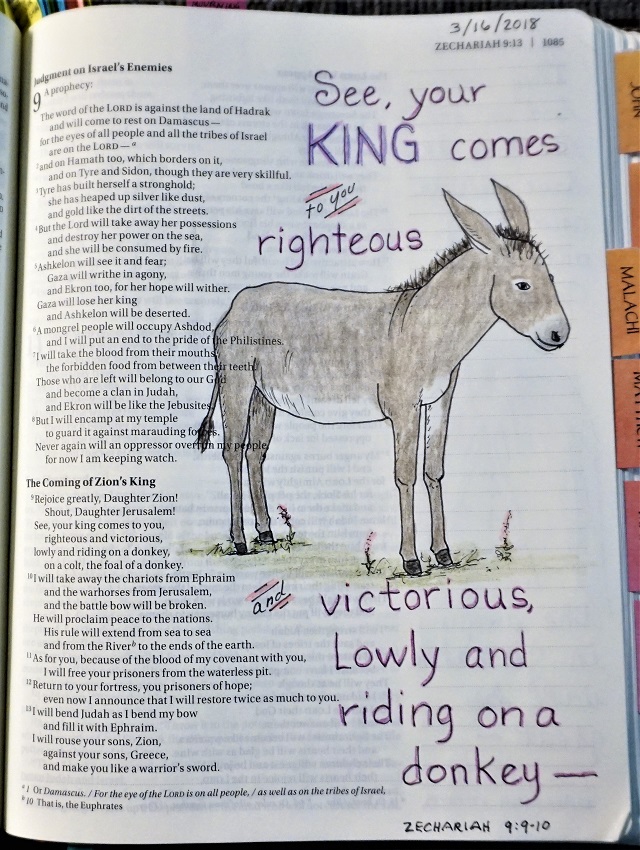
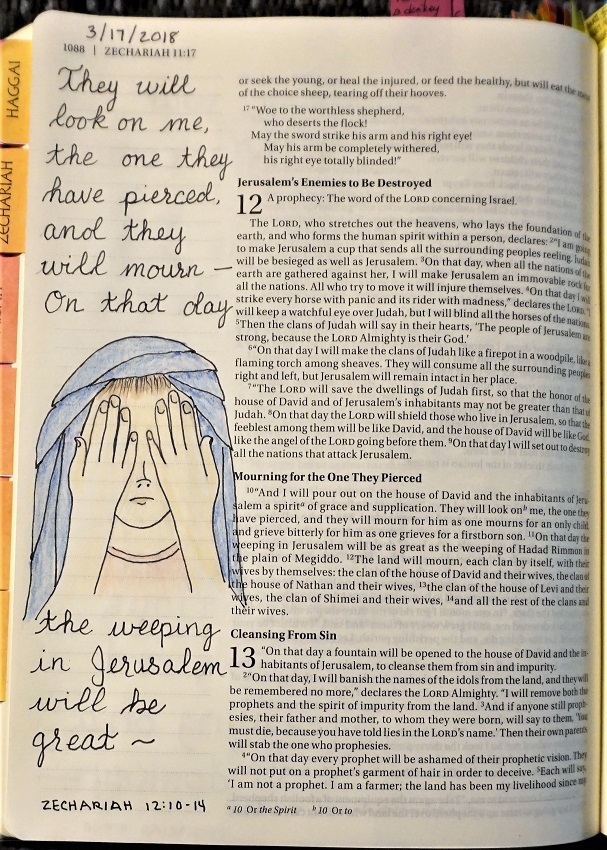
Topic: Bible Journaling
It was my week to teach lettering again and I went with a totally novelty style.
Here are the daily lessons:
MONDAY
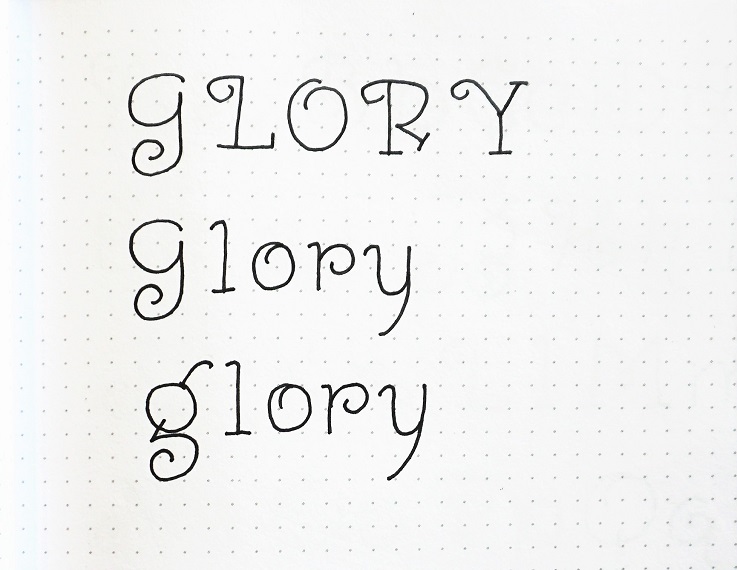
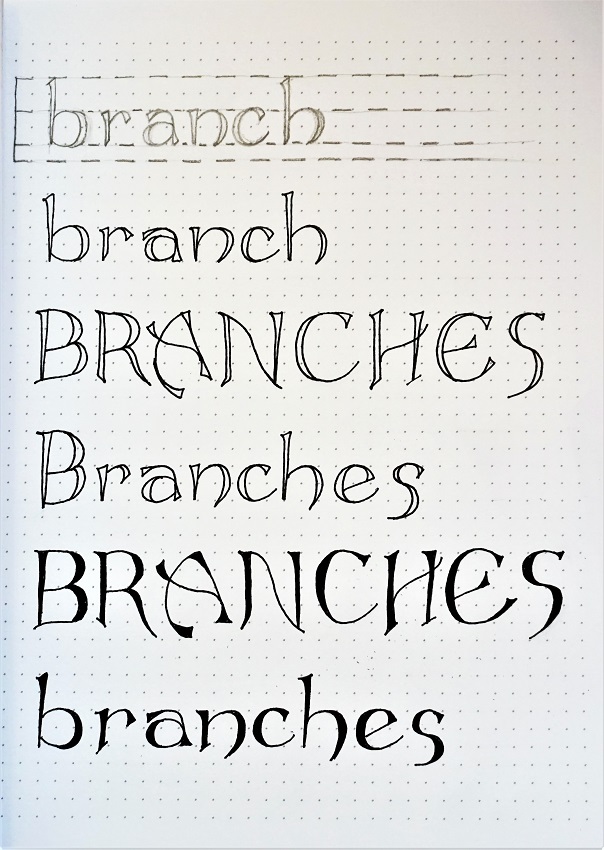
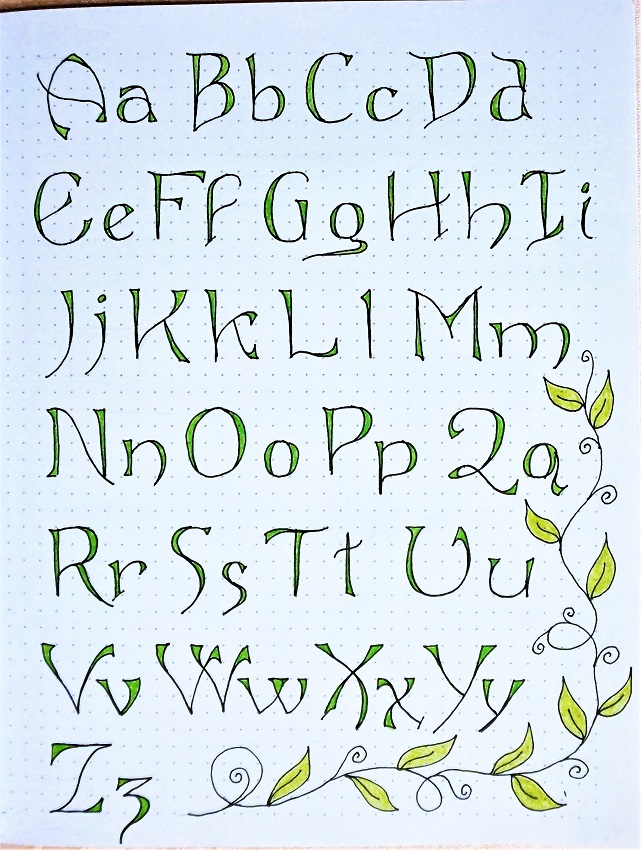
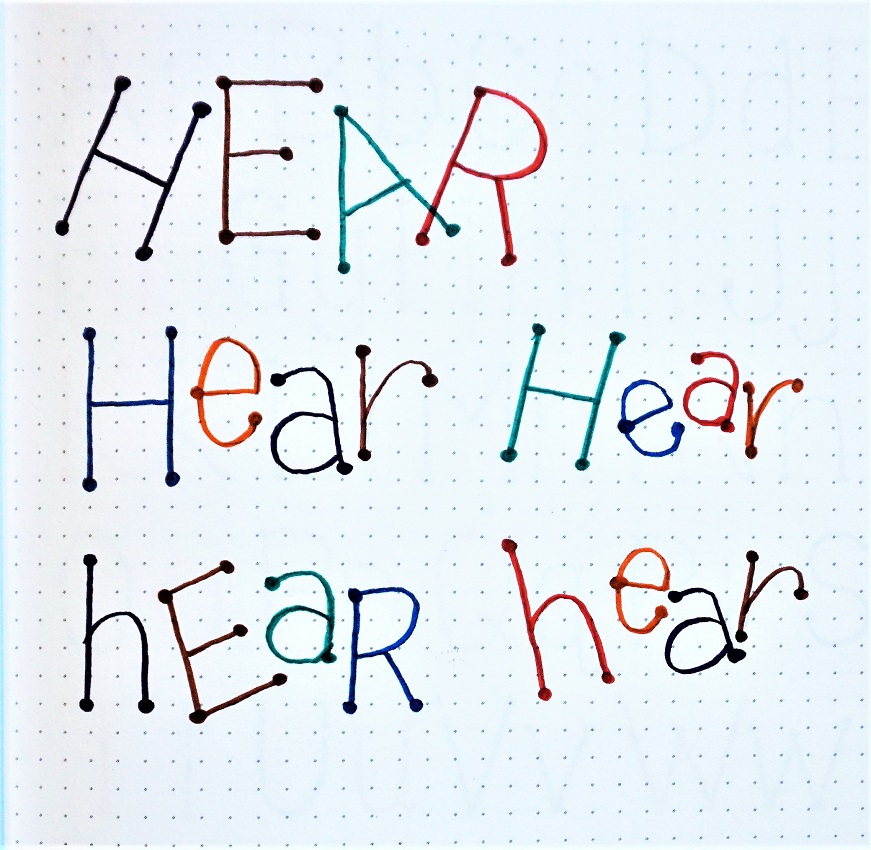
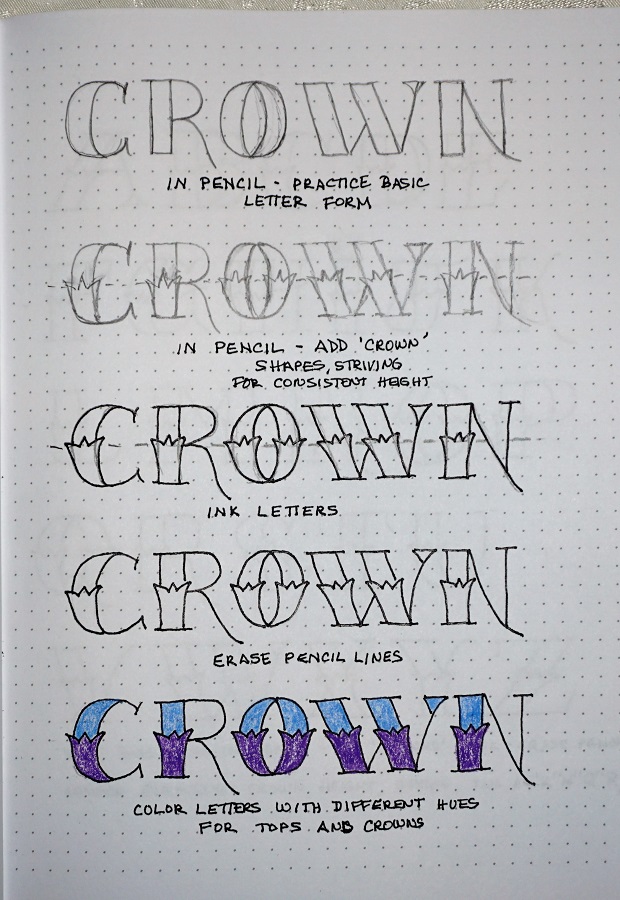
This week we’ve got an ‘all caps’ font built out of little sticks and decorated with leaves. SO CUTE! We’re calling this font ‘garden’.
The base form is pretty standard printing with a little bit of crossover where ‘branches’ meet one another. Practice your basic letter forms in pencil.
Add bumps here and there on the lines as buds. Add thickening at the base ends of the lines.
Draw a line out from each letter and add one leaf. These can vary in placement when you have more than one of the same letter in a word.
Trace your letters, buds and leaves in ink and erase the pencil. LOOK, YOU JUST GREW A GARDEN!

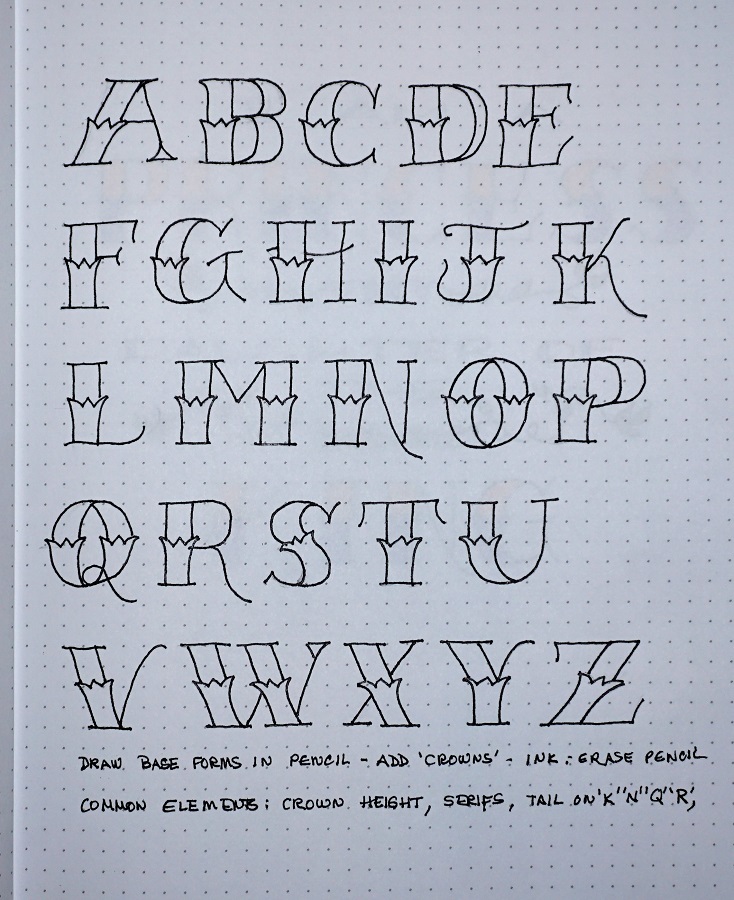
I think this alphabet looks very decorative just written out by itself!
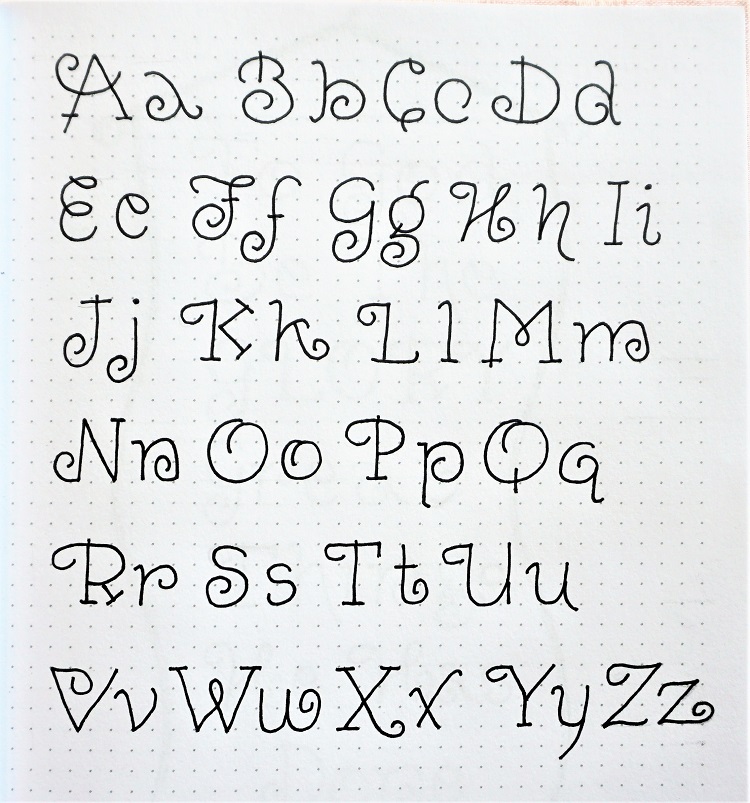
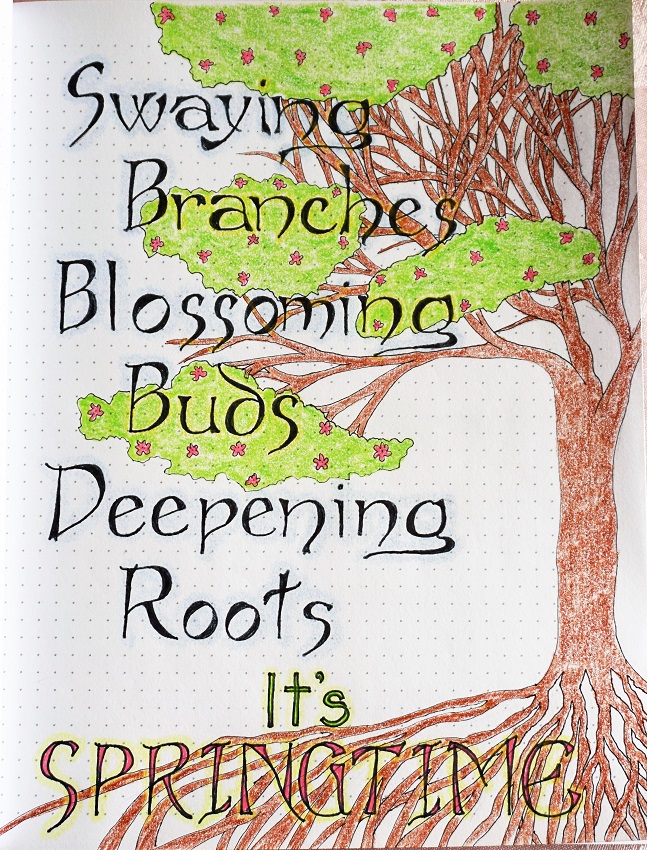
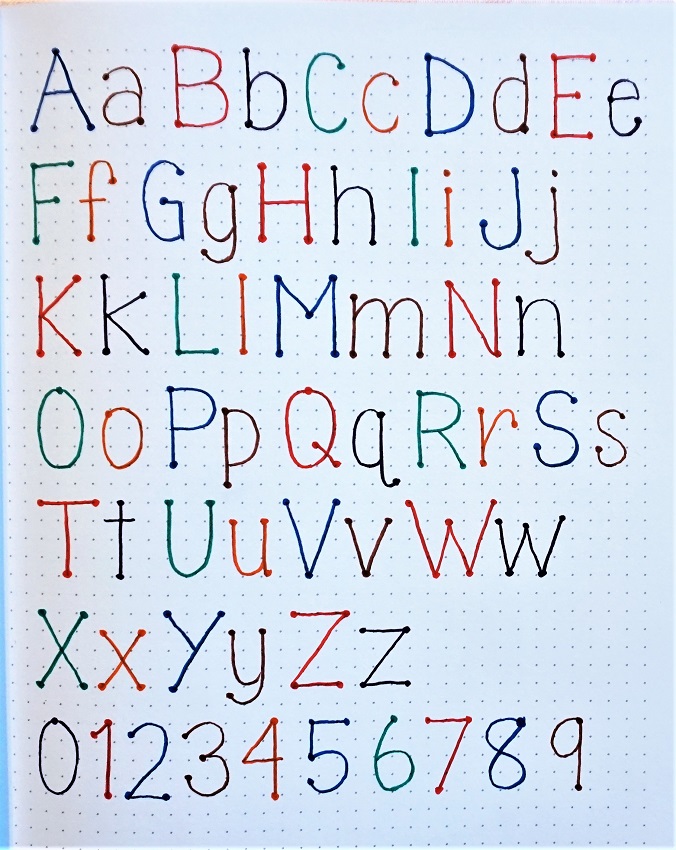
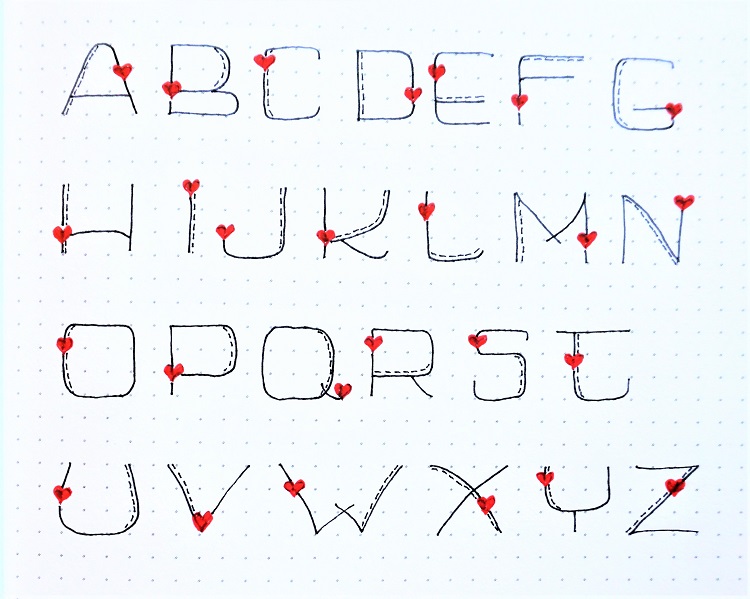
Go about building your alphabet in the same step-by-step way as you did yesterday. Don’t work on it letter by letter. Instead, do the whole set of base letters, Then the whole set of buds and thickened stems, then all the leaves. You’ll get a more cohesive look this way.
Ink after all the forms are completed and erase your pencil.
I added a full set of numbers for this font as well. Who knows when you might need a few sprouting digits?

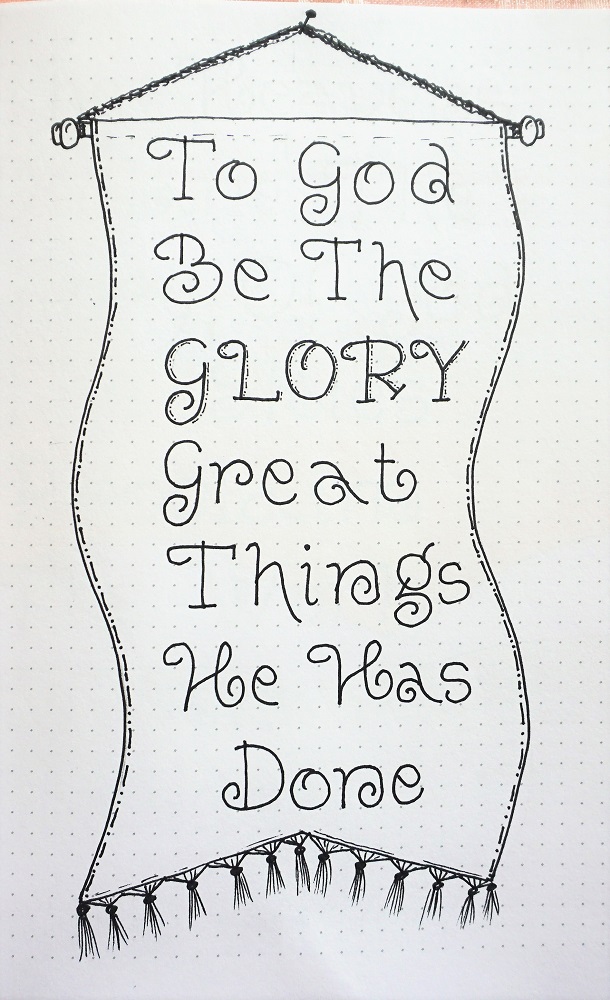
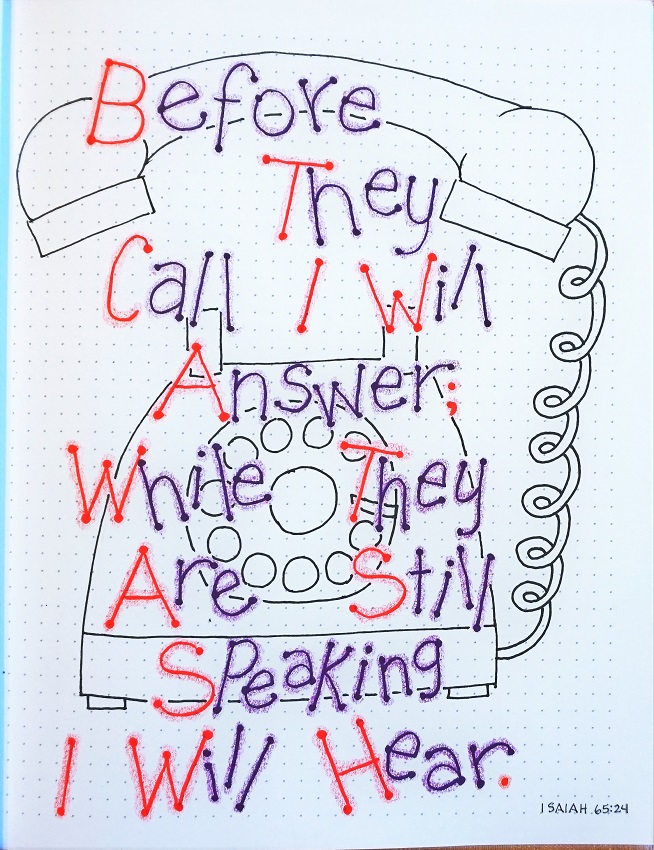
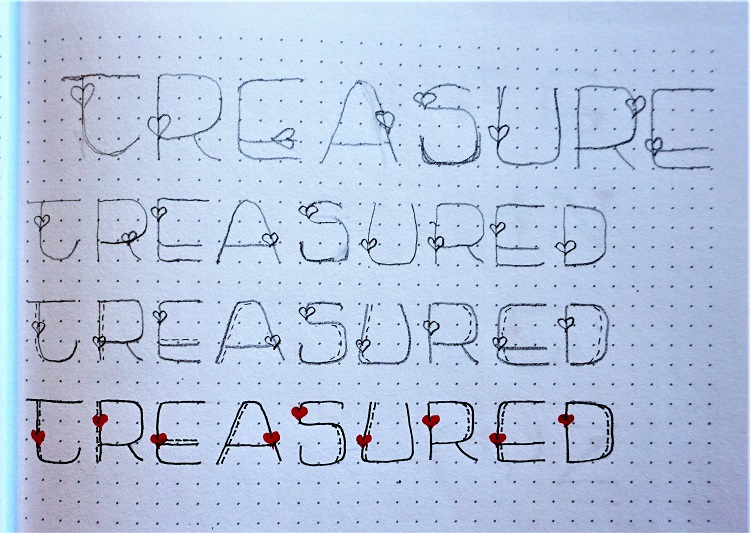
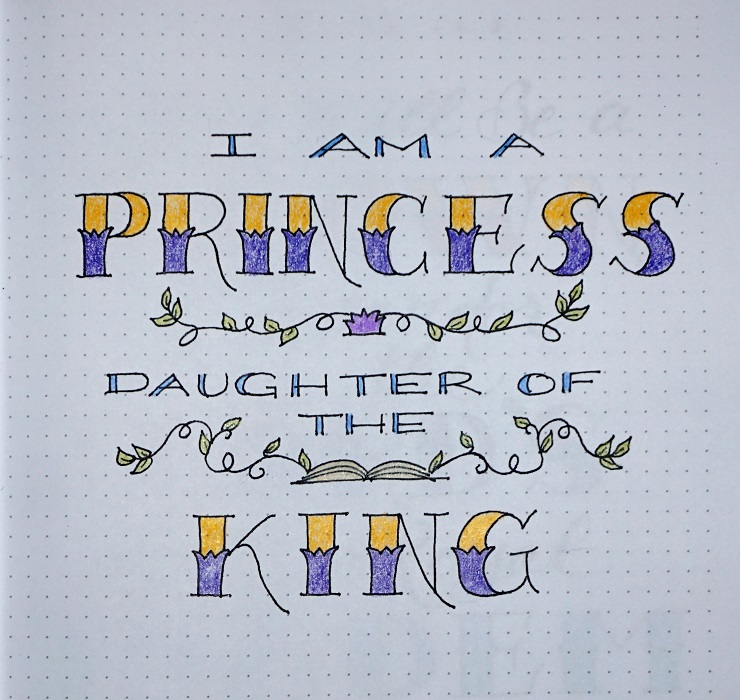
Today, practice your letters on a ‘garden’ quote.
After inking and erasing your pencil, trace over your stems with a brown color. Use green for the leaves. Add some scrolls and little flowers to decorate the background.

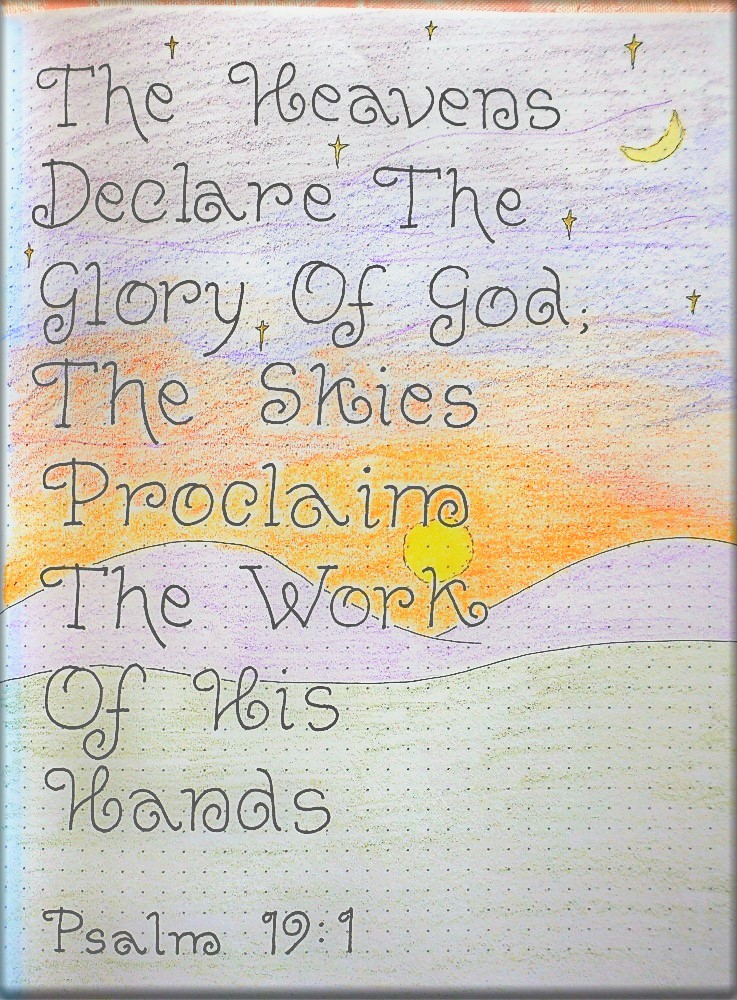
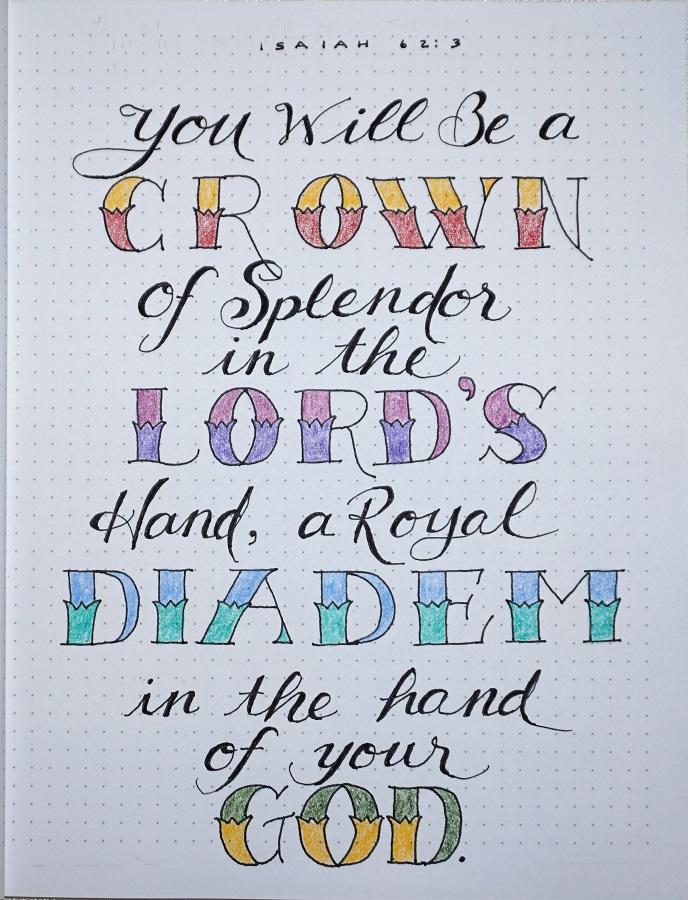
Now we will use our ‘garden’ font to write out a verse on paper. Feel free to use blank paper, lined paper, dot grid, or a journal.
You’ll note how I moved the leaves if they were placed too similarly on adjacent letters – this is especially true when there are double letters in a word.
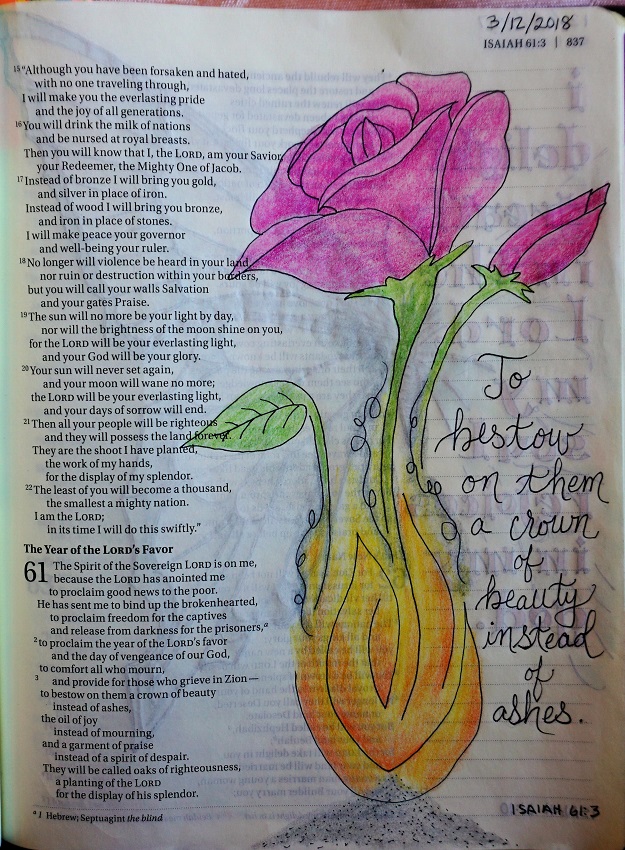
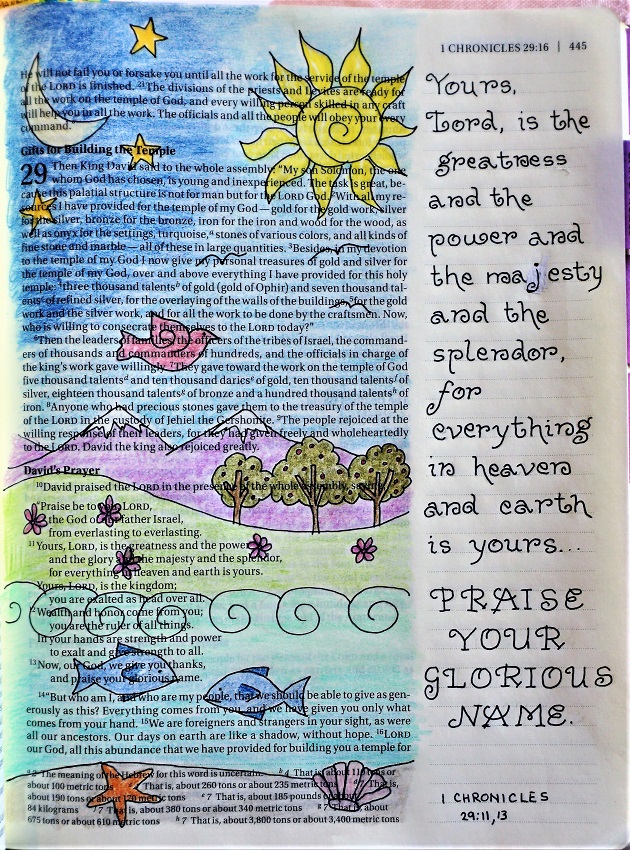
I decorated my page using the coneflowers.
Use the same coloring as yesterday for the letters.
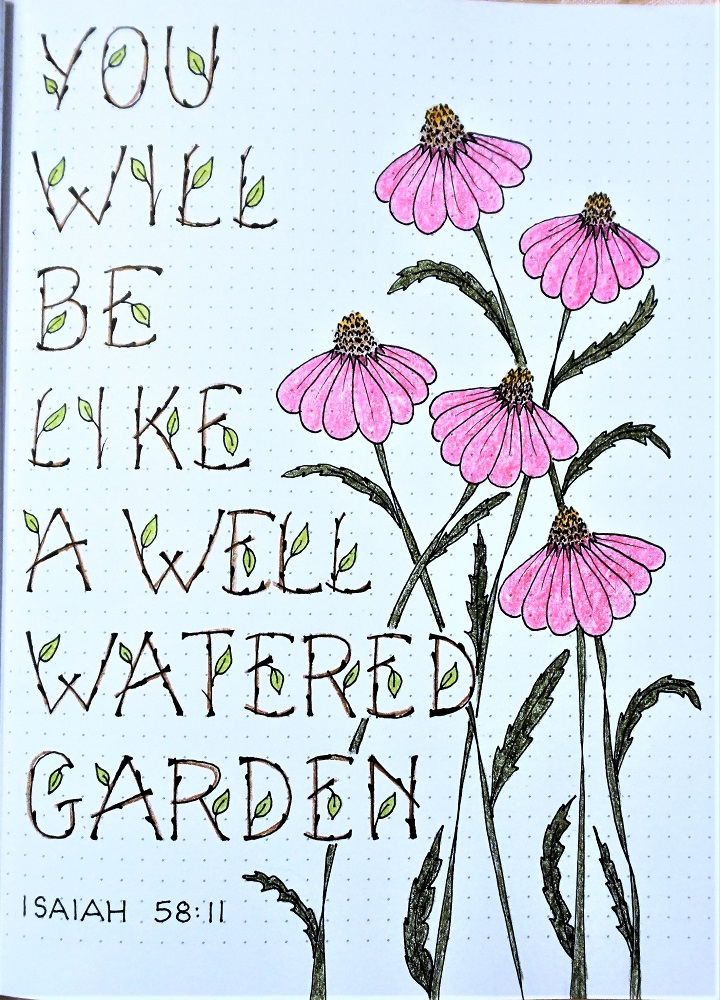
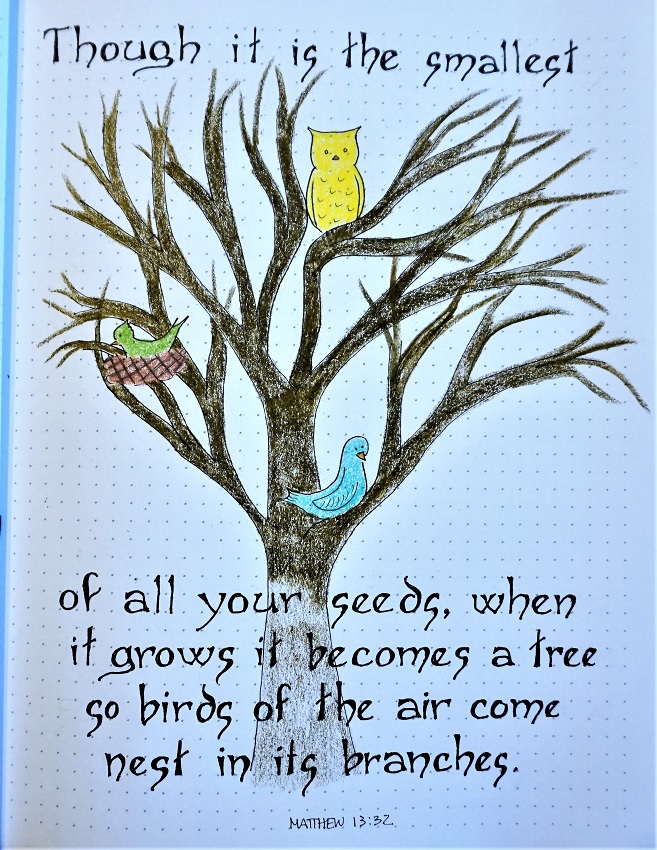
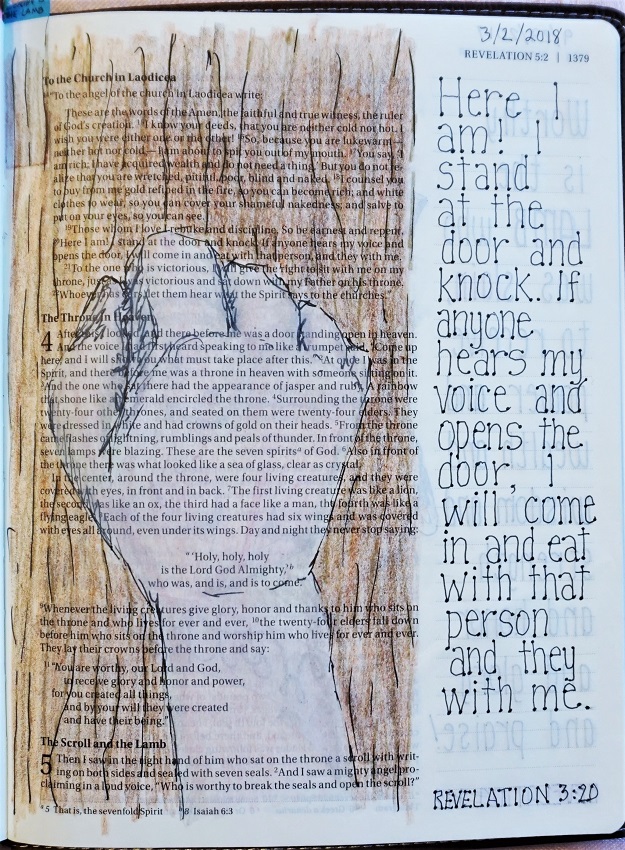
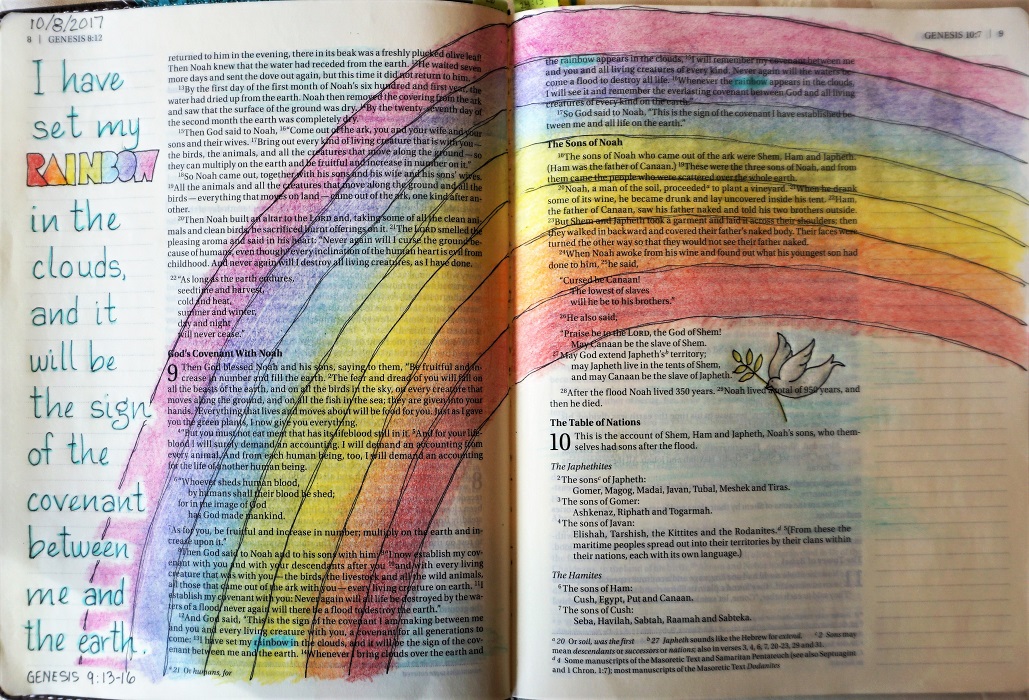
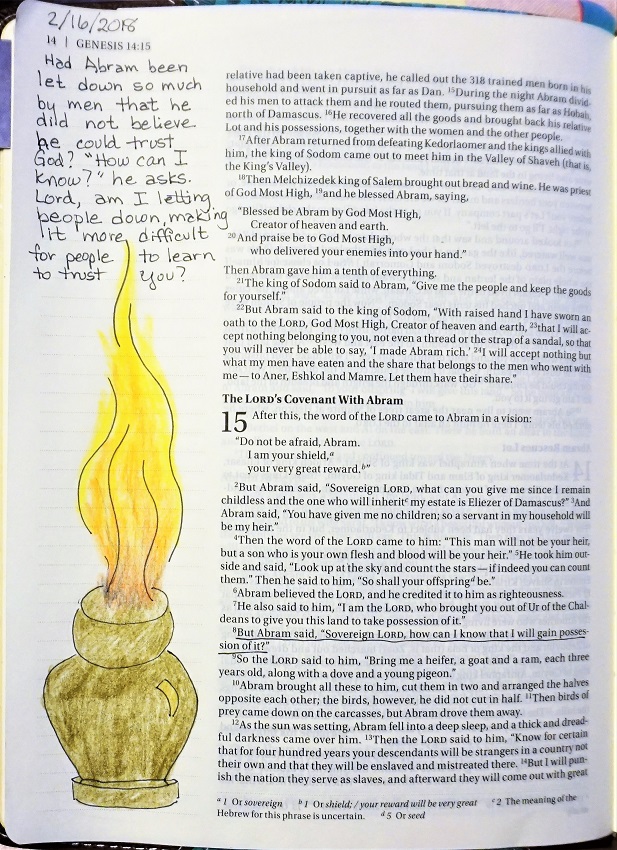
We’re working in our Bible today, on a verse with the word ‘garden’.
You can see that I had to scale down the size of my letters to fit the space. You can’t go too small or you lose the definition of your letter forms. So, if your text is too long, just use your special letters to feature certain words. Do the rest of your text in an alternate font that is plainer and smaller.
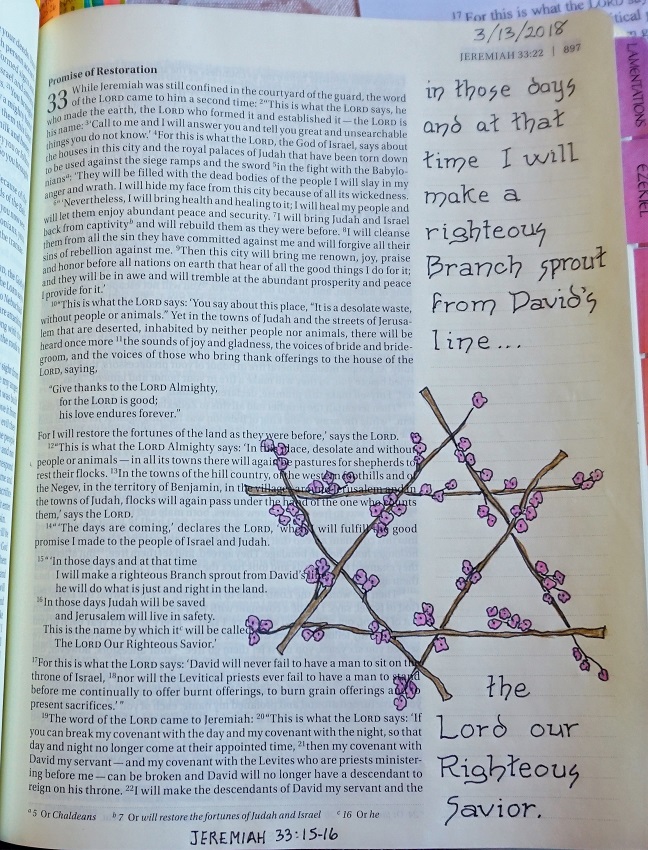
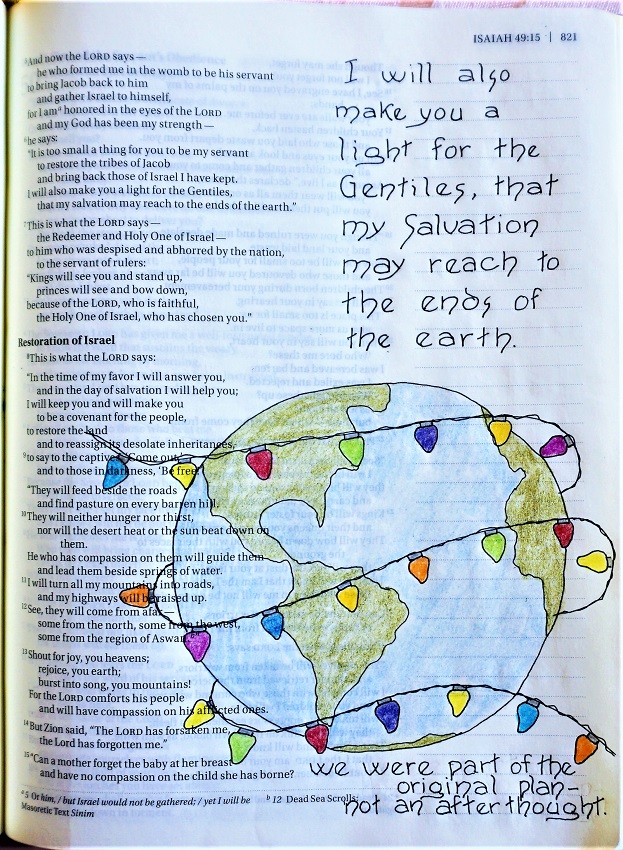
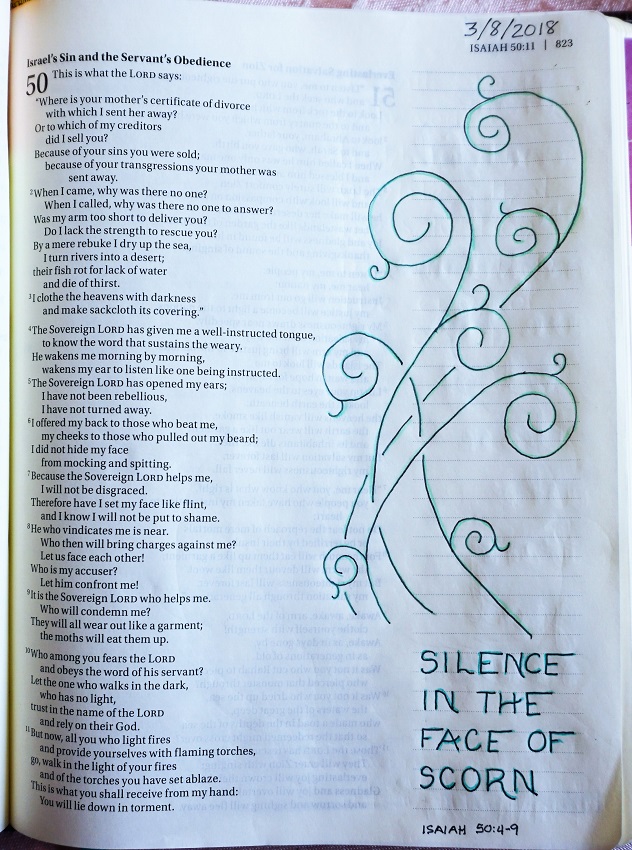
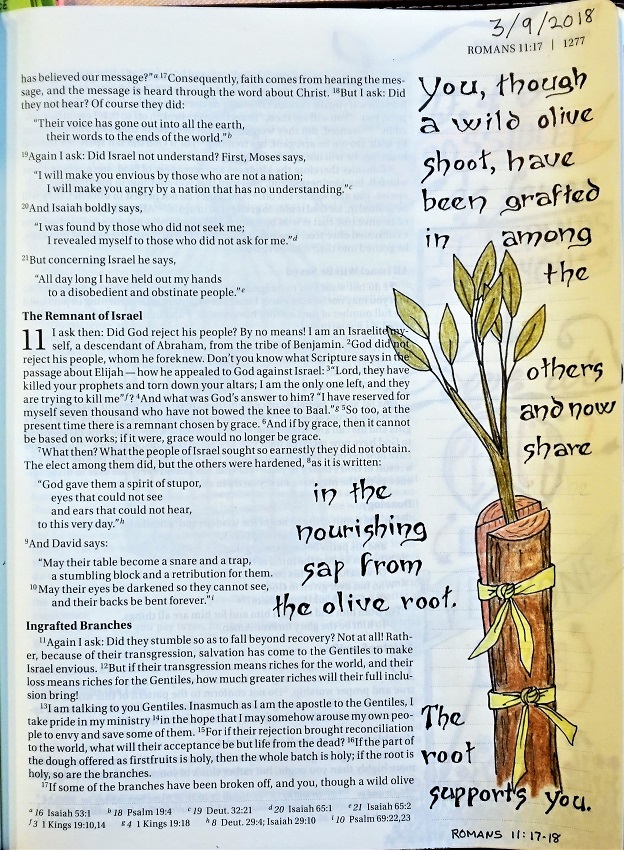
I decorated my page with root vegetables as the Israelites were being instructed to ‘take root’ in exile.

I love doing these lessons to show people how easy it is to create beautiful writing for their projects.
Ddd