« January 2016 »
S M T W T F S
1 2
3 4 5 6 7 8 9
10 11 12 13 14 15 16
17 18 19 20 21 22 23
24 25 26 27 28 29 30
31
You are not logged in. Log in
Entries by Topic
All topics  «
3D paperwork
A - Z challenge 5
A - Z challenge 7
A - Z challenge round 4
A to Z challenge round 3
A to Z round 2
A to Z round 6
A-Z round 1
Around the House
Art Challenges
Artist Trading Cards
Backgrounds
Beads
Bible Journaling
Books
Boxes
Collage
Color Challenge
Coloring
cookbook
Die Cuts
Digital Projects
Digital Stamps
Drawing
Dry Embossing
Fabric Stuff
Fantastic Folds
Field Trip
Home Decor
How Does Your Garden Grow?
Hymnal Art
In The Kitchen
In the studio
Jewelry
Lettering
Links
Multi-Technique
Music to Work By
Musings
Nail Art
New Work
Online Class
Other Hobbies
Other Projects
Painting
Paper Embroidery
Paper Piecing
Photo
Pretty Paper
Quilting
Random
reading
Scrap Recovery
scrapbooking
Sewing
Sketch Challenge
Some Backlog
Stamping
Stencils
Stickers
Supplies
Teabag Folding
Techniques
Testing
tips and tricks
Tutorial
Web resources
Welcome to my Blog
Work By My Friends
workflow
Writing
Blog Tools
Edit your Blog
Build a Blog
RSS Feed
View Profile
Group One
In & Out of Studio 3D
Friday, 8 January 2016
Personalized Calendar
Topic: Digital Projects

I recently bought some things at an online store and one of the perks was to provide me with a coupon code for a FREE PERSONALIZED CALENDAR from Shutterfly. I only had to pay shipping which was very reasonable.

I want to be very clear, I have no affiliation with this company and did not receive any solicitation or compensation for this review. I am just a happy customer.

I just had to click on the link that came in my email to start the process. I got to select my desired 'theme' for the background of the pages, choose which photos (my own) to use on each month as well as on the cover, select layouts for the photos, add captions to the photos, and input my own family's birthdays and anniversaries.

I got to preview everything before it went 'to press' and they warned me when some of my photos were not high enough resolution to reproduce optimally.

The whole design process was clearly guided and took only about 1 1/2 hours. The most time consuming part was inputting all the personal dates.

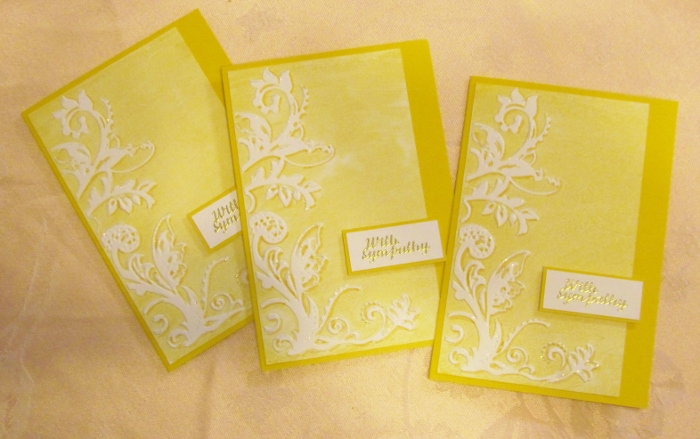
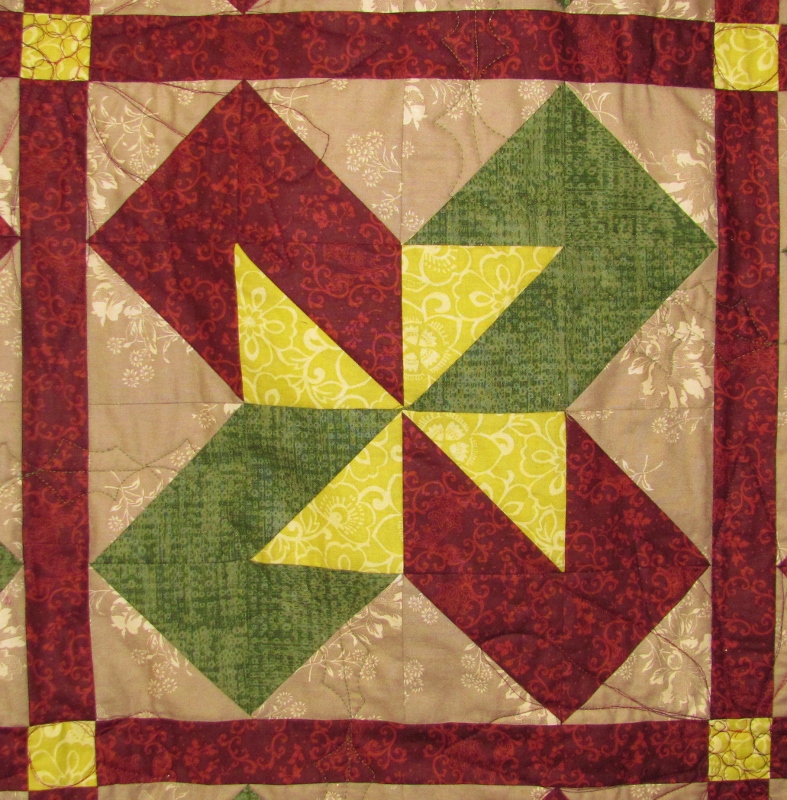
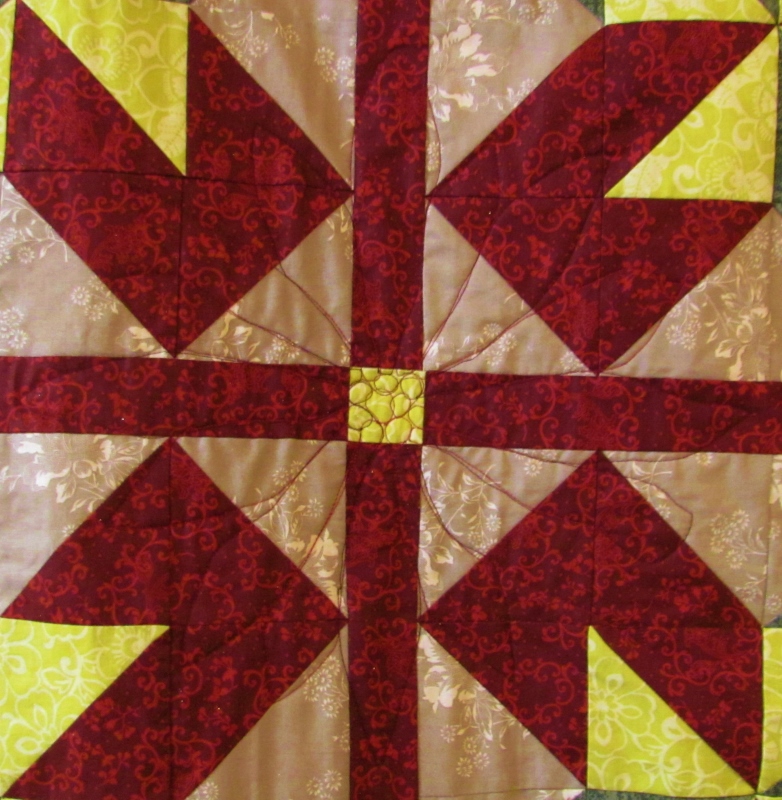
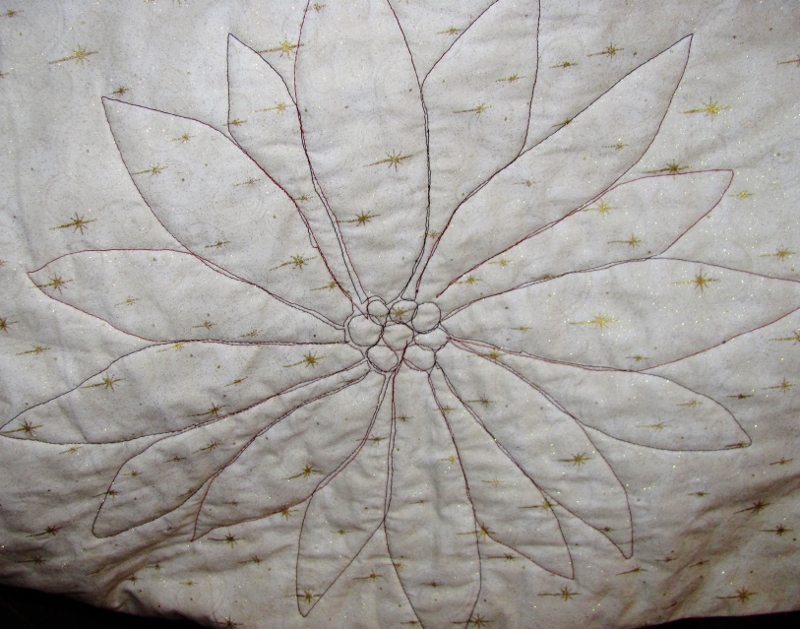
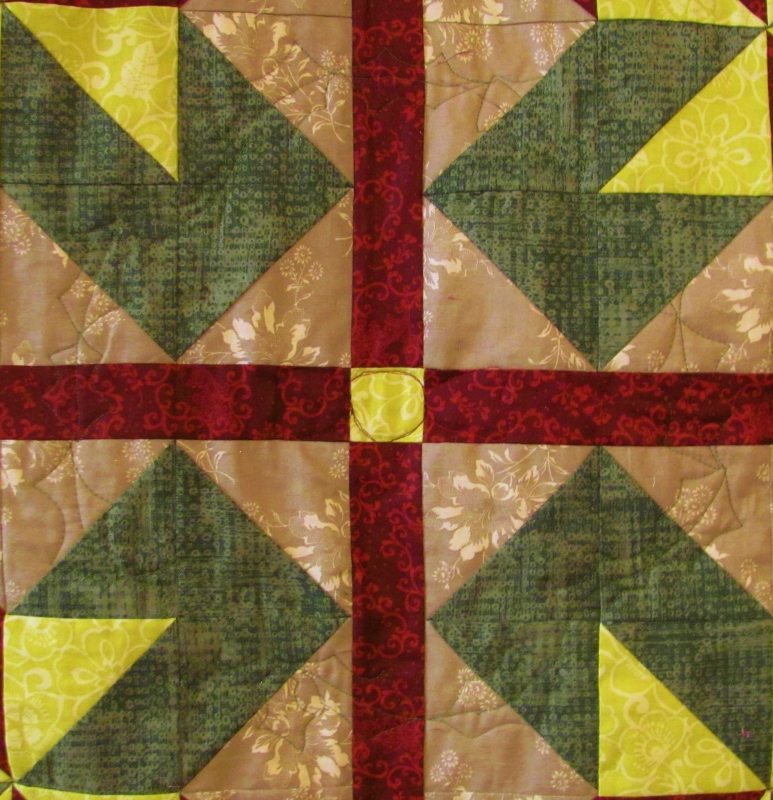
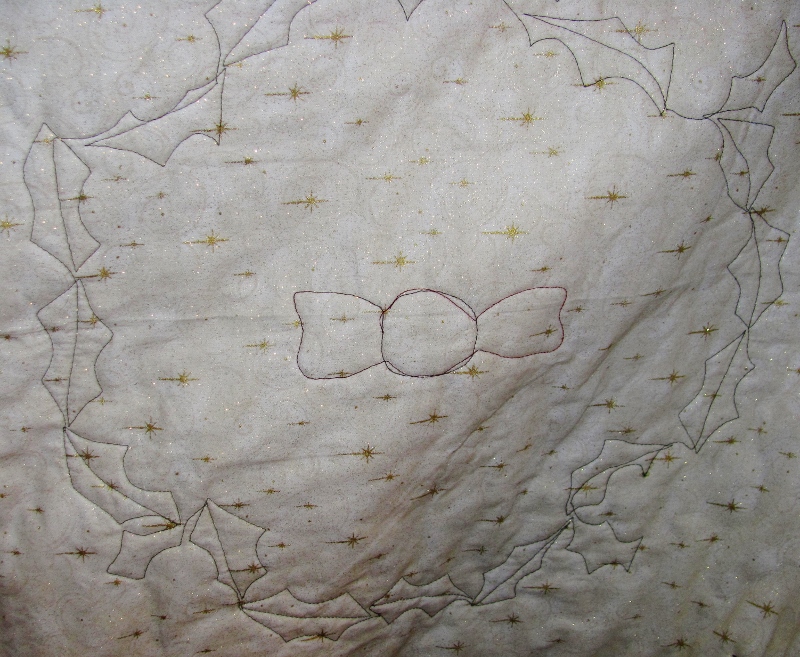
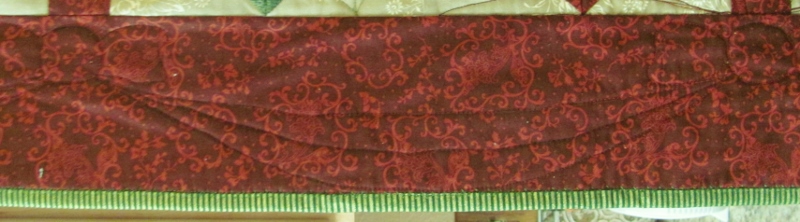
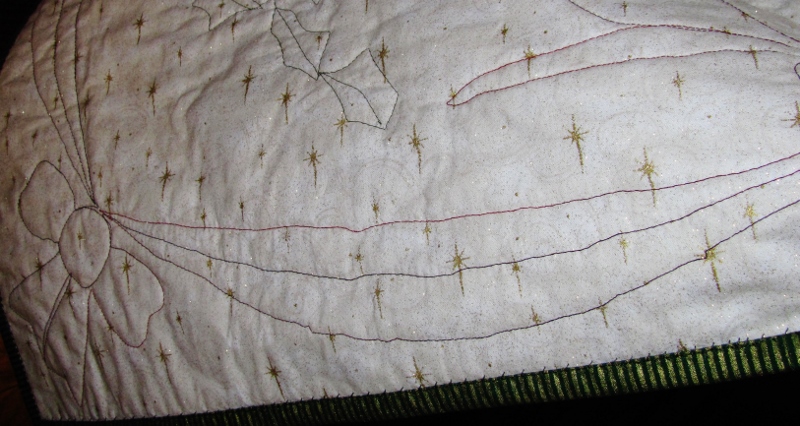
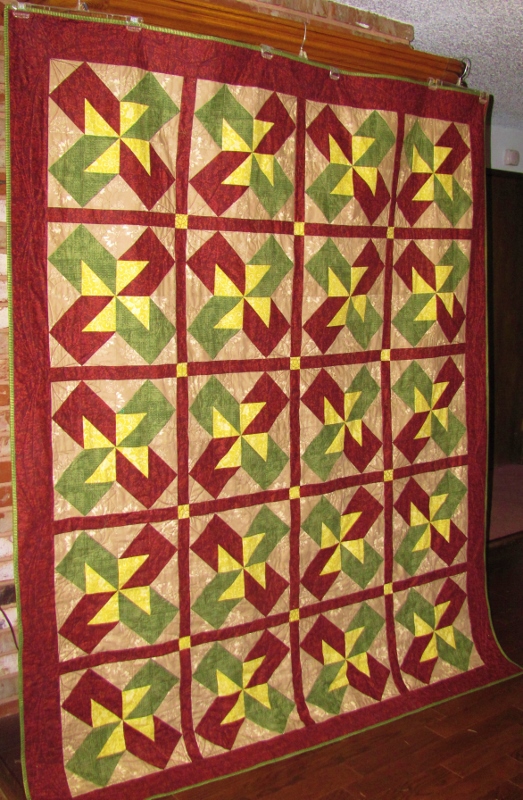
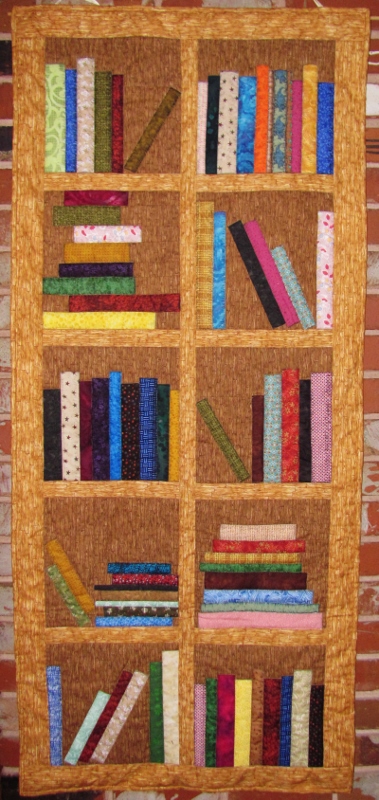
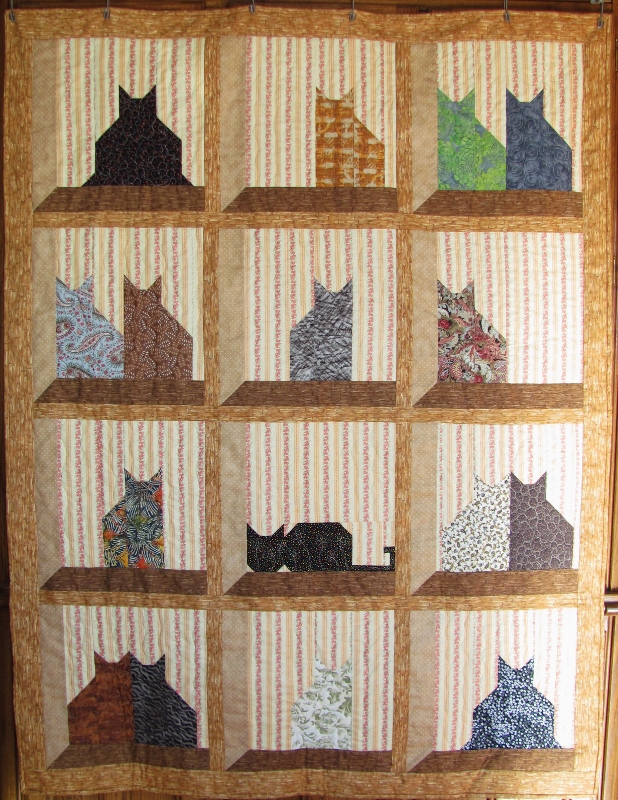
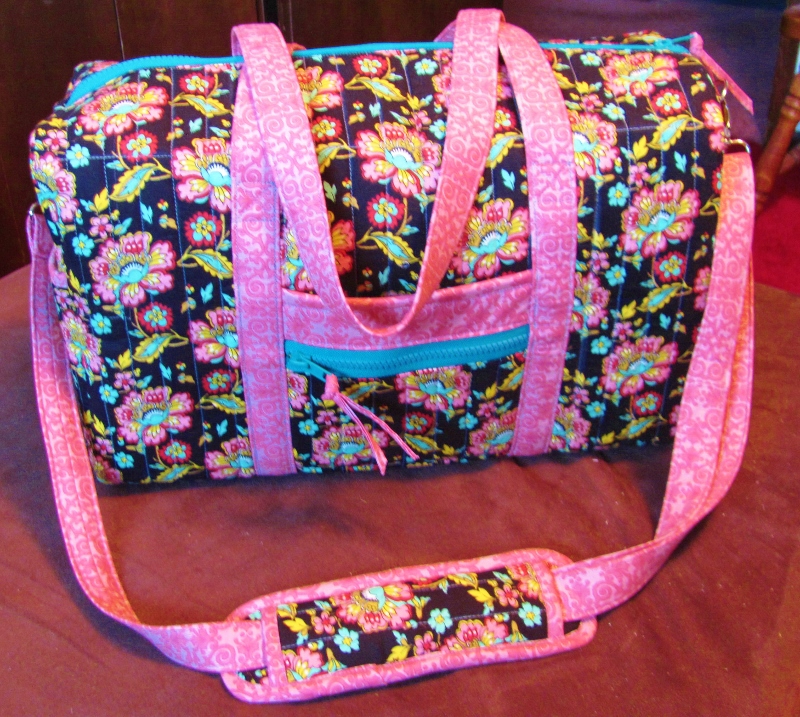
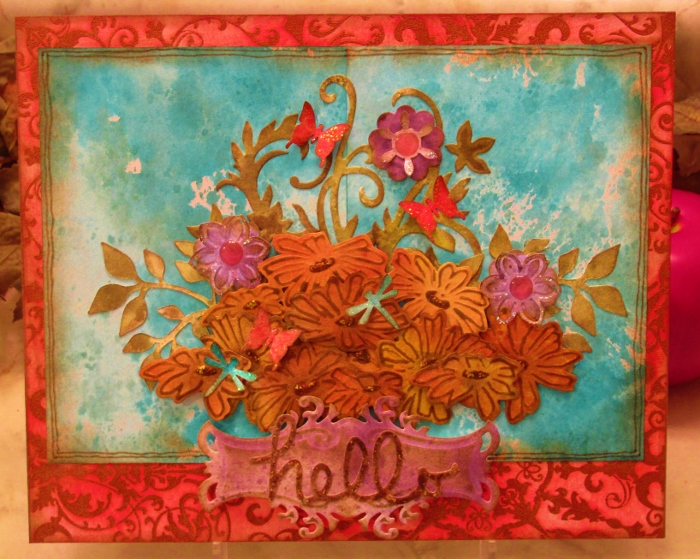
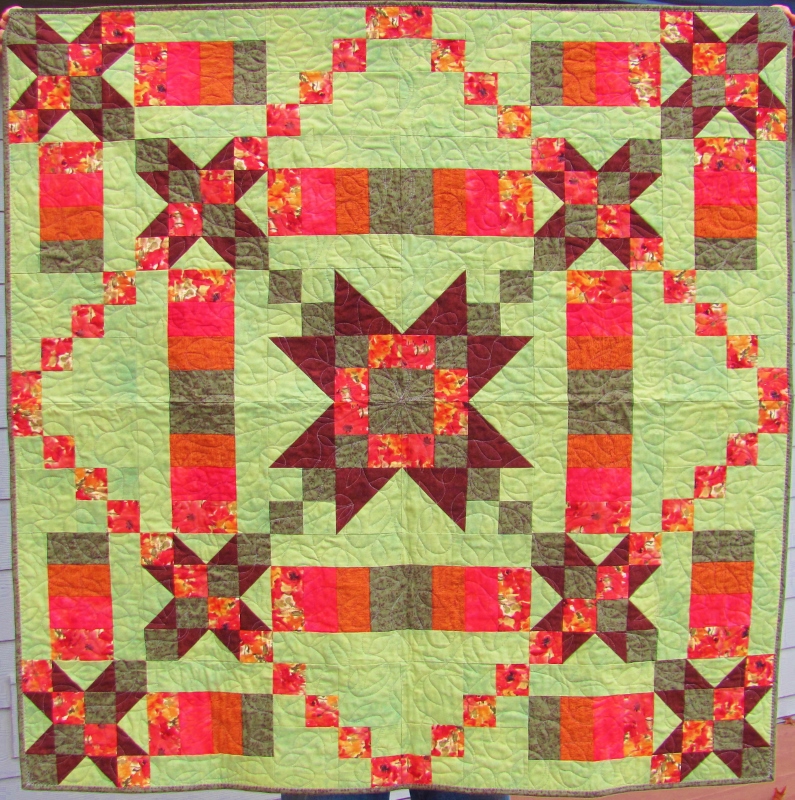
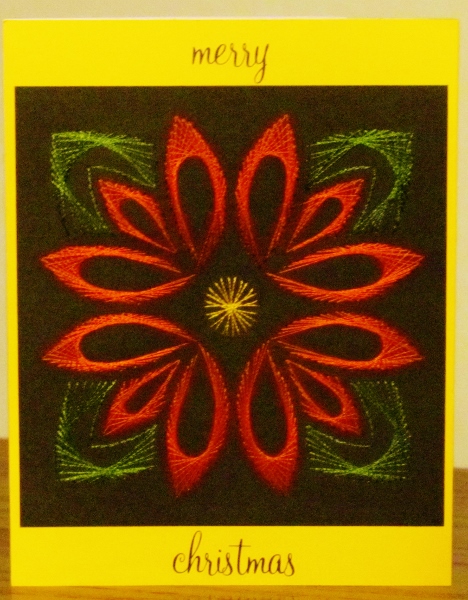
I decided to make a calendar for the quilt studio out of it and included favorite quilts I made in 2015.


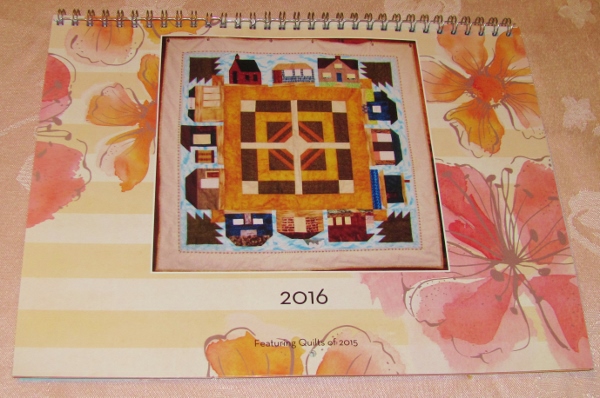
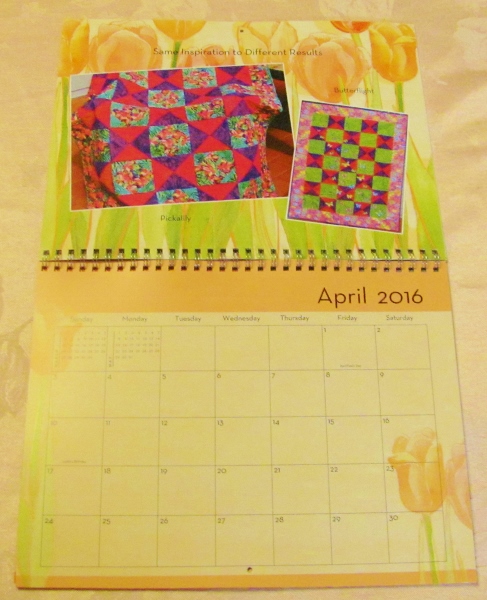
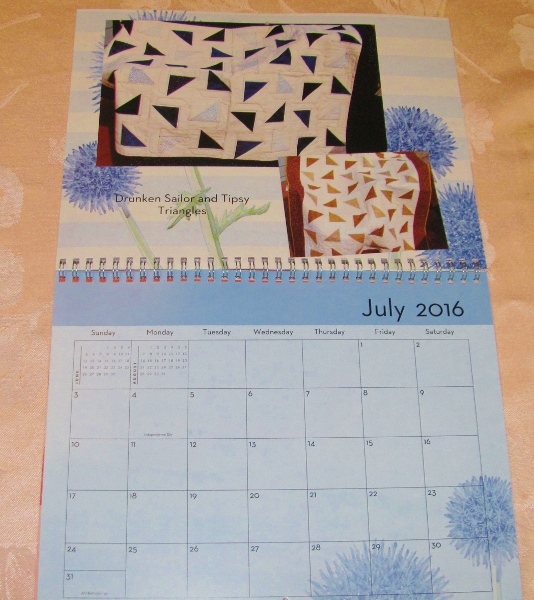
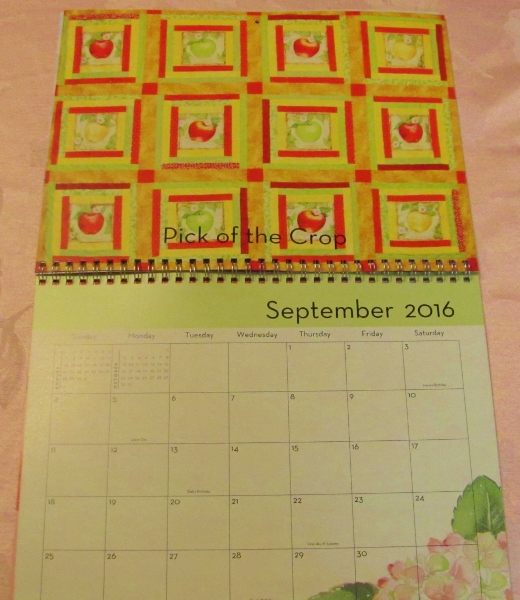
The finished calendar is produced on heavy glossy cardstock of 8 1/2 x 11 pages. It is spiral bound at the top.

Thank you, Shutterfly!

Ddd


Posted by studio3d@ccgmail.net at 12:01 AM PST
Thursday, 7 January 2016
Re-Creating a Favored Card
Topic: Dry Embossing

Some time ago I created a dry-embossed card using the letterpress method - which colors the background and leaves the raised areas white. I particularly liked the way it turned out and pulled it out to copy when I needed multiple sympathy cards to send.

The original one used a stamped sentiment but for this version I used a gold peel-off sticker on the raised, bordered panel.


They have drop-shadows drawn in with a coordinating marker and little bits of Stickles along the top edges of the pattern.

Ddd


Posted by studio3d@ccgmail.net at 12:01 AM PST
Wednesday, 6 January 2016
Colorado Christmas
Topic: Quilting

I'm really not as late as it appears in completing this Christmas quilt. I finished it up on December 23 but had already filled the blog postings up to today with the last of the Christmas cards.

I wanted the quilt to be in the seasonal colors but not to be so bright as traditionally used. So I dug in the stash and found burdundy, mottled green, taupe and greenish yellow.

These sat for a while waiting for inspiration until I saw the tutorial on the Missouri Star Quilt Company for the block called 'Colorado'. I played with the coloring in EQ7 and decided to make the center pinwheels with the yellow to represent the Star of Bethlehem.

The construction method makes a bazillion half-square triangles which are arranged into this 14-inch block:

Actually, the outer border showing is the sashing and cornerstones between the blocks.

The blocks are arranged so that all the greens come together around one cornerstone and all the reds around the next cornerstone. What this does is create a secondary pattern.

On the red sections I quilted a poinsettia:

I used verigated dark red thread and a 'sketch' style rather than a very controlled outline. Here you can see the stitching on the back:


Where the green blocks formed I quilted a bow in the center surrounded by a holly wreath:


I used green thread for this and here you can see the view from the back:

The 4-inch borders are quilted with bows and garland and the finish is a green and gold striped binding:


You can see the quilting pretty well on the photo above so the back view shows how I treated the corners:


I am delighted with how this came out! This will be a quilt for me to keep.

It is a very generous 70 x 84 inches.

Ddd


Posted by studio3d@ccgmail.net at 12:01 AM PST
Tuesday, 5 January 2016
Bowl Buddies

Over the past few years I have seen a number of people make 'bowl buddies' for friends and family. These are a shaped pot holder that goes into the microwave with the bowl so removal of hot foods can easily be removed without burning the hands.

I wanted to make these as a gift for Christmas so set about looking for instructions. The best I found were at http://www.lisalewiskoster.com/2013/12/microwave-bowl-potholders.html.

I purchased some microwave-safe batting - like that used for making 'potato bags' and selected two sets of complimentary fabrics. The recipient has two sizes of bowls for use in her microwave so I custom fit two sizes of bowl buddies.

I cut the batting 3/4 inch smaller than the fabric to keep the edges from being too bulky at the end. I did the quilting (the first step in the process) with a medium-sized meander.

The final products are reversible.

This is the smaller one 'in use':

and...


This is the larger one 'in use':

and...


I cut up the rest of the batting while I was at it and cut enough of these fabrics to make 3 more of each color combination. All of the quilting has been done on them and I set them aside so I can make them whatever size is needed on short notice.

Ddd


Posted by studio3d@ccgmail.net at 12:01 AM PST
Monday, 4 January 2016
Snowman In the Tree Lot
Topic: Pretty Paper

When I ran across this vinyl snowman sticker I knew he belonged on this background - looking like he is hanging around the Christmas tree lot.

I distressed the edges of the base card as well as the printed panel and added a text strip.

The stamped greeting provides a little ground for the snowman to stand upon.

And, you'll be happy to know, that is ALL of the Christmas cards. Tomorrow we'll be on to something else.

Ddd


Posted by studio3d@ccgmail.net at 12:01 AM PST
Sunday, 3 January 2016
Glitter Strips
Topic: Pretty Paper

One of the papers I was using had strips of prints covered in glitter. Love me some glitter!

I left one piece whole and cut some into separate strips for use.

On this first card I started with a paper that has a needlework print on it. I added ten vellum poinsettia stickers in two rows then placed a strip of the glitter paper between them.

I stamped a greeting at the top.


I used that same strip on this second card. The background started as a two-toned green with a shiny surface on the darker green. I added gold peel-off stickers of holly all over to liven it up.

Then the strip was applied and followed up with a vinyl text sticker.


For the third card I left the glittery striped paper whole. I added a floral text strip over one of the stripes and then hung a 3D ornament sticker over that.


The text on the ornament is a rub-on.

Ddd


Posted by studio3d@ccgmail.net at 12:01 AM PST
Saturday, 2 January 2016
Round Up
Topic: Pretty Paper

From the big page of tags and journaling blocks I cut one that was a huge round element.

For the first card I selected a dark red paper with stripes of different prints. I overlaid one of the stripes with a strip of paper in brown with pinecones.

The circle element has a cream colored border so I used a cream base card to echo this.

I added a thick acrylic text sticker through the center.

I also used a striped paper for the second card. On this one the brown snowflake paper is the overlaid strip.

I added an oval nativity sticker to the center of the circle element on this one.

The colors blend perfectly, don't they?

Ddd


Posted by studio3d@ccgmail.net at 12:01 AM PST
Friday, 1 January 2016
Ho Ho Ho
Topic: Pretty Paper

Well this is a mish-mash of elements!

The base paper came with the green, the wavy border and the leaping deer. I added the red be-ribboned strip.

I found the red ornament tag on a sheet of diecuts but it overlapped the deer. So I trimmed it skinnier and added some red twine before attaching it.


The black Ho Ho Ho is a rubon sentiment.

Ddd


Posted by studio3d@ccgmail.net at 12:01 AM PST
Thursday, 31 December 2015
15 Favorites of 2015
Topic: Multi-Technique

This year, for the year-end wrapup, I decided to match the year with the number of projects to feature.

These are my favorite items I produced this year:

This is a display piece based on techniques taught by Tim Holtz in his 12 tags of 2015 series. This was the February project.


I had wanted to make a quilt of a bookcase for some time. I designed this one and constructed it using paper piecing. It is one of the banners I hang on the fireplace wall.


In March, I designed this quilt of cats in the window.


This was made in May from another of Tim Holtz's tag tutorials.


One of my favorite cards working from the OWH sketches.


This July creation came from the Tim Holtz tag tutorials.


This stamped card was going to be an entry for the fair but I ended up not entering anything.


A card using the September tutorial from Tim Holtz.


I love this duffel bag I made in September.


October's display piece made from Tim Holtz's tutorial.


A mystery quilt that ended up donated to the hospital.


Paper embroidery for a Christmas Card.


The November Tim Holtz tag tutorial turned into this.


A gift for friends based on a piece we saw in a shop window at the beach.


A watercolored Christmas card inspired by an online tutorial.

And that's it - 15 for '15.

Ddd


Posted by studio3d@ccgmail.net at 12:01 AM PST
Wednesday, 30 December 2015
Deck the Halls
Topic: Pretty Paper

Some 12 x 12 papers are not so great when cut into smaller pieces for card fronts. I had a hard time coming up with a way to use these glittery, snow-covered pine branches.

I finally settled on a green band and drew a 'wire' to hang some shiny ornament stickers from.

Then I stamped a greeting at the bottom.


The camera has disguised the fact that those shiny ornament stickers are the sxact same color as the shimmery base card.

Ddd


Posted by studio3d@ccgmail.net at 12:01 AM PST
Tuesday, 29 December 2015
Halvsies
Topic: Pretty Paper

The cards today are appearing together because they are both from parts of the same page. Though you would hardly know it from the elements that appear on them.

The first had a twig with swirls and little pinecones. I added a vellum sticker of mistletoe as well as layered paper strips down the left side.

Three clear text stickers finish it off.


The other end of the paper had three poinsettias on it (you can tell it is the same piece because of the bit of the twig and pinecones on the right).

I distressed the edges and added a strip printed with red snowflakes. Then I added some vinyl poinsettia stickers over those on the paper to add some dimension.

A silver peel-off sticker provides the greeting.

Ddd


Posted by studio3d@ccgmail.net at 12:01 AM PST
Monday, 28 December 2015
Seasonal Swirl
Topic: Pretty Paper

This beautifully printed paper was layered with a green  band and a piece from the tags and journaling blocks sheet.

It left a glaring blank space on the right so I filled that with a vinyl text sticker.


All the pieces were distressed with ink before assembly.

Ddd


Posted by studio3d@ccgmail.net at 12:01 AM PST
Sunday, 27 December 2015
Purely Beautiful
Topic: Pretty Paper

My mom and I enjoyed seeing all the varieties of poinsettias in the stores this year. Her favorite was the pink with red around the outer edges of the petals. Mine was the white with pink streaks in the centers. We also saw about 5 shades of red from burgundy to fire-engine red, plus pinks and whites. The most awful was a dull light orange that make it look like the plant was half dead.

Anyway, what reminded me of this was this printed paper with a white poinsettia in the corner. I used a craft knife to slice along the top edge of the bloom so I could tuck in two strips of paper with vintage ornaments.


I distressed the edges to carry on the vintage feel and stamped the sentiment.

Ddd


Posted by studio3d@ccgmail.net at 12:01 AM PST
Saturday, 26 December 2015
But Wait! There's More!
Topic: Pretty Paper

I couldn't squeeze all the Christmas cards in before the holiday so I've got to keep going for a few more days. I don't want to have to save them till NEXT Christmas.

This snowflake background is oh so sparkly with glitter on about half of the flakes.

I added a strip of reindeer print and used several vinyl holly stickers to decorate it.


A stamped sentiment on top of the strip is the finishing touch.

Ddd


Posted by studio3d@ccgmail.net at 12:01 AM PST
Friday, 25 December 2015
Festive Foliage
Topic: Pretty Paper

MERRY CHRISTMAS!

The foliage on this card was looking pretty elegant so I tried to find other elements that would reinforce that.

First I selected a gold embossed strip and then chose a round piece from the tags and journaling blocks page. I punched this with my big round punch.

It needed a bit more so I found a round sticker with three candles and applied that to the center of the circle.

Having the sentiment stamped into the foliage keeps it low key.

Ddd


Posted by studio3d@ccgmail.net at 12:01 AM PST
Thursday, 24 December 2015
An Old Friend
Topic: Pretty Paper

You may start to recognize papers and elements that look familiar even though they are a bit different. These would be papers that were originally in 12 x 12 pads and cut apart but there were also coordinating papers that carried some of the same elements.

That is certainly the case with this background. The plaid is repeated in other cards in their accents. This background is all one piece... the plaid, its green border, the brown and the XXX stitching.

What is NOT on the background is the tag (which contains the poinsettia) and the greeting (which is a separate sticker).

The tag has been bordered with cream cardstock to set it off from the background.

Ddd


Posted by studio3d@ccgmail.net at 12:01 AM PST
Wednesday, 23 December 2015
Snowflake Upon Snowflake
Topic: Pretty Paper

I found lots of flakes stick together so I combined a brown snowflake paper with a strip of odd little snowment and overlaid that with vellum having gold snowflakes embossed onto it.

I used a rub-on sentiment that stays with the snow theme.


When I discovered the main piece was too narrow for the card base, I just embraced the idea of having only side borders.

Ddd


Posted by studio3d@ccgmail.net at 12:01 AM PST
Tuesday, 22 December 2015
Flakey Blue
Topic: Pretty Paper

I had two very different blue papers with snowflakes on them. Totally different treatments, too.

For the first (which has music in the background) I added a strip of dark red with a tone on tone holly print. I had a vellum sticker with holly and pinecones so that became the accent piece. I used a stamp for the sentiment.


This second paper has swirls in the background. I found the text sticker in my stash and added the green strip below as an accent. It was a bit plain so I added a sticker with a nativity on it.


The stars and swirl are gold peel-off stickers.

Ddd


Posted by studio3d@ccgmail.net at 12:01 AM PST
Monday, 21 December 2015
Ribbon Plaid
Topic: Pretty Paper

I think the paper I used for today's card looks like old-fashioned gift wrapping.

I added a distressed plaid strip to break up all theat expanse of red.

The circle element (from the big page of tags and journal cards) was larger than this but I wanted to use my large round punch and this was the size it cuts.


I used a clear acrylic sticker for the sentiment.

Ddd


Posted by studio3d@ccgmail.net at 12:01 AM PST
Sunday, 20 December 2015
Blue Print
Topic: Pretty Paper

A couple of the prints I found in my bin of papers were retro in pastel blue and pink. They were hard to accent because the prints are so busy.

For this first one I added a contrasting strip of paper through the middle and 'hung' a two-layer vinyl wreath sticker on it. I distressed the edges of the papers to separate the layers.


The second print was less busy so I placed the contrasting strip off in the margin and placed the wreath sticker (with text inside) in the middle of the patterned portion.

You can see the distressing on the edges of these papers as well.

Ddd


Posted by studio3d@ccgmail.net at 12:01 AM PST

Newer | Latest | Older