Topic: In the studio
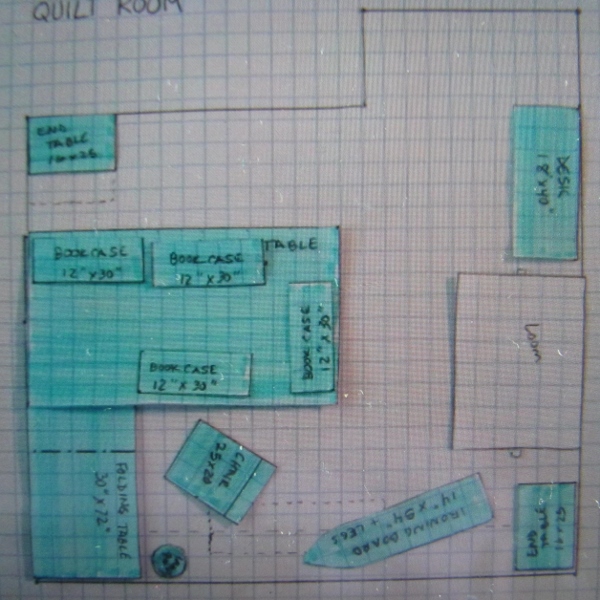
Today I thought I’d show the final result of rearranging my sewing studio and adding a piece of furniture to it. My room is a former bedroom which measures 13' x 13' including a 'largish' closet.
Having come in the door, on the left is a rolling wooden cabinet with extensions on each end. On top is the Accuquilt machine (fabric cutter) which would be opened up for use.
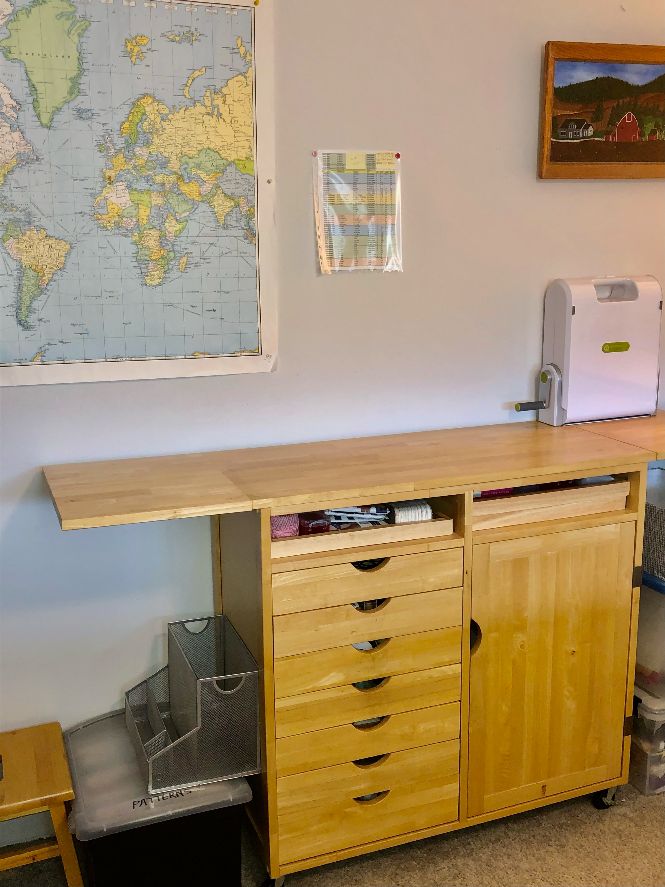
Inside the drawers on the left are thread, sewing trims, zippers, other notions.
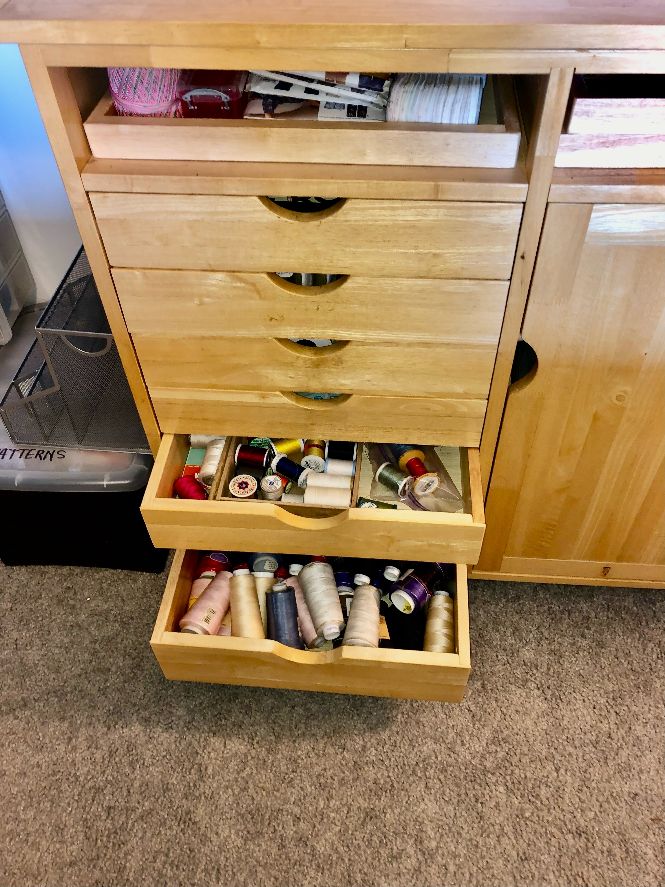
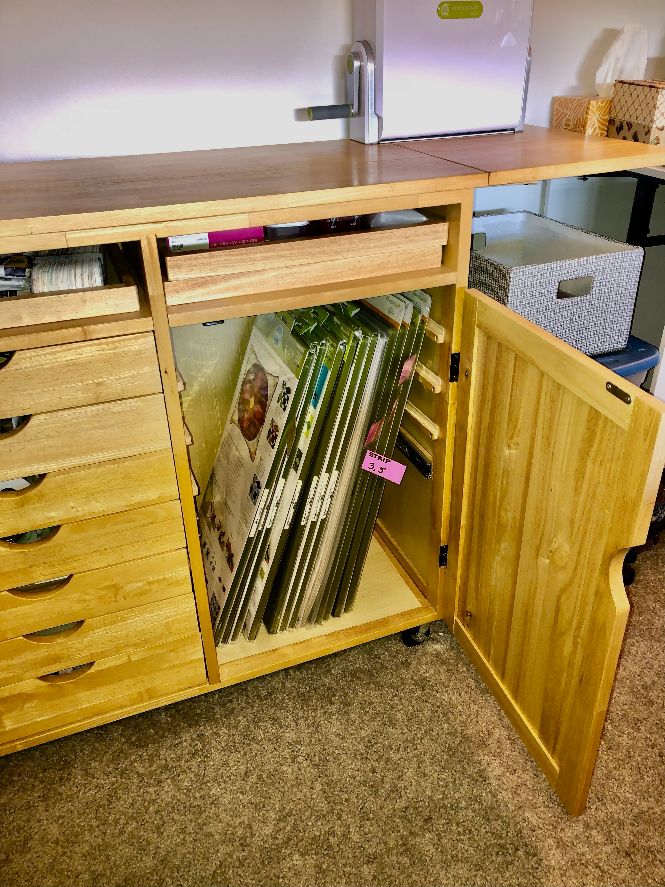
In the cupboard on the right are the tall dies for the Accuquilt (to cut strips, to cut setting triangles for on-point blocks, and one that cuts all the pieces of a complicated block). They all have ‘tabs’ to make pulling the right one easier.
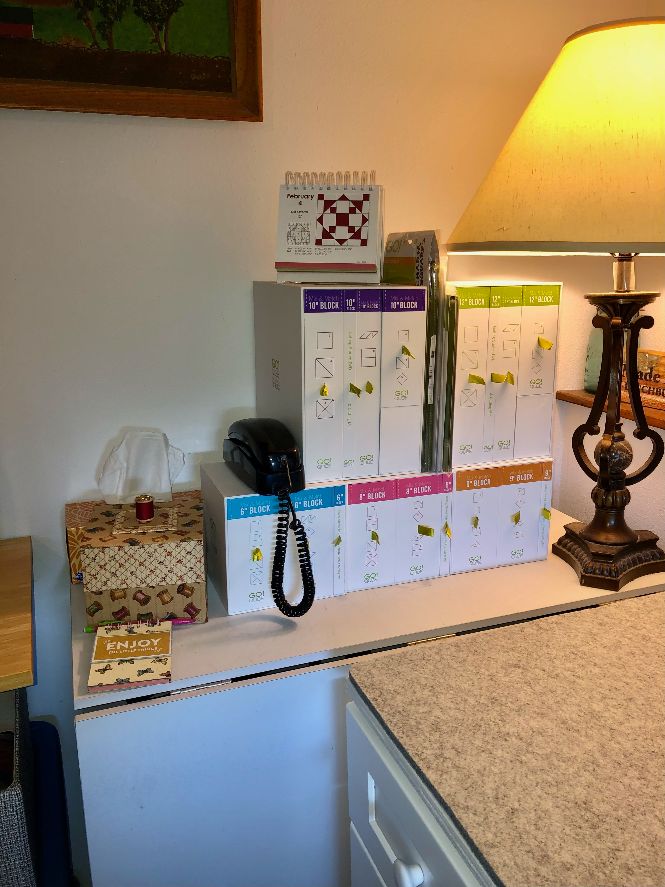
Next along the same wall is a folding table that fits right into the corner. On top of it are the sets of cutting dies for the Accuquilt. I have them for 6”, 8”, 9”, 10” and 12” blocks.
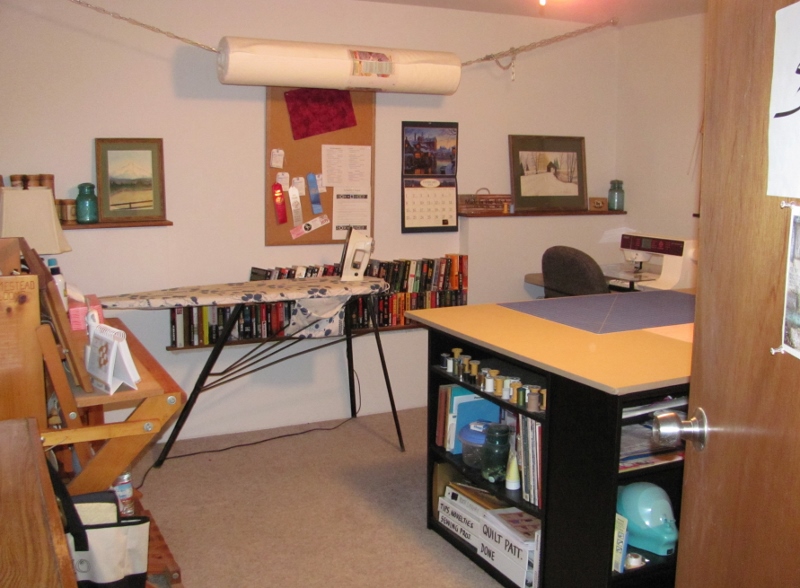
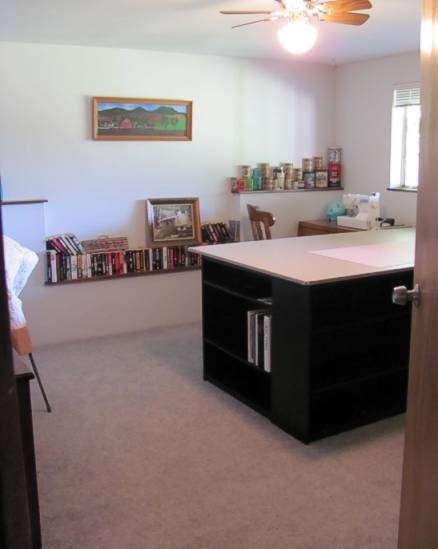
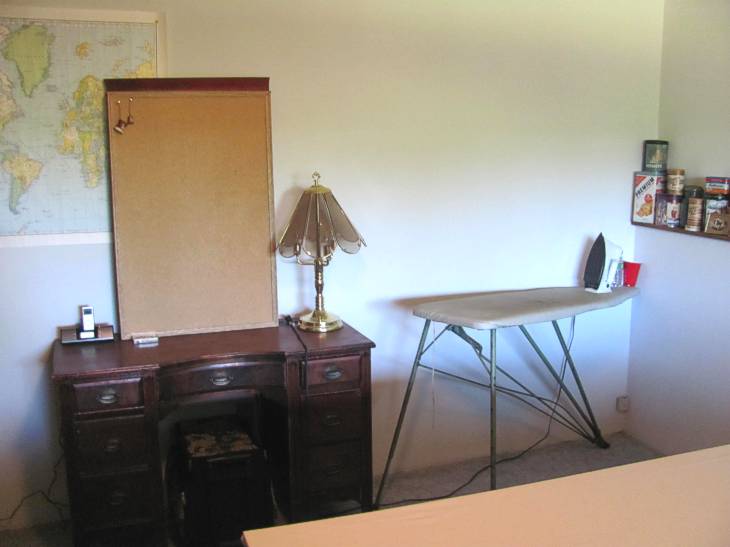
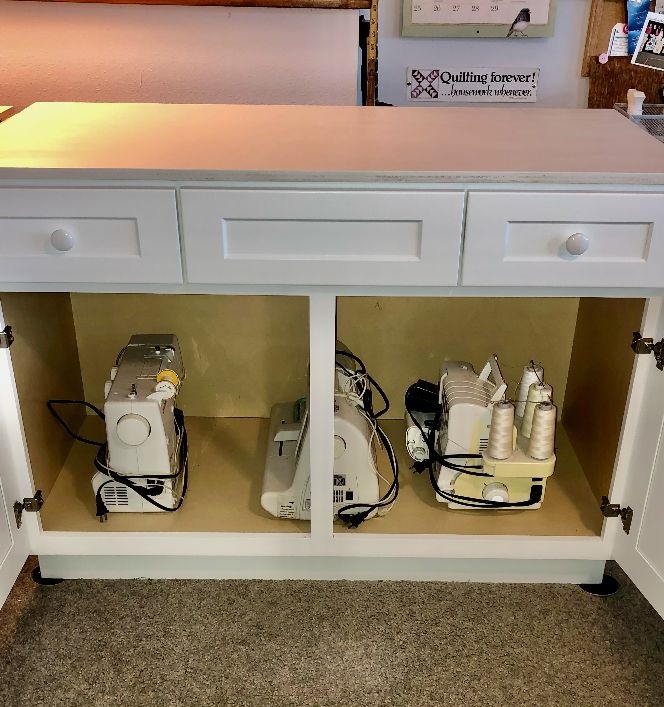
Turning the corner, sitting straight ahead when you walk in the door, is the new cabinet that we ordered from Home Depot and built for the space. It is set up to be used as an ironing station which will accommodate yardage, quilt tops, backings, etc. It is 22” x 48” and is topped with a layer of InsulBright (protects surface from heat) and a 1/2” thick wool pressing mat.
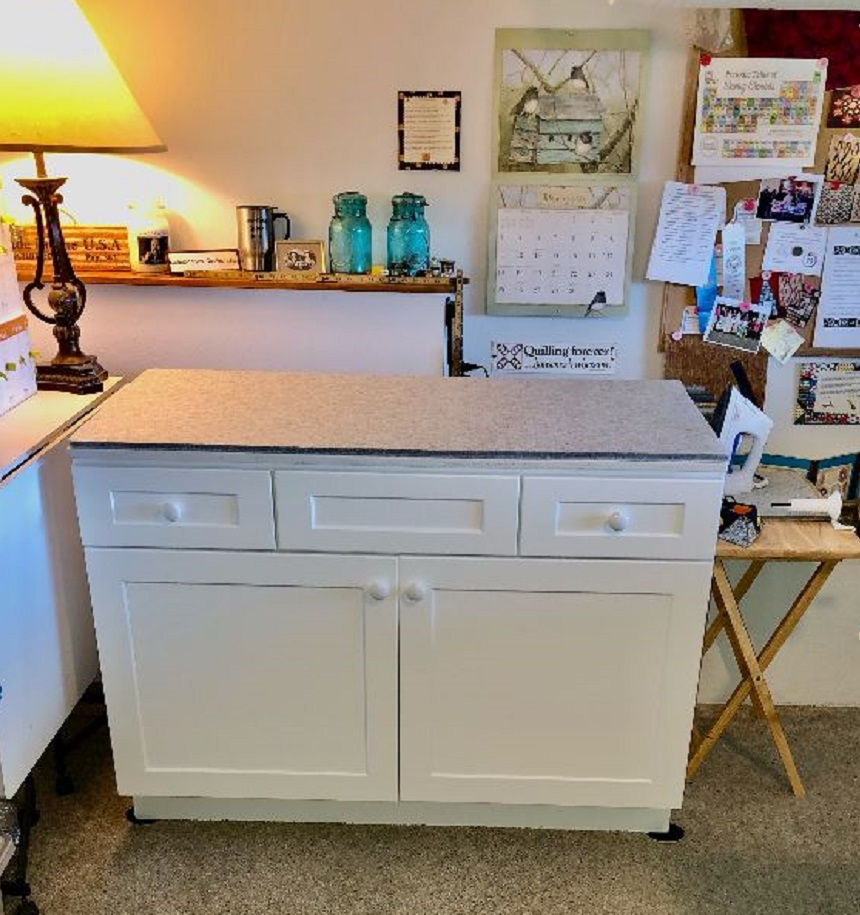
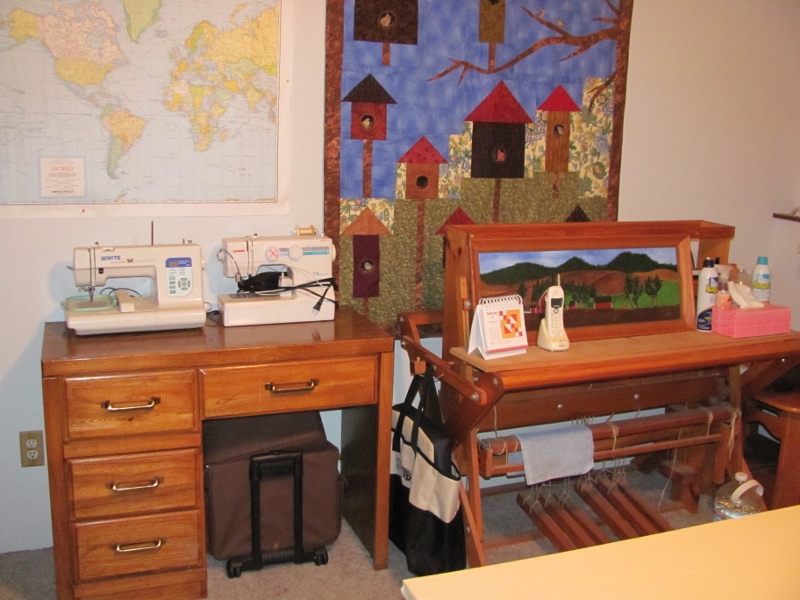
Inside the lower cupboards are stored my old sewing machine, an embroidery machine and the serger. In the drawers are supplies like press cloths, fusible, and other things I might need at the ironing board. The lamp on the left is in the same power strip as the iron as a reminder to turn both off when leaving the room.
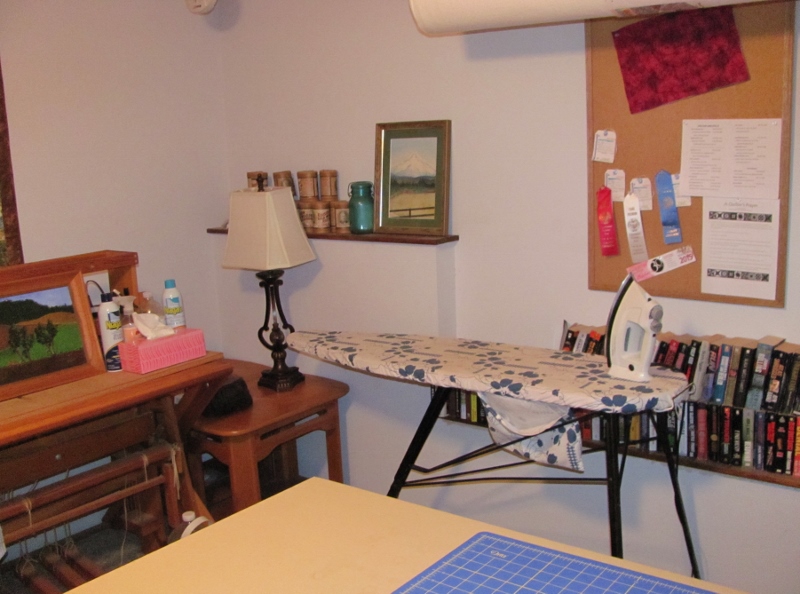
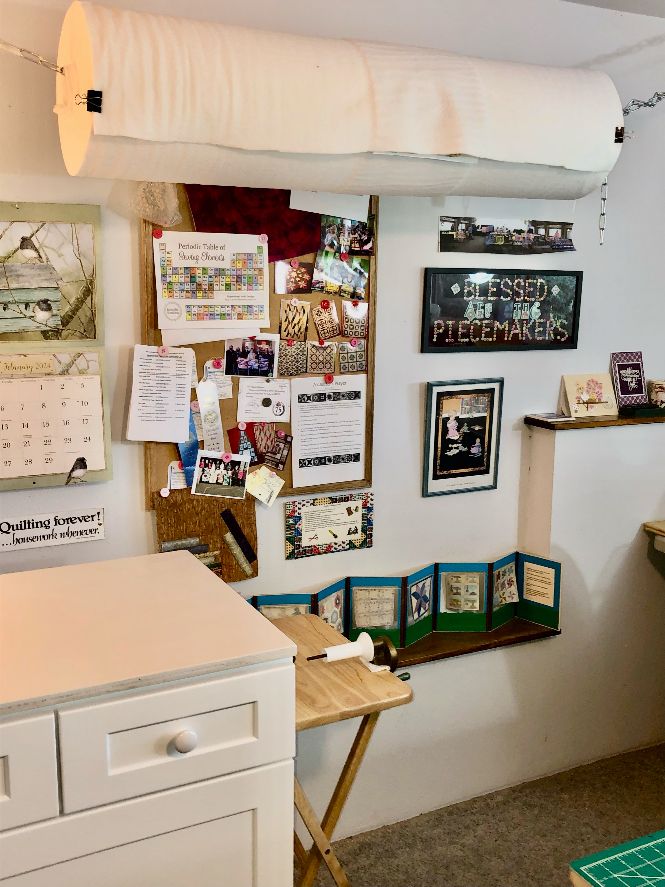
To the right of this new station is a folding tray where the iron 'lives' along with a small thread catcher and a winder for strips and bindings. Above it, a chain allows for a roll of batting to be mounted from the ceiling. I am short enough to walk under it.
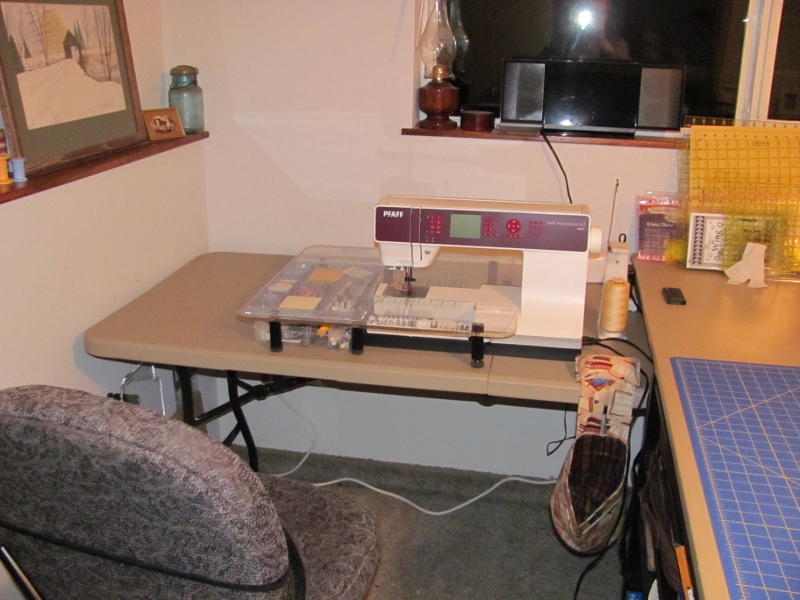
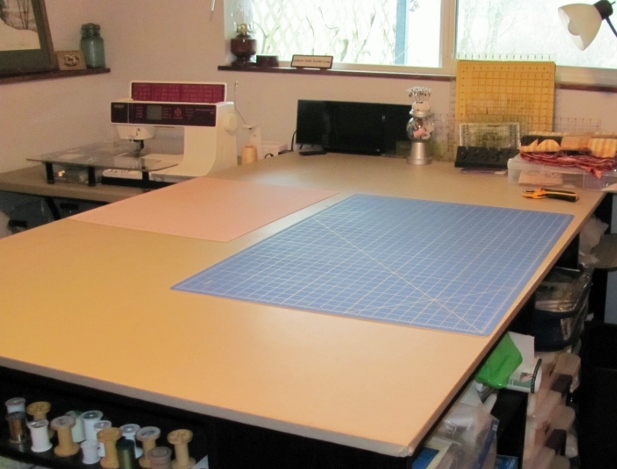
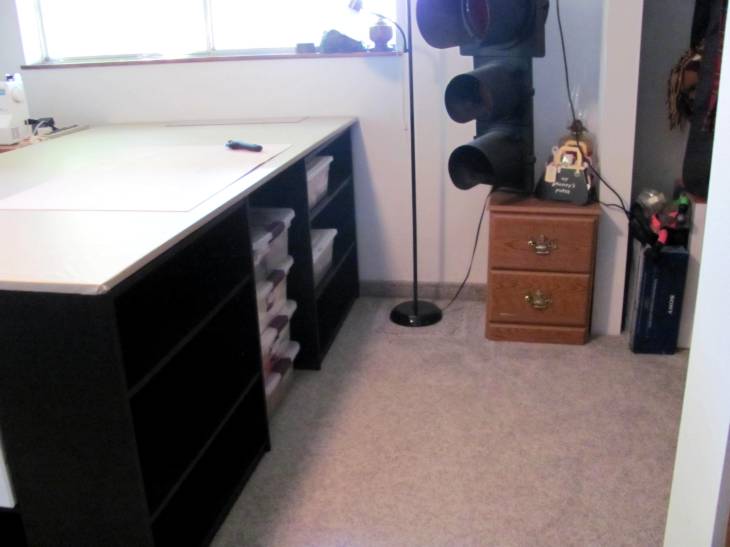
Further to the right, under the window, is the sewing station. My machine lives here with a clear extension table for a larger workspace.
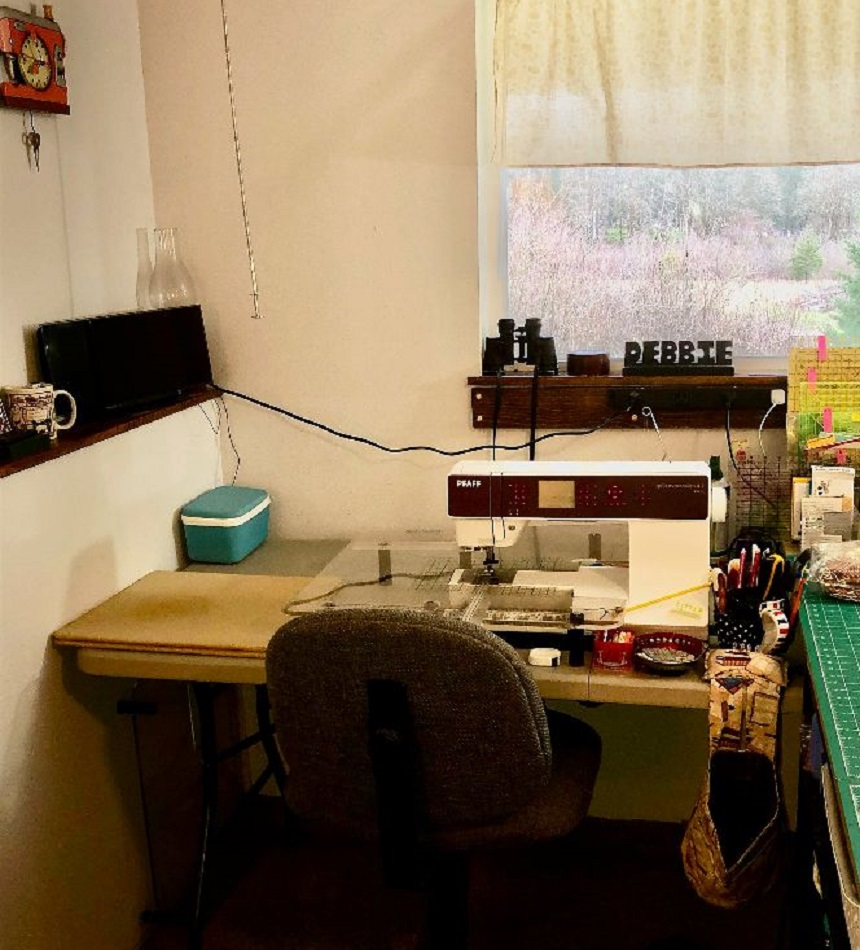
We added a 4’ power strip with 12 plugs mounted under the windowsill. This allows for a stereo, mini-iron, computer, iPhone, sewing machine and lights to enhance my space.
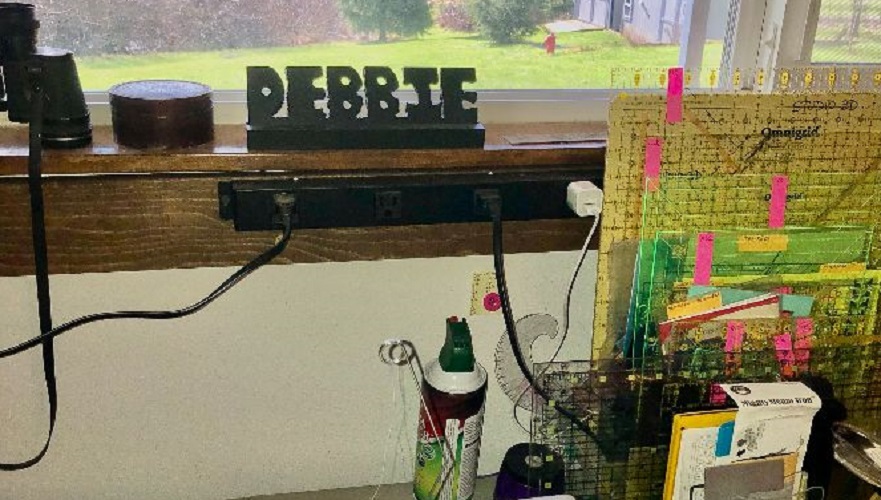
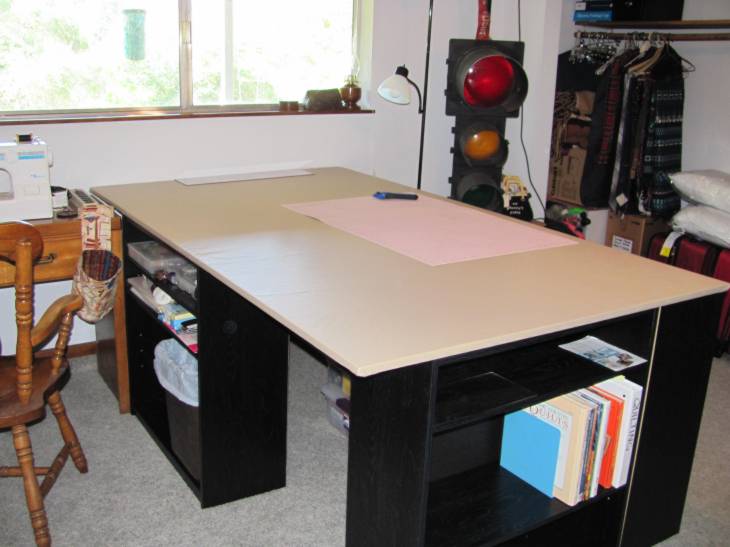
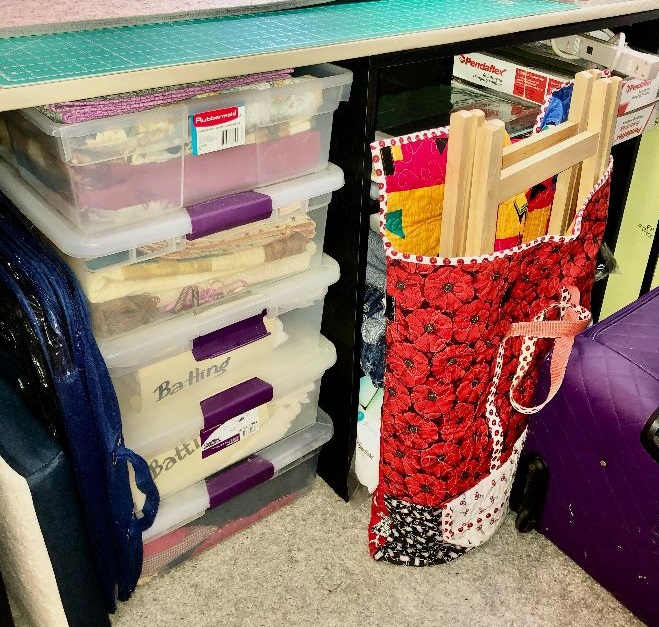
The cutting tablesits against the window and extends into the middle of the room. It is 6’ x 4’ and has two 36” x 48” cutting mats on top. At the back are racks of rulers, and bins with 'kits' of projects I have cut out.
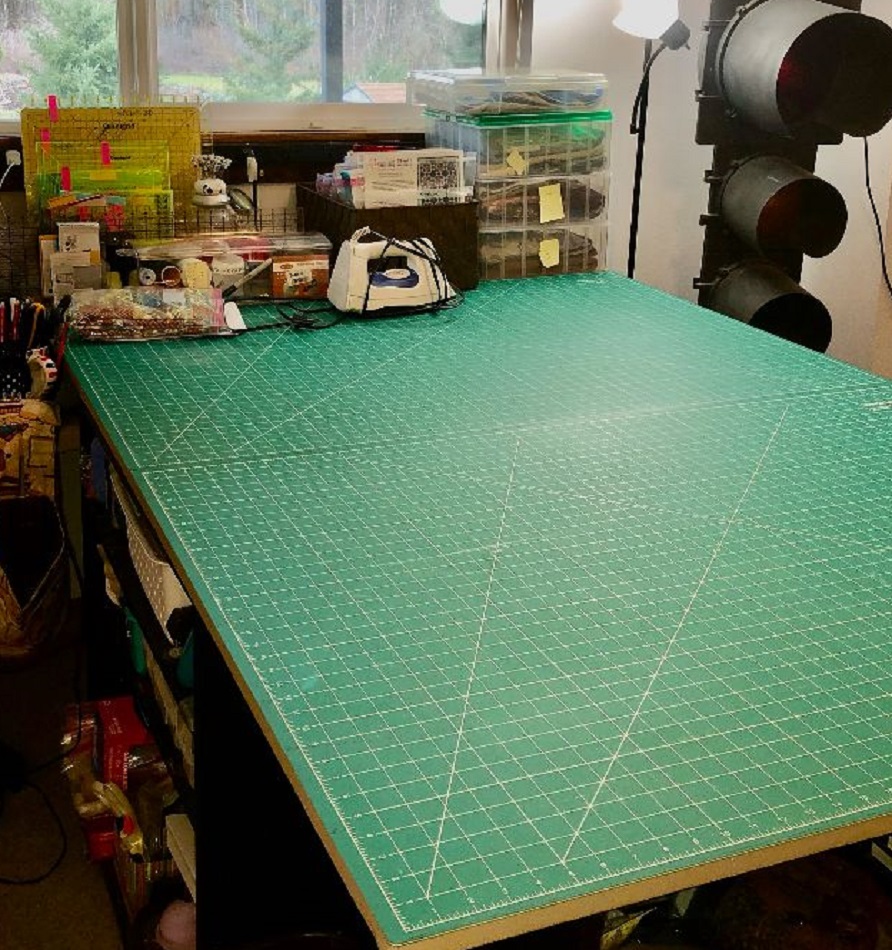
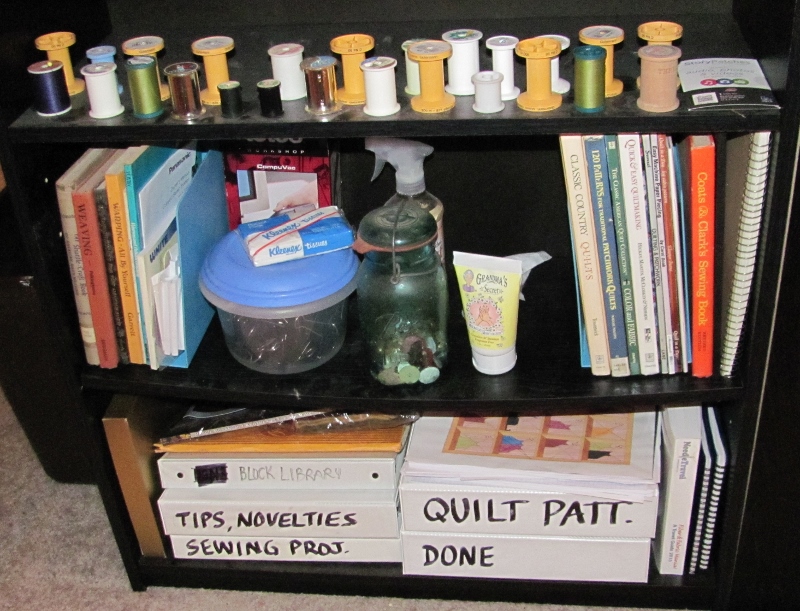
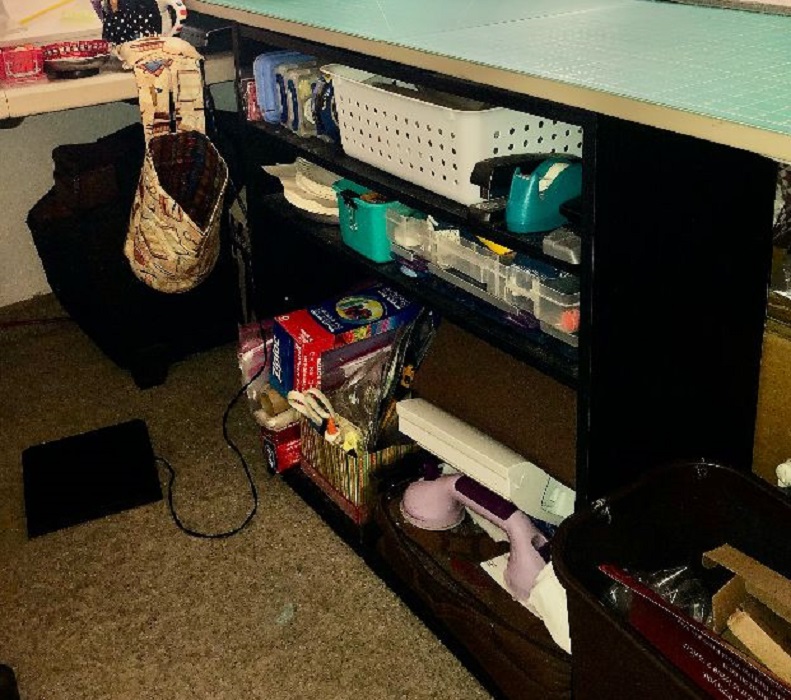
The table is held up by 4 Walmart bookcases. These contain tools and notions that need to be immediately at hand.
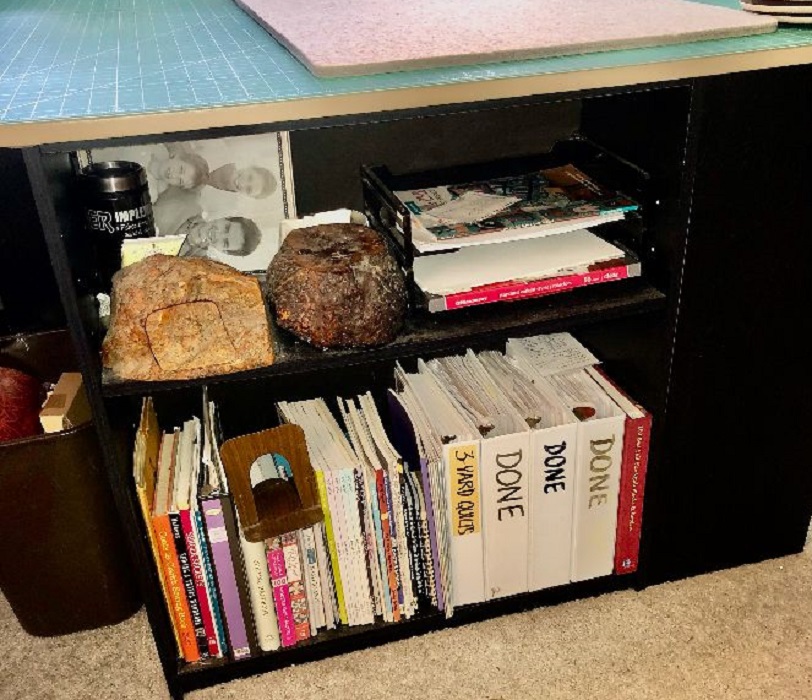
The end one contains books and binders with a record of all the quilts I've made.
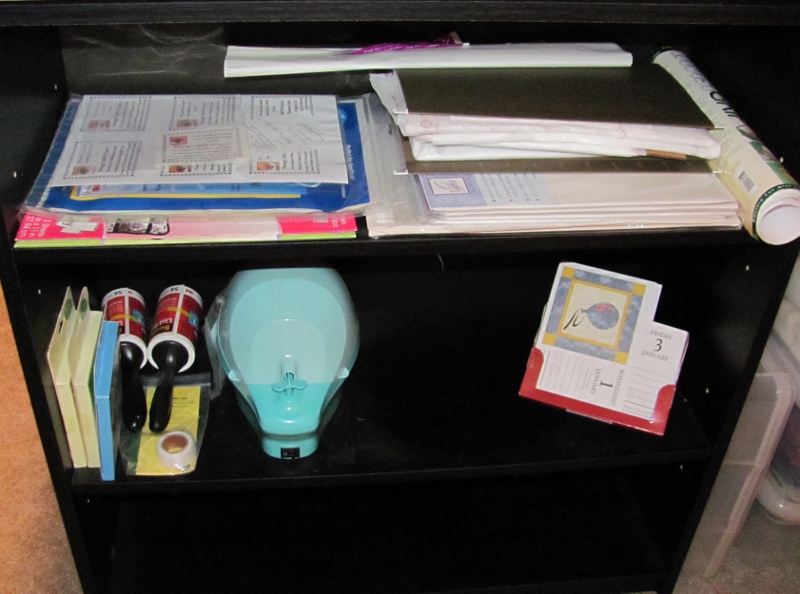
The third side has fusibles, printables, and other 'assembly' materials.
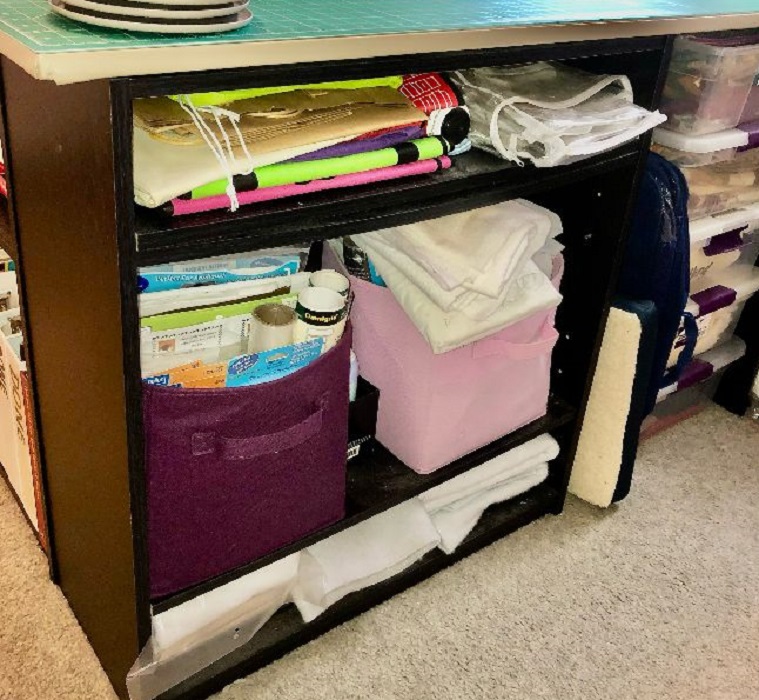
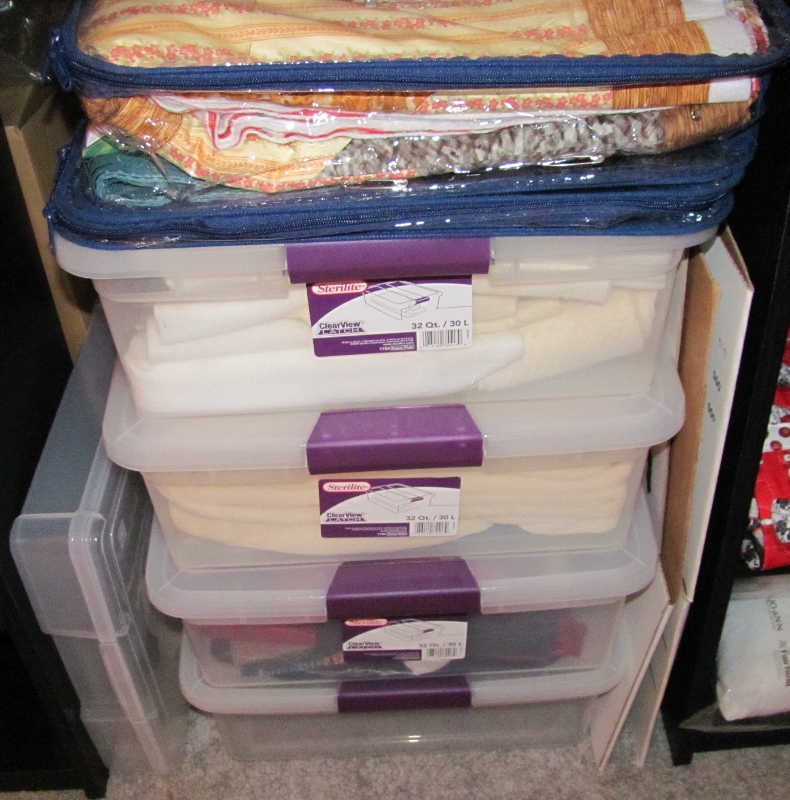
There is a space for some storage bins underneath one side.
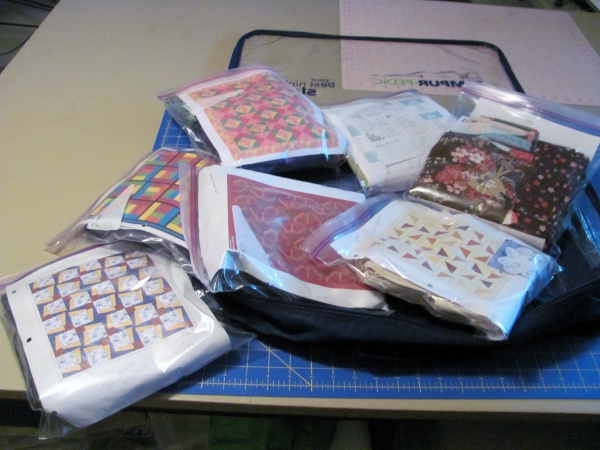
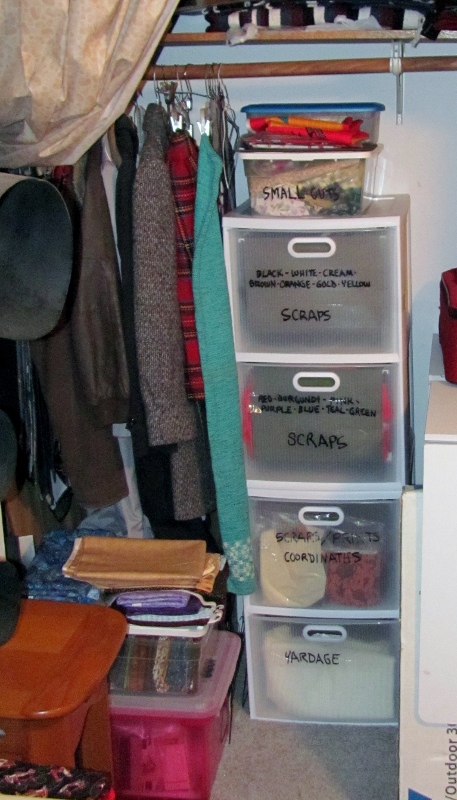
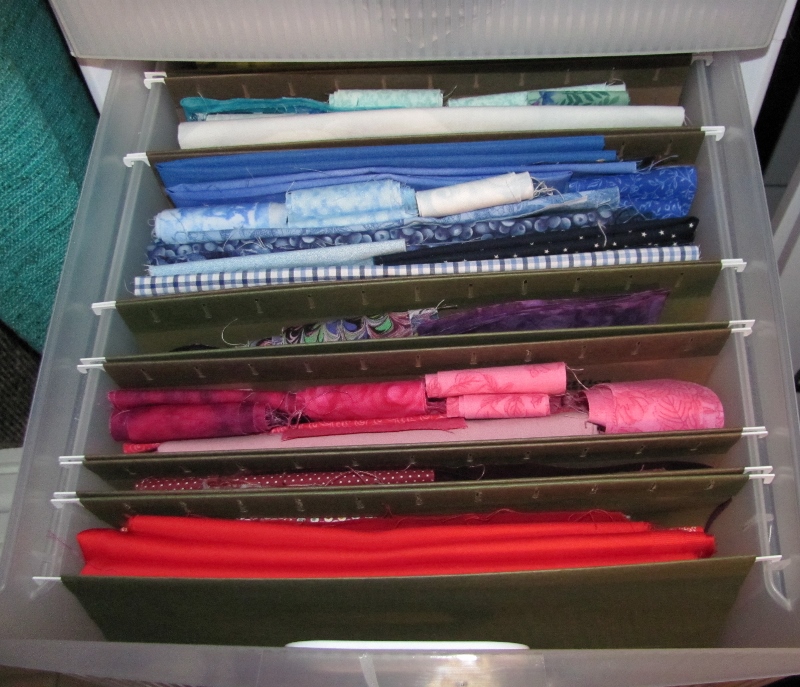
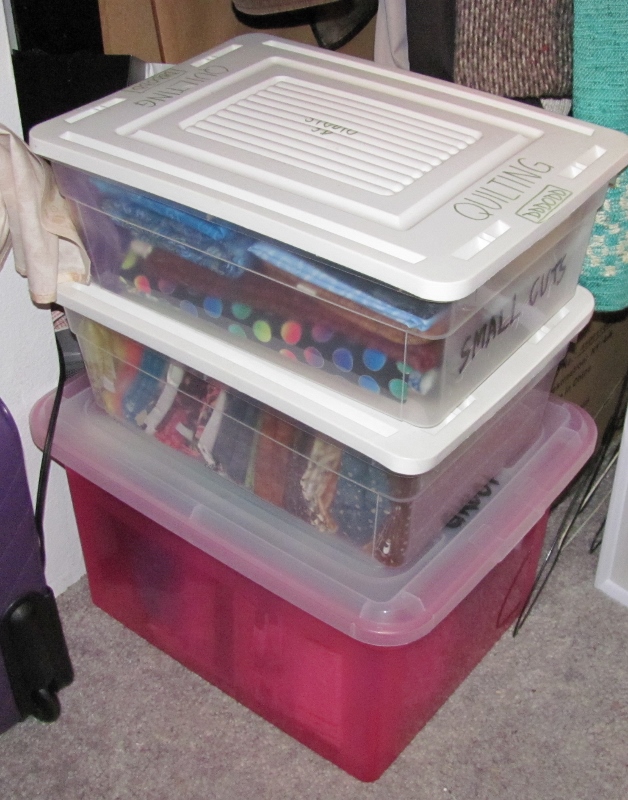
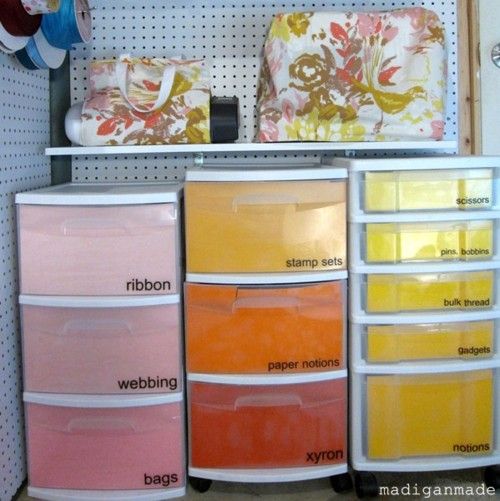
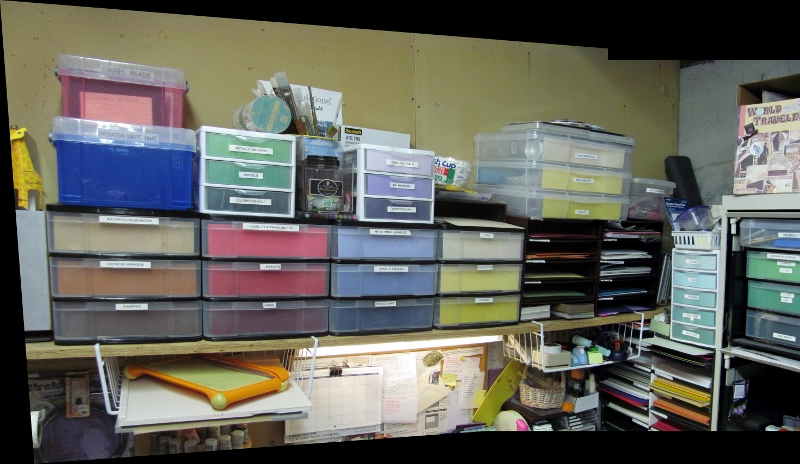
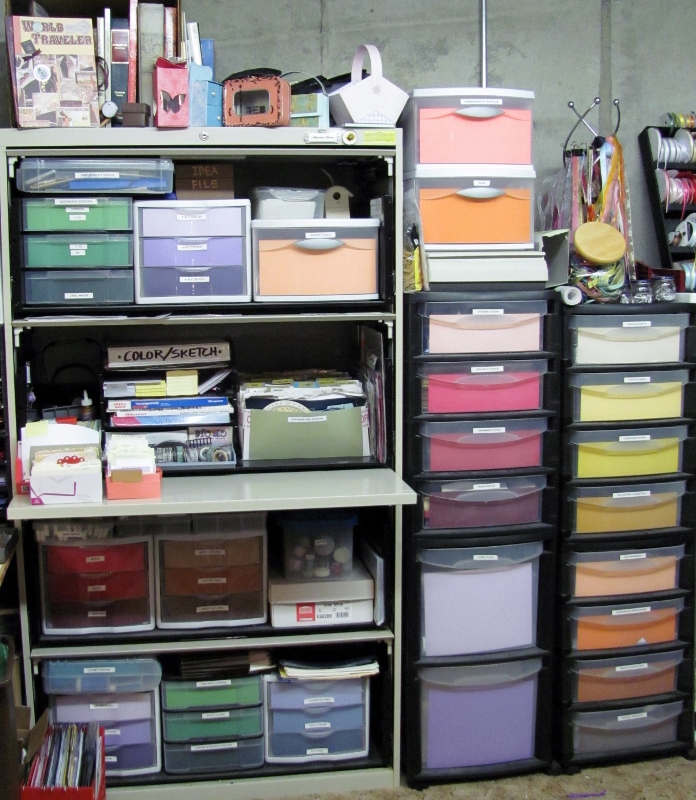
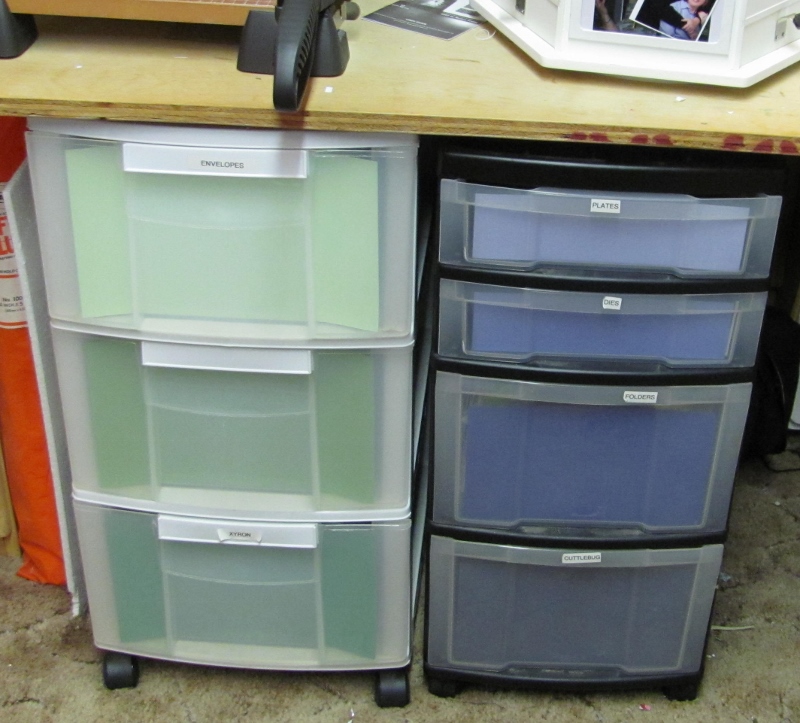
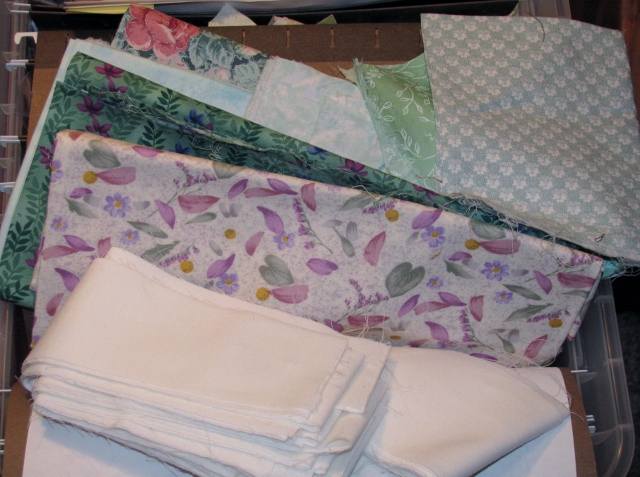
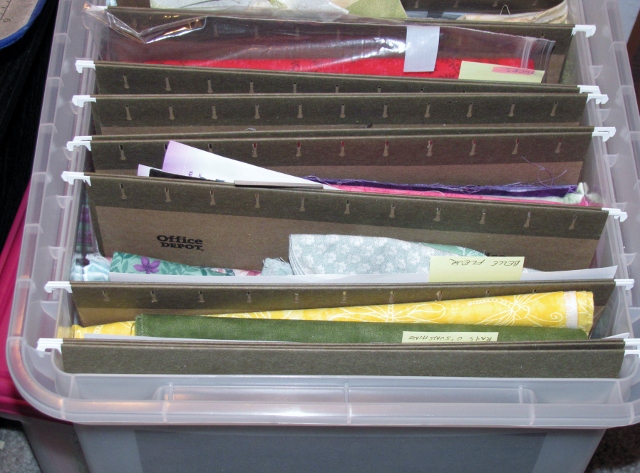
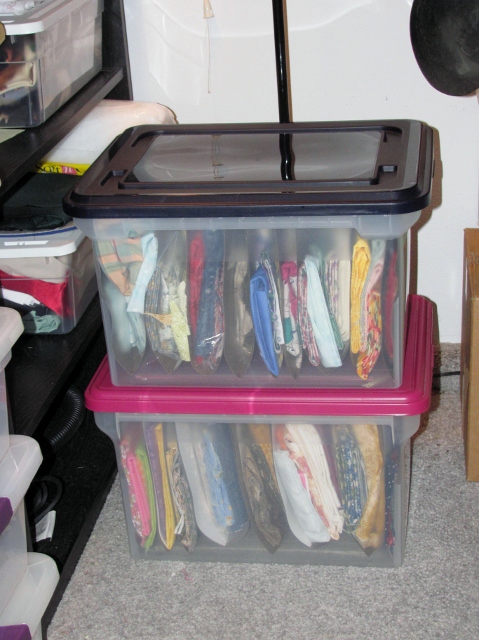
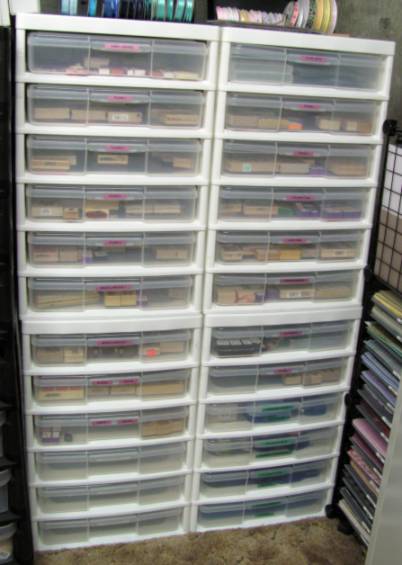
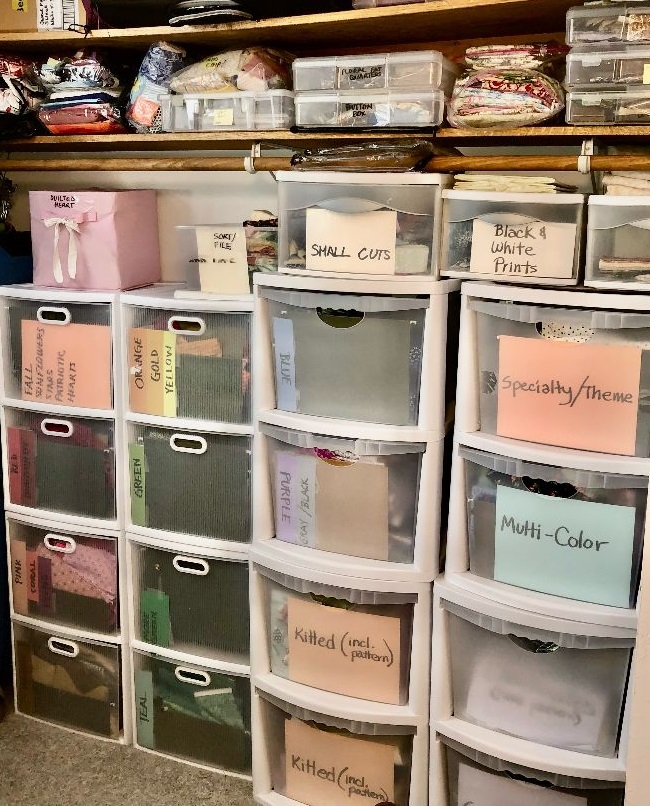
Facing this is the closet which contains multiple ‘iris carts’ with the wheels off. This is fabric storage, sorted by color. The far right section is for ‘themes’ and the containers on top are for projects.
And there you have it! I am delighted with how it all came together - all with the addition of one cabinet and a power strip.
Ddd
Posted by studio3d@ccgmail.net
at 4:29 PM PST