Topic: A - Z challenge 5
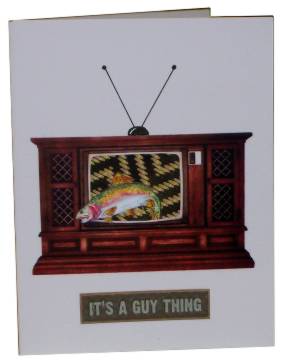
You got it - it's a TV (Zenith brand of course.) I printed the graphic, cut out the screen and inserted some 'static' patterned paper behind. The fish jumping out of the screen is a rub-on. Text is a sticker.
| « | July 2024 | » | ||||
| S | M | T | W | T | F | S |
| 1 | 2 | 3 | 4 | 5 | 6 | |
| 7 | 8 | 9 | 10 | 11 | 12 | 13 |
| 14 | 15 | 16 | 17 | 18 | 19 | 20 |
| 21 | 22 | 23 | 24 | 25 | 26 | 27 |
| 28 | 29 | 30 | 31 | |||
You got it - it's a TV (Zenith brand of course.) I printed the graphic, cut out the screen and inserted some 'static' patterned paper behind. The fish jumping out of the screen is a rub-on. Text is a sticker.

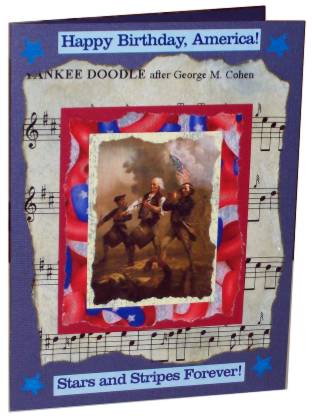
Three elements come together to make up this themed card: The song Yankee Doodle, A graphic of Yankee Noodles, and The fife and drum corp playing Yankee Doodle.
Yep, it's paper! The keys are cut of cardstock, holes punched, they are rounded over a dowel, then brads inserted for decoration. I used silicone glue to align the keys on two pieces of woodgrain cardstock. Finally, the whole is mounted on card covered with patterned scrapbook paper.
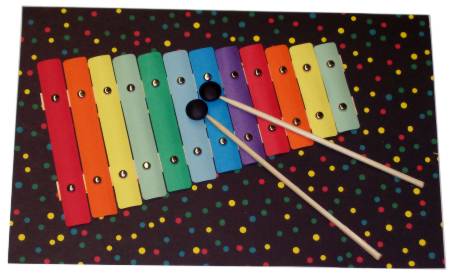
The hammers are created with bamboo skewers and buttons with the shanks clipped off, both glued with silicone.
I created this faux file folder and decorated it with office supples including a label. Then I mixed up some walnut ink and used my mug to create coffee rings.
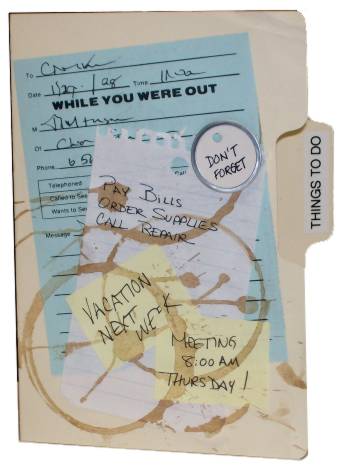
Inside has another piece of lined paper with a paper clip on the corner and another coffee ring. When the card is to be sent I will add an appropriate message on the lined paper inside.
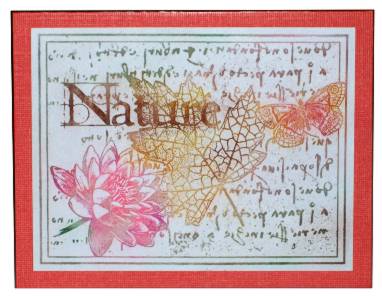
I stamped on white cardstock with Versamark and then applied chalks a little bit at a time then burnished it in, also with my finger.
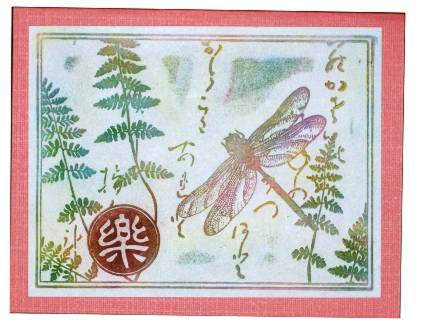
I made two - while I had all the supplies out anyway.
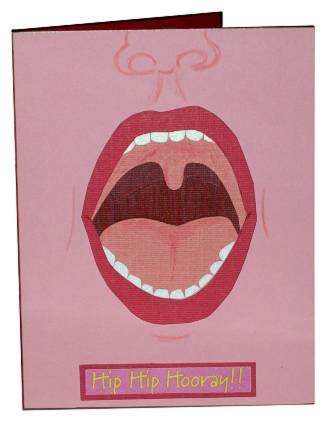
OK, I admit it. This was NOT one of my ideas when brainstorming the categories for this challenge. DH always shouts out 'UVULA' when anybody asks for a word that starts with 'U'. He just thinks it sounds funny.
So this word made it to the list and I pushed it back till I couldn't avoid it any longer. LOL!
For those NOT in the know, the uvula is that little fleshy thing that hangs down in the back of your throat - and the star of this card.
Thanks to my mom I had these 4-inch ceramic tiles in my supply closet. I stamped with my handcarved hummingbird and added three partial impressions of a flower all in Staz-On.
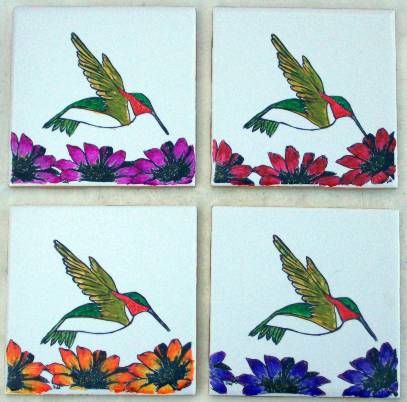
I used three shades of Sharpie for each flower and Sharpies for the bird, blending as needed to get the right coloring.
Each tile is painted gold on the sides, using a Krylon leafing pen. Then the tiles are sprayed with two coats of acrylic sealer.
The last step was to glue foam dots to the bottom so they will not scratch the furniture when they are used as coasters.
Slits cut in a pattern allow ribbon to be woven into a shape. It was too difficult to continue on with a whole border as planned so I cut this strip and mounted it alone with another ribbon embellishment. Coordinating cardstocks double-mount it.
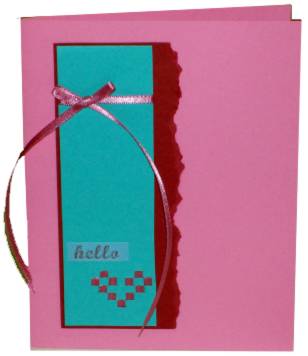
Once again, a sticker furnishes the text.
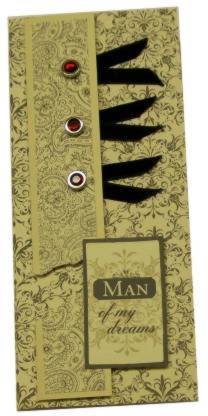
This is made from the same kit of papers as yesterday's quilt card. I used velvet ribbon to make these little 'flags' and mounted them under a matted strip of paper. The rhinestone brads are for show as they do not actually anchor the ribbon.
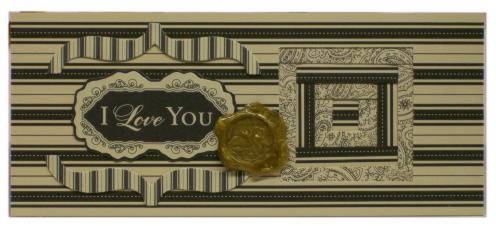
This type of quilt is made with paper by mounting strips behind a square aperture. It looks like a little quilt block.
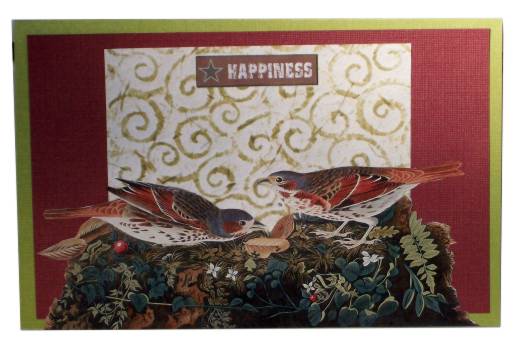
This piece of handmade paper was run through the Cuttlebug and the raised areas were rubbed with a distressing ink pad. The resulting colors went so well with this calendar illustration that I trimmed it up and simply added frames in complementary colors and a text sticker.
I've always thought of onyx as being a black stone but, when I researched it online, I found that it comes in many colors more commonly than black and they often are banded or resemble marble.
I followed the look of one illustration I found and duplicated the stone using alcohol inks and blending solution on a non-stick mat, smooshing glossy cardstock onto it and drying with a heat tool.
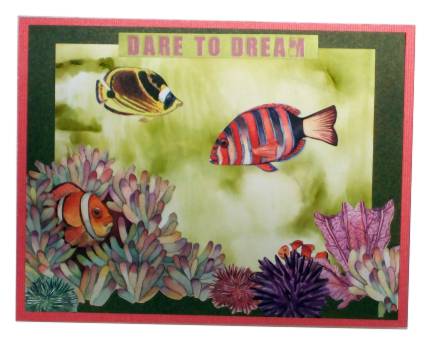
This piece of the finished background looked like water so I added stickers and mounted it to create this underwater scene.
Though not as obvious from the photo the colors in the picture I used are really eye-popping, neon, bright orange and yellow. It was simple to trim the illustration, mount on cardstock, add some stickers and an eyelet with ribbon.

Hmmm, sometimes I think I should figure out how well something will photograph before I get all the way done with it! LOL!
I designed this bookmark on the theme "Time to Read" and used a grandfather clock for the illustration.

Some themes are just easier than others! I started this with the text sticker, pulled out a calendar illustration and then seatched my stash for scrapbook papers to match.
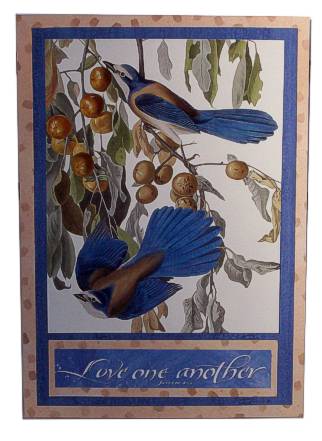
Done in a flash.
The utinsils on this Swiss Army Knife are mounted to the backing with brads so they rotate. Then the knife body is set over them on foam tape to allow the swivel in and out. I used an actual photograph for the pattern, silver cardstock for the blades, red glossy card for the knife and white Sharpie paint pen for the markings.
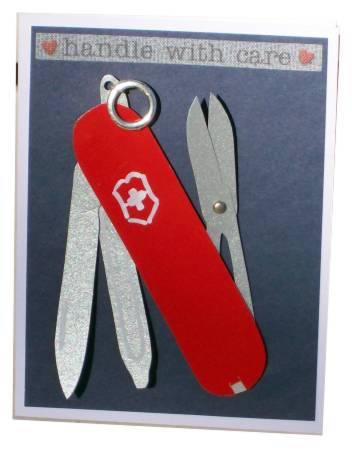
The text is a fabric sticker.
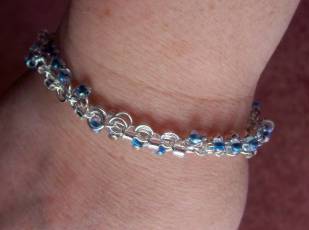
I used a package of jumprings and two different beads to create this bracelet for myself. I've never done anything remotely like this and I really like the result.
For this digital collage I chose three elements that are American icons: The flag, the eagle, and the constitution I used PhotoPaint for editing.
![]()
These will be used as cards for servicemen for Independence Day.
The hands of this ballerina are my theme focus. This is a 3D element where each framed area is another layer. The hands were the most difficult to cut out!
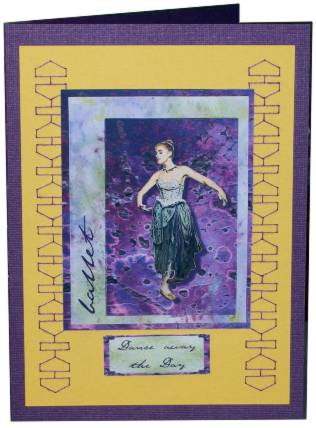
In actuallity, this card was orriginally designed around the stitched border as an assignment for a swap. I designed the border and stitched it in purple on yellow and then went looking for a center piece for it.
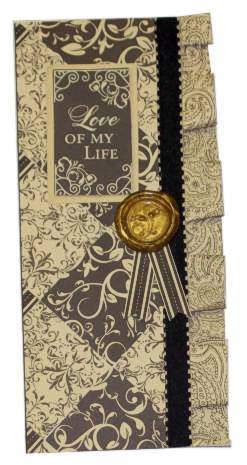
A kit I worked on recently had gold hot glue and rubber stamps to make faux wax seals. I did mine on a craft sheet , melting the glue with a heat gun. When melted I pressed the stamp into the puddle and allowed it to cool. Then I peeled the stamp off and hit the glue quickly with the heat gun to bring up the shine.
Newer | Latest | Older