Room Re-Do
Topic: In the studio
Due to the need to have a lower surface for sewing I gave in and rearranged my quilt studio.
Several goals - move as little furniture as possible, overhead batting must remain accessible, all machines must be near the (scarce) outlets, need to close up the work triangle, don't lose access to the bookcases.
I measured and made a scale drawing of the room on graph paper. Then I did the same with all the pieces of furniture. I colored the furniture with highlighter and then cut them all out. I arranged the paper furniture in the paper room and took a photo with my phone. I repeated this about a dozen times and then I could scroll through them until I settled on one.
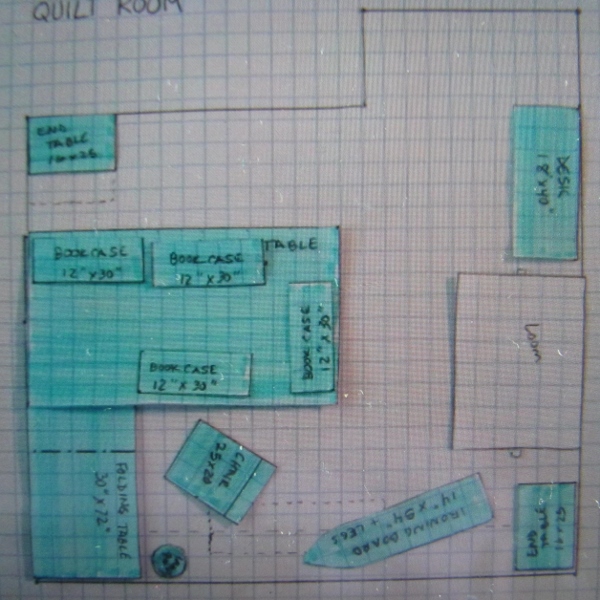
The plan I decided to use allowed me to leave the large cutting table with its support bookcases in place. YAY! But, alas, I wanted more seating room after I had done it this way and ended up moving the whole thing 8 inches.
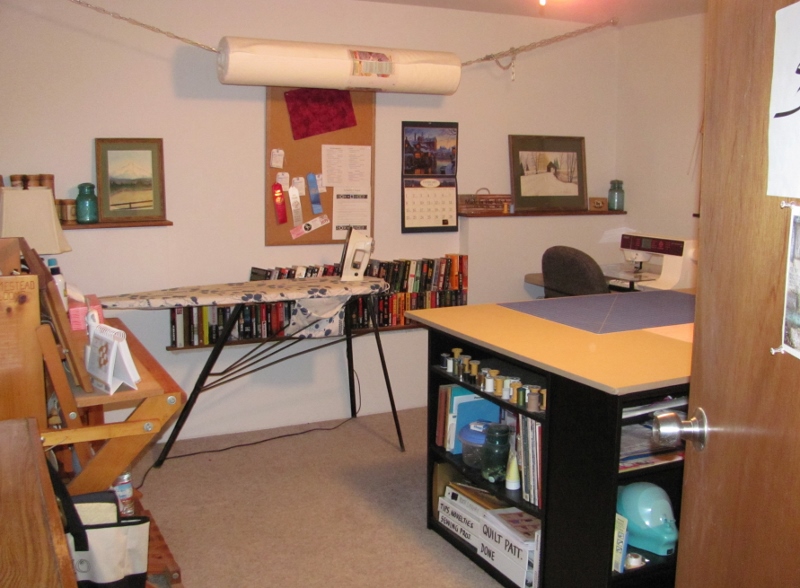
Here is the view from the door as you enter:
Once inside the room, along the left wall is a desk that houses an embroidery machine and my old Janome. If I want to use one of these it can be moved over to the work table. Next is my loom that I've had for over 40 years. It has not been used for about 30 years though. 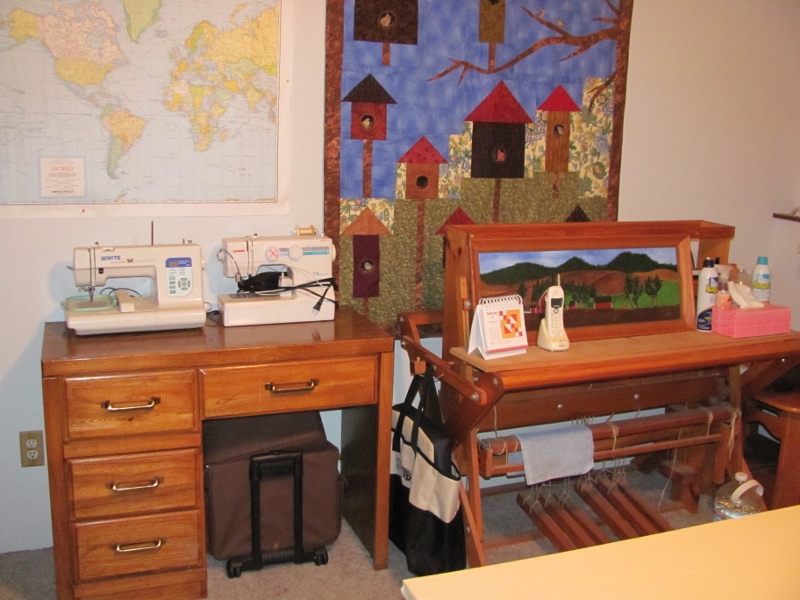
Back in the corner is a set of end tables with a lamp that illuminates the ironing board. Continuing around the corner to the right is the ironing board. You can just see the bottom edge of the batting roll mounted up next to the ceiling. 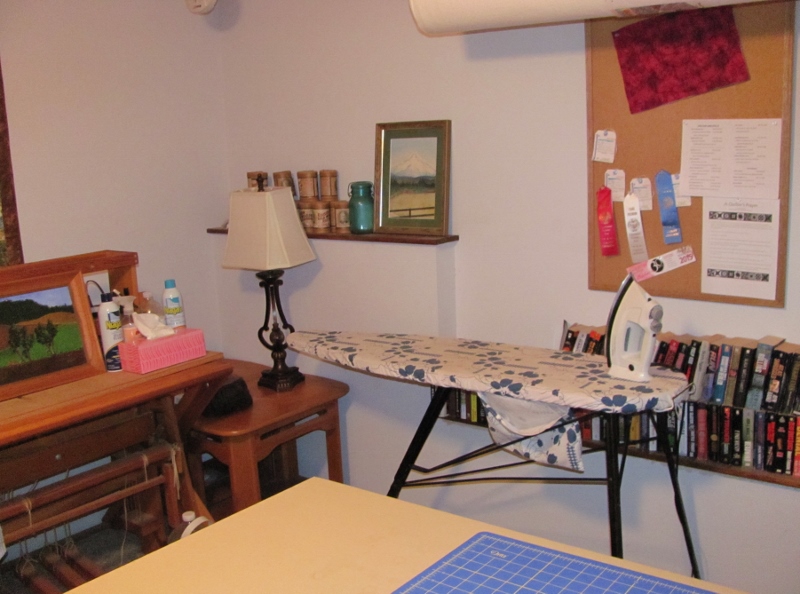
Continuing on to the right - in the other corner - is the new sewing station. It is a standard height table. 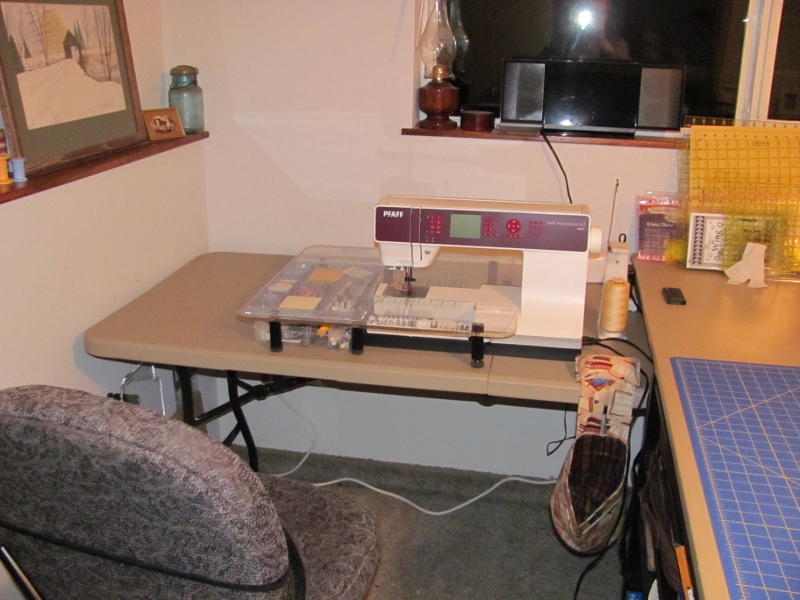
To the right of this is the cutting table. For this photo I moved back to the other side of it, which is the side I used to cut from. Now I cut from the same side as the sewing station which makes my work triangle (cut, sew, press) all together. 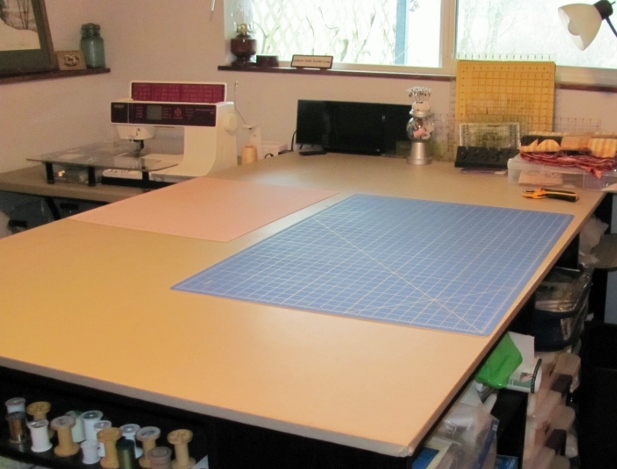
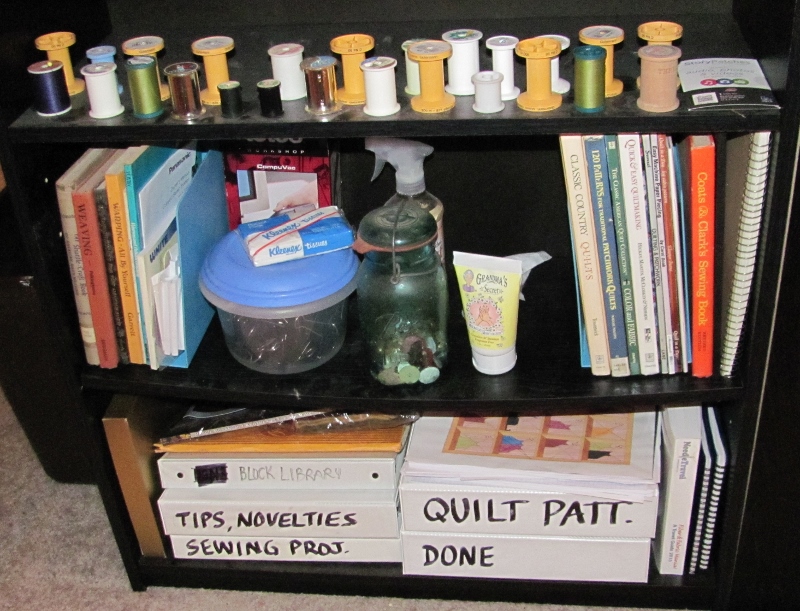
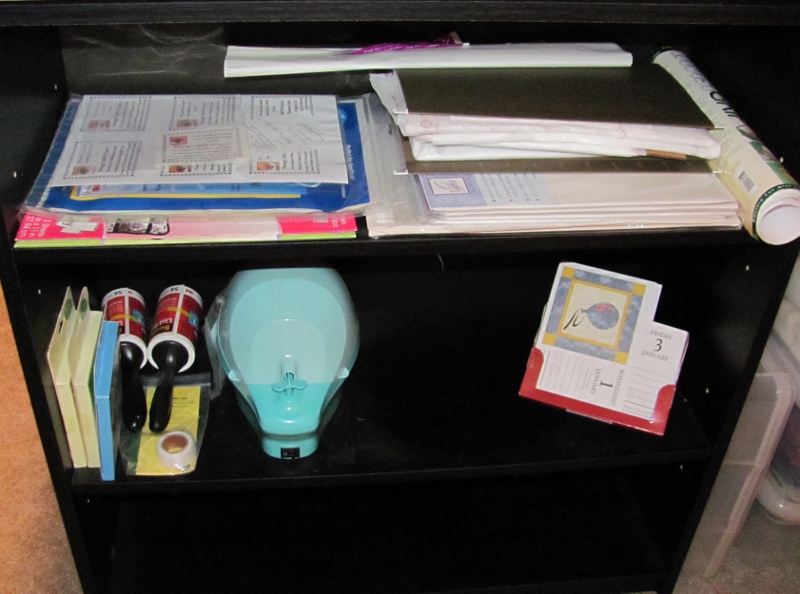
This table is essentially a 3/4 inch plywood sheet cut down to 4 x 7 feet and covered with a flannel-backed vinyl. It is supported by 4 bookcases which raises it to a comfortable height for cutting. I use them for supplies and actually cleaned them all out and organized them as part of the room renovation. 

Under the table, in an open area, I store large plastic bins of odd (non-quilting) fabrics and random bits of batting. 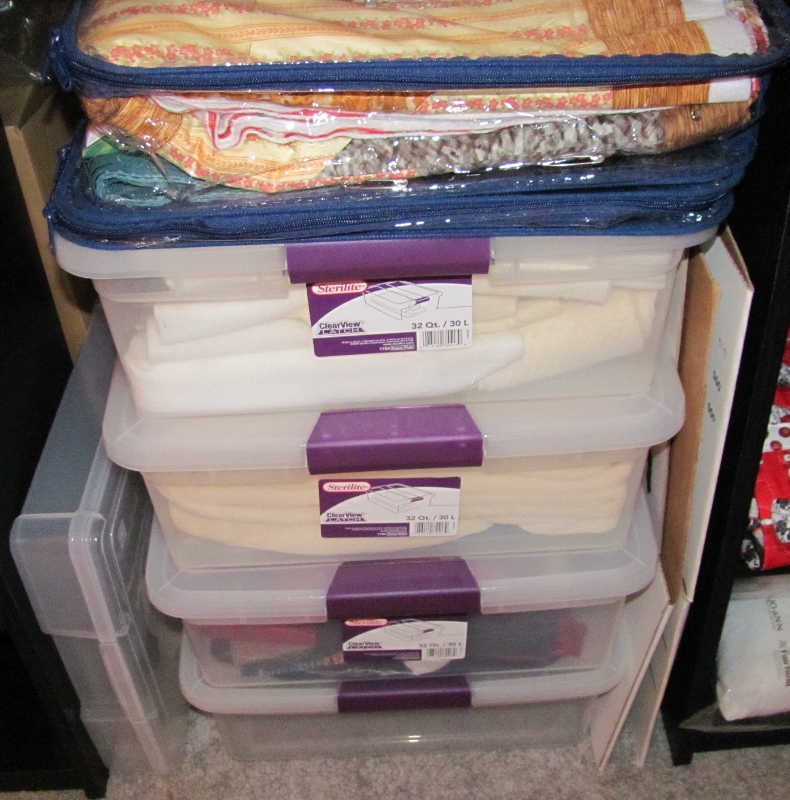
That clear plastic case you see on top of the bins is where I keep kits. When I have selected a pattern and all the fabrics for a quilt, I cut and label all the pieces and put it in a gallon ziplock bag. When I want to sew I can just grab a bag and get right to it. Here are the 7 kits I currently have prepped. 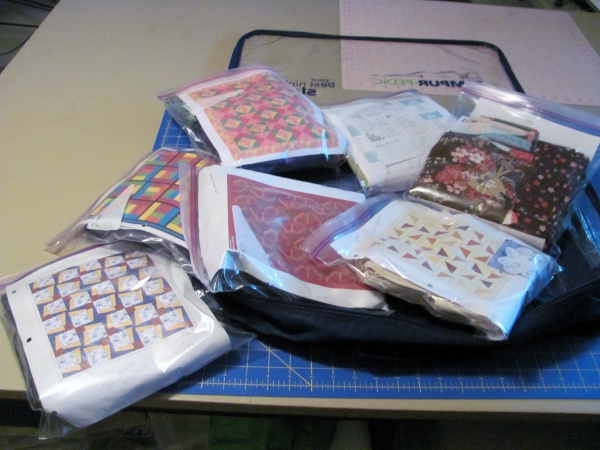
When standing at the table, if you turn around you will be facing a closet. In these top two drawers are scraps sorted by color and the bottom two have yardage I haven't decided what to do with. 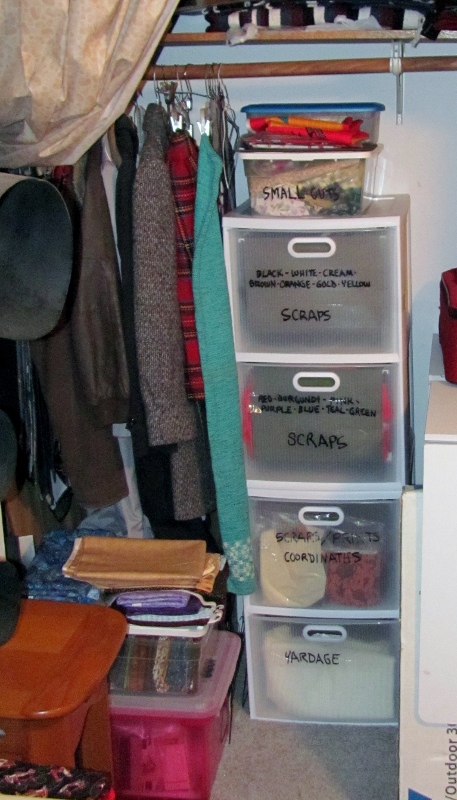
I actually took every bit of the scraps out, sorted each bin so matching fabrics were together, pressed every piece and put them back neatly, Gained me a lot of breathing room in the folders. 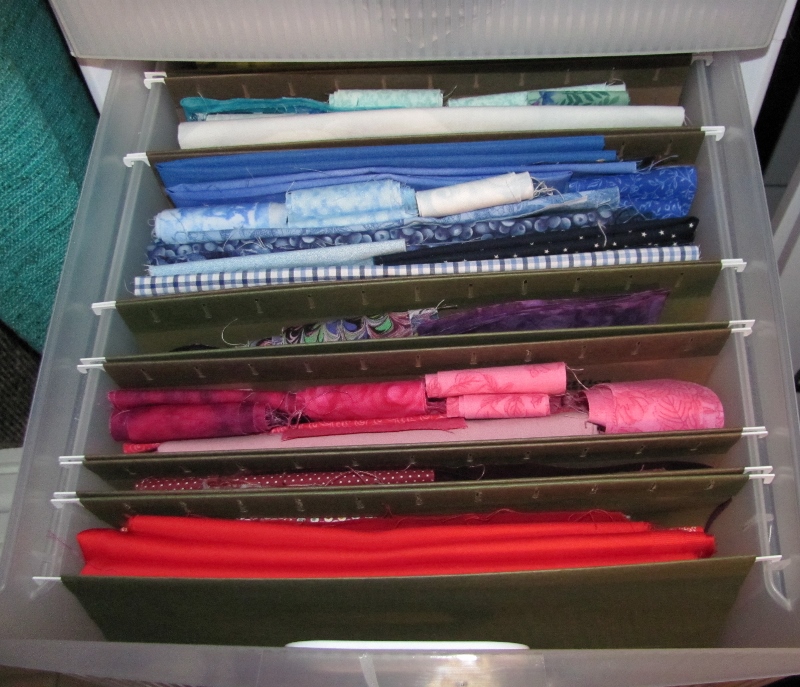
On the bottom of the closet I have some bins with stash of fabrics that are 1 yard and over and have been used for a project already. 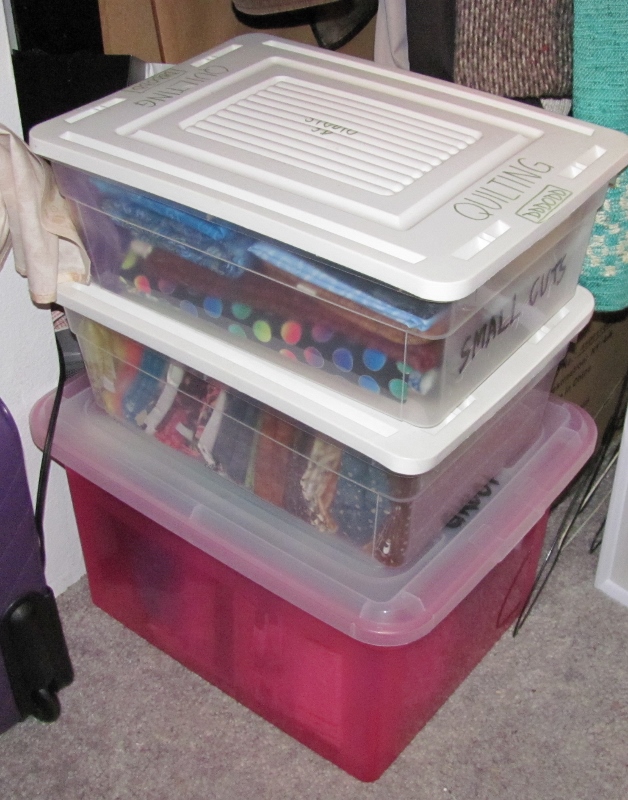
And that's the big room finish! I was hankering to get back to the machine so I did some paper piecing, assembled some blocks, bordered a project and then used the table to sandwich and pin-baste the two projects that I have been working on (no sneak peeks as one of them is a gift that is not ready to reveal) Ddd
Posted by studio3d@ccgmail.net
at 12:01 AM PST
