Topic: Stamping
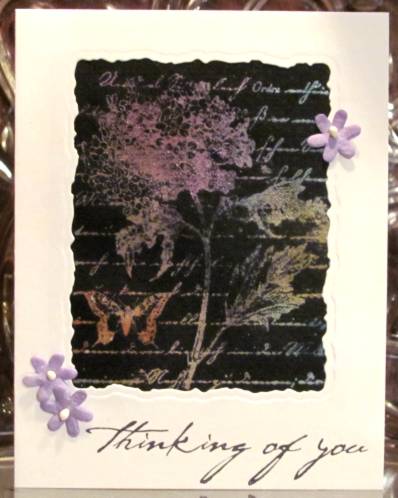
For the first I used the one collage stamp I have that I LOVE - the hydrangea on script. First, the watercolor paper is painted with bright colors. Then the image is stamped with Versamark ink and embossed with clear detail powder. Finally, a black ink pad is used to color over the whole thing and then the ink is wiped off the embossing. This allows the colors to shine through from behind. My original colors got a bit muddied so are not as vibrant as I would like. I cut an aperture in the front of a card and mounted the stamped collage behind it. Then I covered the inside with a full panel to hide the 'uglies'. The sentiment is stamped directly on the card front and I glued on three purple paper flowers as accents.
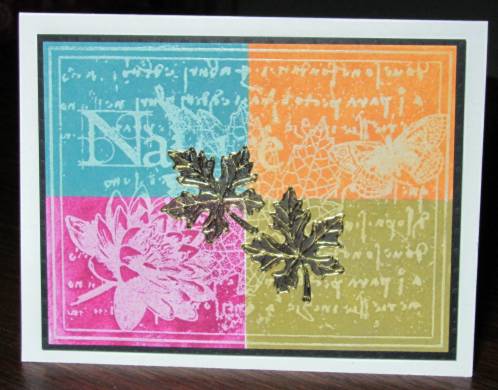
Next up is a color-blocked card. I stamped on white cardstock with Versamark ink and embossed with clear detail powder. Then I masked off in quarters and applied chalk inks direct-to-paper. I trimmed close to the colored panel and backed it with black card. This is mounted over a white card base using foam tape. I added two gold peel-off leaf stickers to the center and colored inside them with black Copic marker.
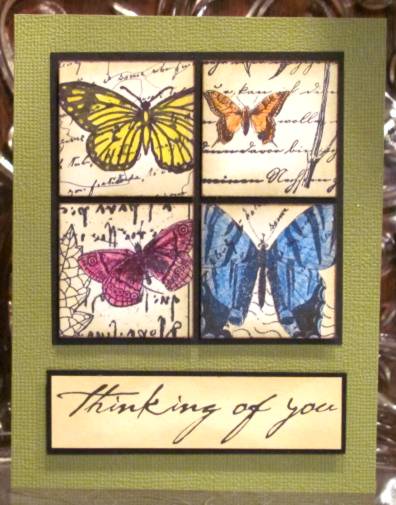
Finally, I realized that three of my collage stamps contained butterflies and I had another non-collage stamp with one as well. (That should tell me something about how I am attracted to collage stamps, huh?) I stamped each of these on white cardstock and punched them out with a square punch. On the one that was not quite in keeping with the style of the others I over-stamped it with a script stamp and strengthened the lines in the image with Sharpie marker. The edges of each block were tinted with distress ink and then the butterflies were colored with colored pencils. I used foam tape to mount them in a grid on black cardstock. I treated a pre-stamped sentiment in a similar manner and then adhered all the elements to a green folded card base.
OK, I did my homework for the day. But I can't see this increasing my use of collage stamps.
NOTE: When I was working on cataloging my newer stamps I opened the 'Christmas' drawer and realized that I have a Christmas collage stamp. Now THAT would have been handy to remember earlier!
Ddd
