Topic: Stamping
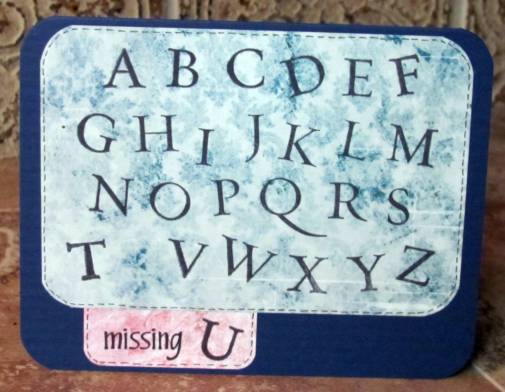
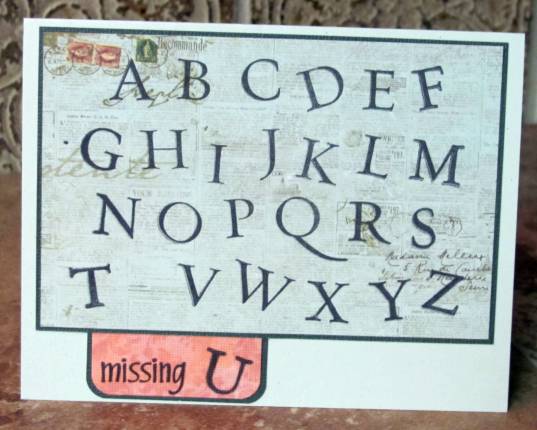
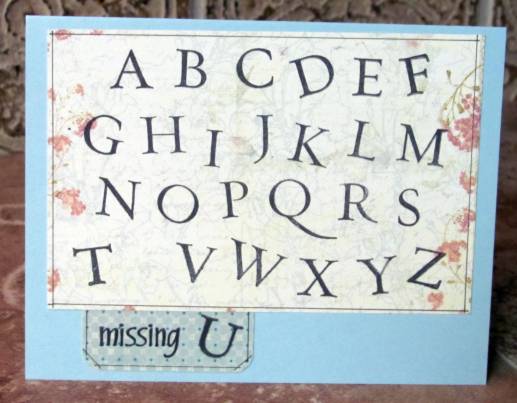
For the first card I arranged the entire alphabet on a Fiskars stamp press and removed one letter. I stamped on designer paper using archival ink and trimmed the panel. This was mounted with a thin black border and offset on a colored card base. I stamped the sentiment on another patterned paper and trimmed close before bordering with black. I added gold trim on two sides and popped the sentiment up on foam tape.
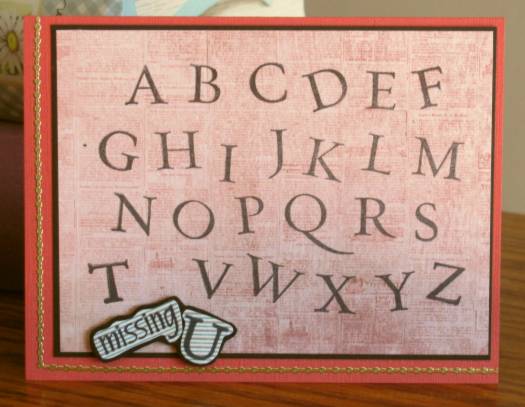
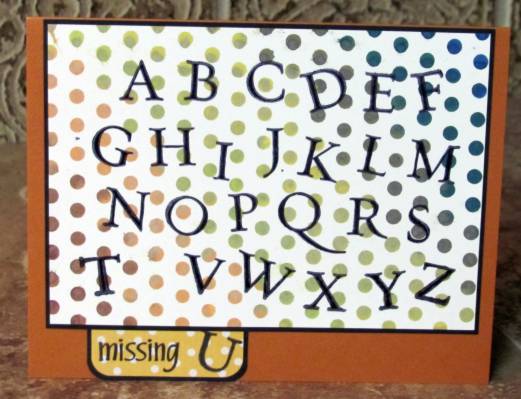
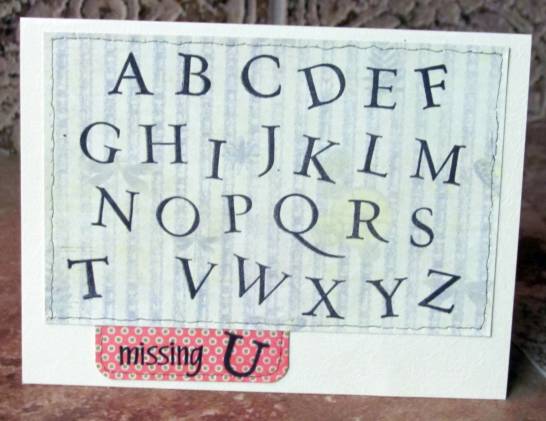
I used the same letter arrangement for the next card but with a different paper. Then I hand-drew little banners around each of the letters and colored them with watercolor markers. This panel was trimmed and mounted with a black border. I stamped the sentiment on another patterned paper and trimmed it like a tab. This is mounted under the edge of the main panel over an orange card base.

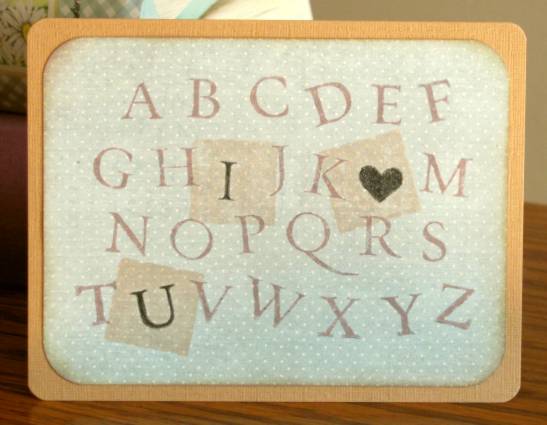
Next I put the U back on the block and replaced the L with a little heart. I inked the whole thing with victorial velvet distress ink and then colored the I, U and heart with black marker before stamping on patterned paper. I used a shadow stamp and distress ink to feature the message letters. After rounding the corners I distressed the edges and mounted to a colored catd base. The card base also got the corners rounded.
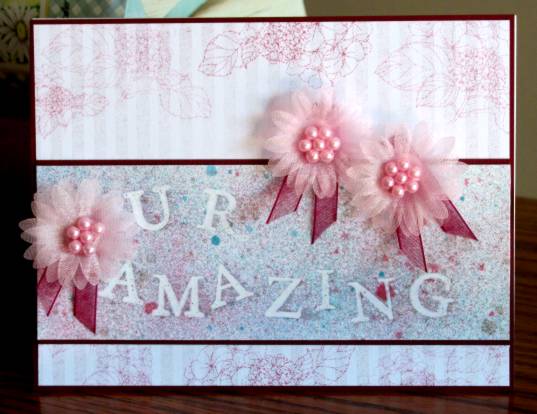
I next placed only the letters for this message on the block, inked with Versamark and embossed with clear powder. Then I used blue, pink and gold to mist it and wiped the color off the embossing. This allows the original white cardstock to show through the message. I trimmed this down to a wide band and backed with a thin burgundy border. This is mounted on printed cardstock and again bordered with burgundy. I mounted folded snippets of sheer burgundy ribbon with glue dots and attached sheer pink flowers over them with foam dots.
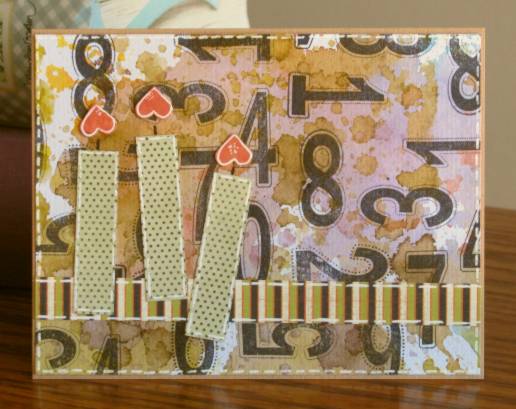
For the last card I switched sets and placed numbers on my Fiskars stamp press. I used watercolor paper to create a background with the distress ink wrinkle-free technique. I stamped the numbers four times to get full coverage and then cut back to the appropriate size panel. I laid down a strip of striped paper and three stripes of polka dot paper. I punched three hearts from patterned paper and glued them down. I used a Sharpie to draw in candle wicks and white gel pen to give the edges of the elements a pop.
So after doing all the projects for the class I had lots of extra parts and pieces I has stamped out while I had the letters on the stamping block. I folded some coordinating base cardstock and made 5 more for my OWH stash.
Straightforward use of the last piece of the rainbow stamp pad backgrounds created on day 1 of class. I banded both parts in black on this one.
Similar treatment with designer paper and the banding is in dark green.
Took away the banding for this one but added solid lines around the elements.
On this one I pierced all around the elements and connected the holes with a fine line faux stitching.
And finally, I rounded the corners of everything and added faux stitching (without the pierced holes)