Topic: Stamping
Day 6 was a 'bonus day' and featured ideas for using the stamps that come with cutting dies. I have none of these. I do have cutting dies in a few shapes but none have stamps that go with them. So for two of them I used other stamps to create a background and then used one of my butterfly dies for the technique.
What this involves is using the die to cut only a portion on the front only of a card base, along the fold. Then the stamped item is cut out with the same die and glued to the inside of the card so it shows through the aperture. Cool!
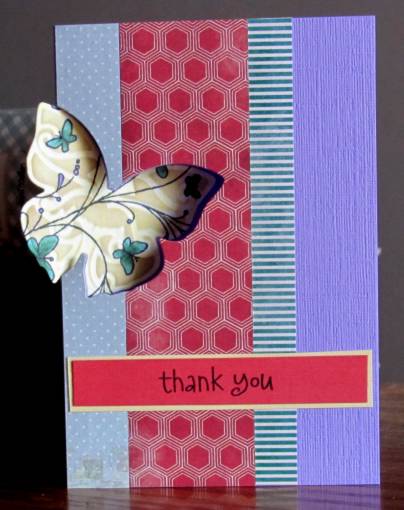
For the first one I used a butterfly background stamp and colored it with a combination of Copics and Bic MarkIt pens. I decorated the card front with three strips of printed paper and cut down the width of the card so it is 4.25 inches from the outside edge of the wing. This allows it to use a standard envelope. I bordered and attached a pre-stamped sentiment.
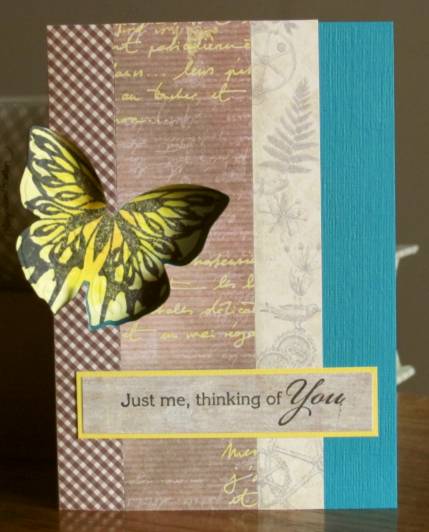
For the next one I used a butterfly stamp (that does not match the die) and colored it with a combination of Copics and Bic MarkIt pens in yellows. I also decorated this card front with three strips of printed paper and cut down the width of the card so it is 4.25 inches from the outside edge of the wing. I bordered and attached a pre-stamped sentiment. The print on the center strip was white and there was none anywhere else on the card. So I used yellow marker to tint it all.
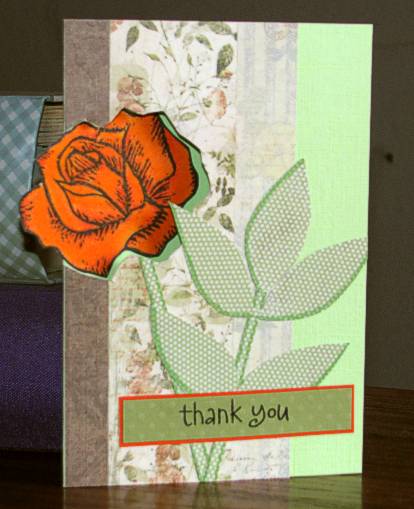
This one is done with the same style except I used one of my own carved stamps and did all the cutting with a craft knife instead of a die. For this I also decorated the front with three strips of paper and then I free-hand cut some leaves and stems from decorator paper. I reinforced the edges with some green marker and then added the bordered pre-stamped sentiment. I like the rose but wished I had done something else on the front of the card (like more roses that would overlap the inside one).
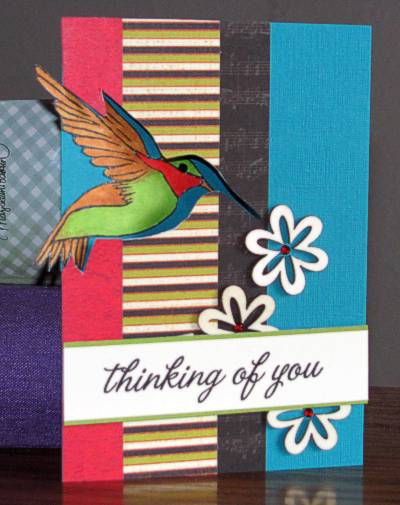
Finally, I thought my hand-carved hummingbird would look good with this technique. I trimmed this one out with three wooden diecuts and dropped red-orange rhinestones in the centers of them. One black rhinestone stands in for the eye on the hummingbird. The pre-stamped and bordered sentiment is popped up on foam tape so it is the same depth as the wooden flowers. (It is difficult to photograph this one because the images don't line up well when the card is propped slightly open so it will stand up)
This isn't a technique I will use often (if ever again) since my lack of matching dies and stamps makes it more cumbersome than the finished product warrants.
Ddd
