Topic: Stamping
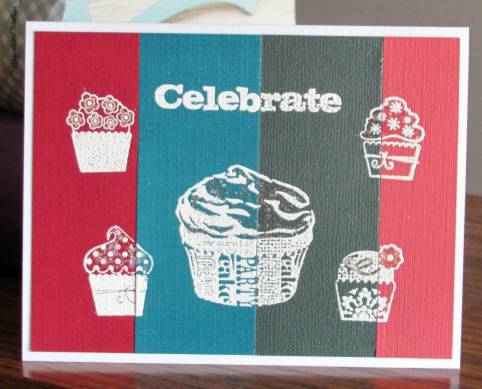
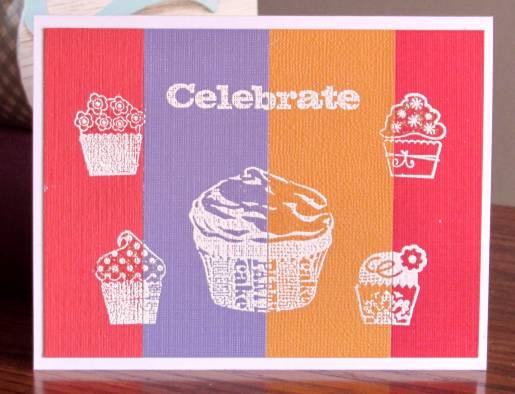
First, I created two color blocked cards using the same images. I used the Xyron to apply adhesive to the whole 1/4 card panel. Then I attached 4 strips of colored cardstock. Over these I stamped the images with Versamark and embossed in white. The panel was then trimmed and mounted to a white card front. The last step was applying various Stickles to the cupcake icings (which you cannot see at all in the photos).
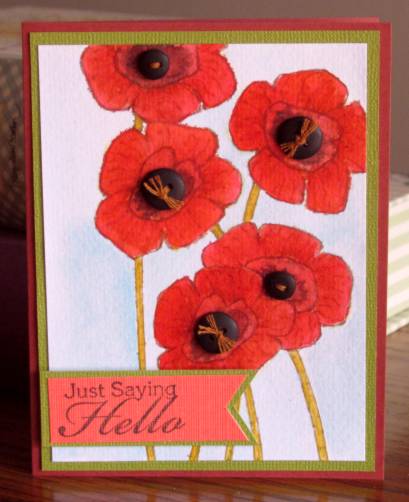
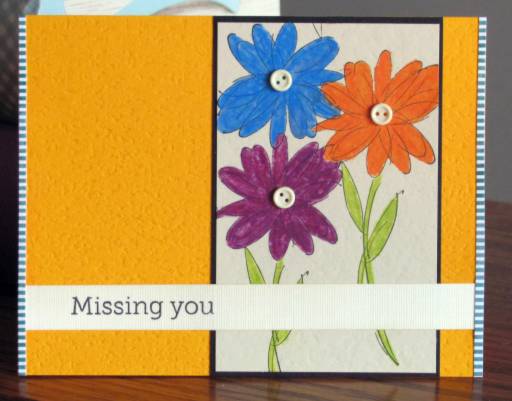
The next technique is to make the image look like it was hand drawn. I used watercolor paper and stamped the poppy five times with a very light chalk ink. Then I traced over the lines with a distress marker. I also drew in the stems with distress marker. When this was all dry I used distress inks (markers and ink pads) as watercolor paint and colored the image. This is about 5 layers of color. After trimming the panel I bordered it with green and placed on a colored card base. I stamped the sentiment on coral card and trimmed, bordered and mounted on foam tape. I tied emboidery floss through buttons and trimmed and frayed the ends. These are attached to the flower centers with glue dots.
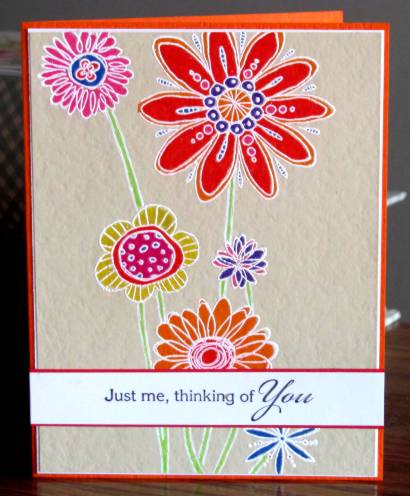
The next card is stamped on kraft cardstock with Versamark ink and embossed in white. I colored all the images with watercolor markers and buffed the ink off the white embossing. I drew stems with green marker and bordered them with white gel pen. The panel was trimmed, bordered with white and mounted to an orange card base. I stamped a sentiment on a white strip,trimmed, bordered and mounted to the card front. (This one was a featured student card selected by the instructors from the gallery)
I'm not too fond of the next one. It is stamped on kraft cardstock and colored with colored pencils. The panel was trimmed and bordered in black. I mounted to orange cardstock and added a stamped sentiment strip. I glued on tiny side borders and added tiny buttons to the flower centers (my favorite part).
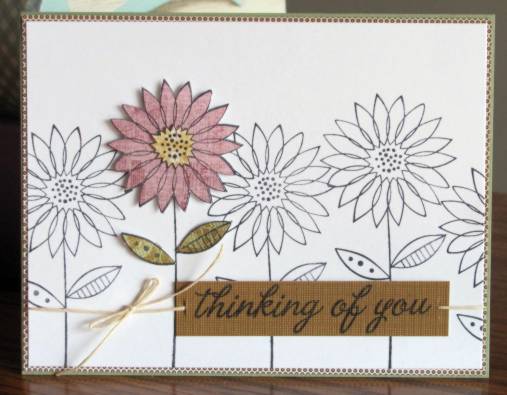
More simple is this spotlight card. I stamped the image multiple times on white cardstock. I also stamped the parts of the image on printed cardstock and trimmed them out. These are mounted on foam tape. I stamped a sentiment on colored cardstock and tied it to the panel. I bordered the panel with printed cardstock and added to a folded card base.
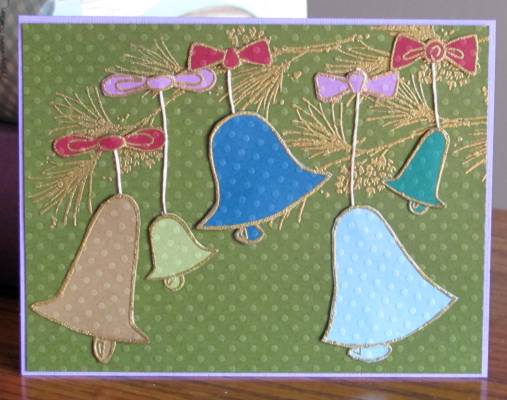
For the next card I stamped all the images on pieces of dot textured cardstock with Versamark and embossed in gold. I also used the same technique to add the pine bough to the background. Each of the bells, clappers and bows were trimmed out and mounted using glue dots while trapping the ends of scrappers floss under the ends. After trimming the panel I added to a purple card base.
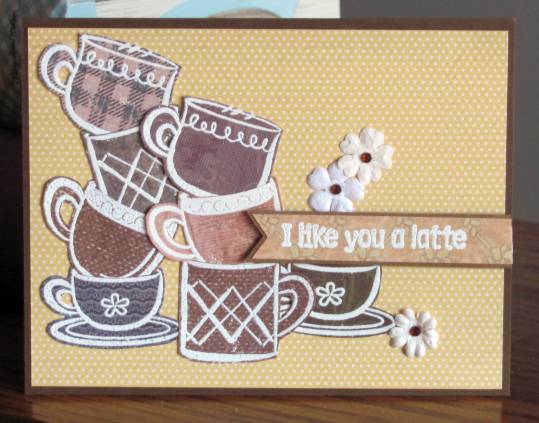
For this card I stamped the cups and mugs on various patterned papers using Versamark ink and embossed in white. All were trimmed out and I used a craft knife to cut a slit at the rim. I stacked them together and mounted to a patterned paper. This panel was trimmed out and layered on a brown card. The sentiment was emossed in white on patterned paper, trimmed, bordered and mounted on foam tape. I added three white paper flowers and placed brown rhinestones in their centers.
The last card was so much fun to make. I first stamped every image on masking paper and trimmed them out to create masks. Then, on watercolor paper, I started stamping with the foreground elements. The bicycle was stamped then masked, next was the left house which was masked and the tree stamped. I stamped the second house and moved the mask to it before stamping the picket fence. The fence was masked and I stamped the tree andright cloud. Then the kite was stamped, masked and the left cloud was added. The third house was added last. I drew in the two pieces of wire fences. All of the masks were then removed and I set to painting. This was done by using the ink of distress markers colored on an acrylic block for the base coats and drawing with the distress markers for details. When it was all dry I trimmed it only slightly so it makes a larger card. I bordered it in black and placed on a pastel card base. The sentiment was stamped on printed cardstock, trimmed and adhered to the road.

LOVE, LOVE, LOVE this card!
Ddd
