« February 2013 »
S M T W T F S
1 2
3 4 5 6 7 8 9
10 11 12 13 14 15 16
17 18 19 20 21 22 23
24 25 26 27 28
You are not logged in. Log in
Entries by Topic
All topics  «
3D paperwork
A - Z challenge 5
A - Z challenge 7
A - Z challenge round 4
A to Z challenge round 3
A to Z round 2
A to Z round 6
A-Z round 1
Around the House
Art Challenges
Artist Trading Cards
Backgrounds
Beads
Bible Journaling
Books
Boxes
Collage
Color Challenge
Coloring
cookbook
Die Cuts
Digital Projects
Digital Stamps
Drawing
Dry Embossing
Fabric Stuff
Fantastic Folds
Field Trip
Home Decor
How Does Your Garden Grow?
Hymnal Art
In The Kitchen
In the studio
Jewelry
Lettering
Links
Multi-Technique
Music to Work By
Musings
Nail Art
New Work
Online Class
Other Hobbies
Other Projects
Painting
Paper Embroidery
Paper Piecing
Photo
Pretty Paper
Quilting
Random
reading
Scrap Recovery
scrapbooking
Sewing
Sketch Challenge
Some Backlog
Stamping
Stencils
Stickers
Supplies
Teabag Folding
Techniques
Testing
tips and tricks
Tutorial
Web resources
Welcome to my Blog
Work By My Friends
workflow
Writing
Blog Tools
Edit your Blog
Build a Blog
RSS Feed
View Profile
Group One
In & Out of Studio 3D
Tuesday, 19 February 2013
In The Neighborhood
Topic: Other Projects

Tired of chilly weather, I was inspired to work on a 'spring' project. I gathered the three remaining wooden birdhouses I had bought a while back for altering. The common element on all of these houses is that they have two entrance holes for the birds.

I selected a variety of bird and spring printed cardstocks to use on these. I trimmed the papers to fit the flat surfaces  - two per house - and attached them using Scor-Tape (it holds like nobody's business).
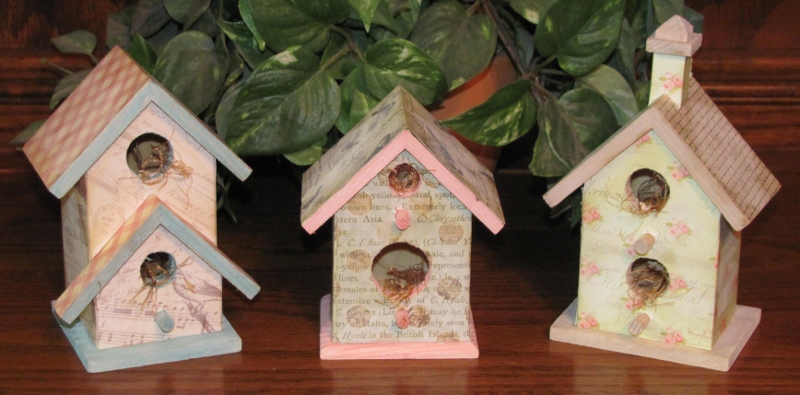
I used Distress Markers to color the exposed wooden surfaces - roof edges, bases, perches, and inside the holes. The markers were pretty bold even though I used pastels - a matter of how the wood soaked in the color - so I went over all these wood surfaces with Picket Fence (white) Distress Stain.
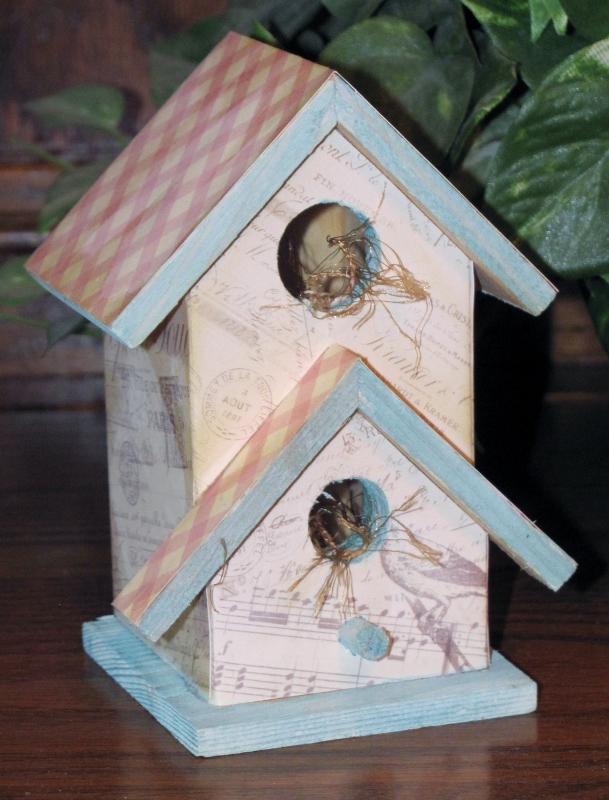
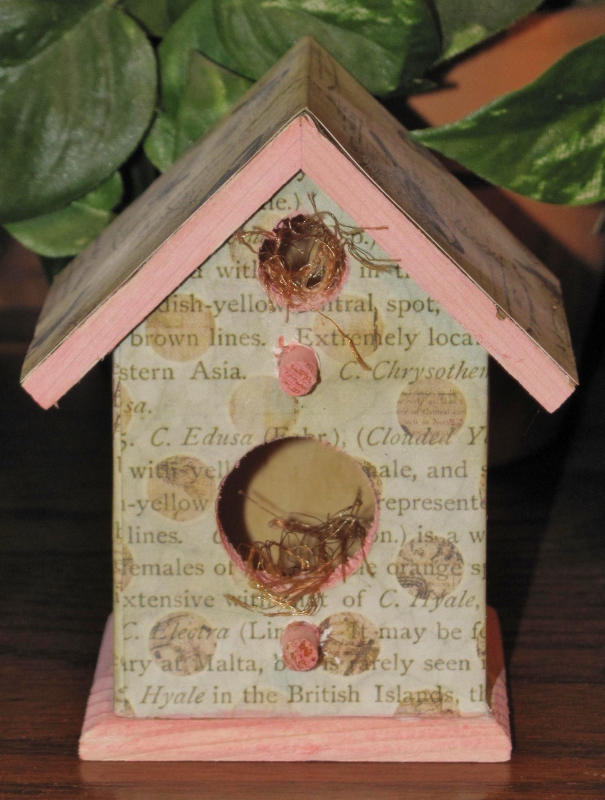
 

I used Distress Ink pad and a foam blender to darken the edges of all the paper corners for a shabby chic look.

As a last step I took beige eyelash yarn and cut a length to glue in the opening of each hole to look like nesting material.

Ddd


Posted by studio3d@ccgmail.net at 12:01 AM PST

View Latest Entries