« January 2016 »
S M T W T F S
1 2
3 4 5 6 7 8 9
10 11 12 13 14 15 16
17 18 19 20 21 22 23
24 25 26 27 28 29 30
31
You are not logged in. Log in
Entries by Topic
All topics  «
3D paperwork
A - Z challenge 5
A - Z challenge 7
A - Z challenge round 4
A to Z challenge round 3
A to Z round 2
A to Z round 6
A-Z round 1
Around the House
Art Challenges
Artist Trading Cards
Backgrounds
Beads
Bible Journaling
Books
Boxes
Collage
Color Challenge
Coloring
cookbook
Die Cuts
Digital Projects
Digital Stamps
Drawing
Dry Embossing
Fabric Stuff
Fantastic Folds
Field Trip
Home Decor
How Does Your Garden Grow?
Hymnal Art
In The Kitchen
In the studio
Jewelry
Lettering
Links
Multi-Technique
Music to Work By
Musings
Nail Art
New Work
Online Class
Other Hobbies
Other Projects
Painting
Paper Embroidery
Paper Piecing
Photo
Pretty Paper
Quilting
Random
reading
Scrap Recovery
scrapbooking
Sewing
Sketch Challenge
Some Backlog
Stamping
Stencils
Stickers
Supplies
Teabag Folding
Techniques
Testing
tips and tricks
Tutorial
Web resources
Welcome to my Blog
Work By My Friends
workflow
Writing
Blog Tools
Edit your Blog
Build a Blog
RSS Feed
View Profile
Group One
In & Out of Studio 3D
Tuesday, 19 January 2016
Three Step Background
Topic: Backgrounds

I went to a lot of trouble to create a great background and then covered it up! LOL!

When I made the December 2015 'Tag' from Tim Holtz, I used a piece of white cardstock to blot off the extra Distress Stain from the stencil after spraying it. It's been sitting on my work table waiting for inspiration and this was the day.

The stencil was this one:


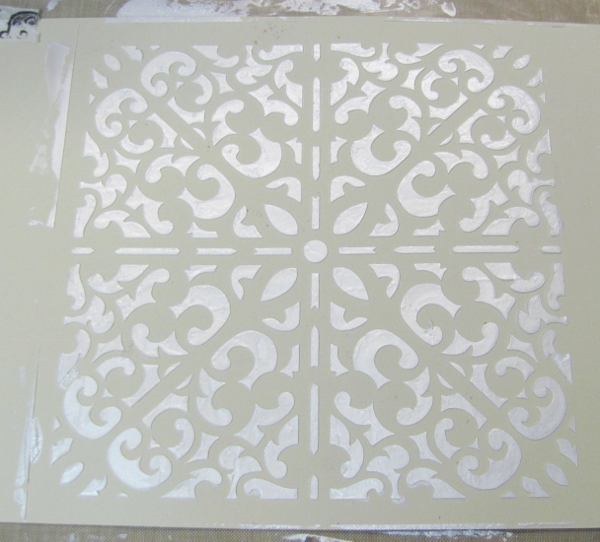
The Distress Stain had been sprayed through the stencil (blue in color) and the leftover stain stayed on the surface. When the white cardstock was pressed onto it the stencil itself made the impression, not the holes in the stencil.

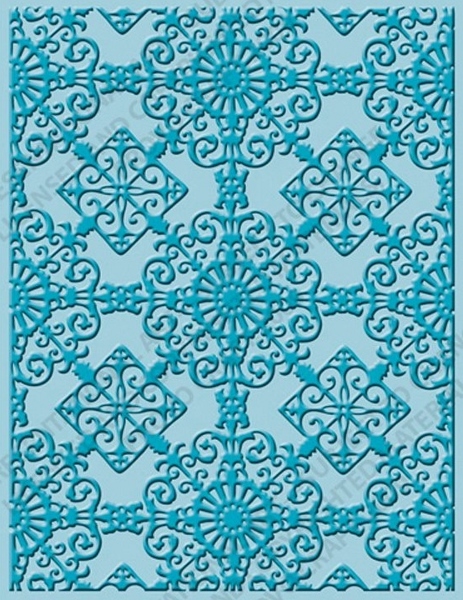
The next step I took, after trimming the piece to card size, was to do a letterpress technique using picked raspberry Distress ink and a Cuttlebug folder called Ornamental Iron.

I smeared the ink on the inside of the folder and centered the blue printed layer inside it. When it was run through the Cuttlebug the ink was transferred at the same time as the impression was being raised. This also made three colors as the blue original and the raspberry letterpress combined where they overlaid into a violet.

The third step was to take a Distress Ink pad in Black Soot and swipe it over the top of the raised areas of the ornamental iron impression.

I really liked the way this came out. However, it was pretty bright to use it on the card with the images I had chosen so I overlaid it with vellum to mute it.

I added a 3D tea time image to the front with some ribbon across the bottom to serve as a table.


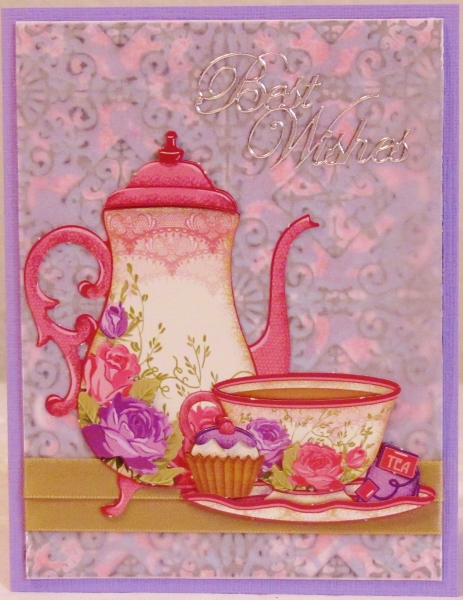
I mounted this on a violet base card and used a silver peel-off greeting sticker.

Ddd


Posted by studio3d@ccgmail.net at 12:01 AM PST

View Latest Entries