Topic: Multi-Technique
Well, I must say I started out to follow along with Tim Holtz's tag directions. But he went off on a specialty product that I did not have so I took my own tangent and finished up the project in my own way.
These are the tags that Tim combined for his tag:
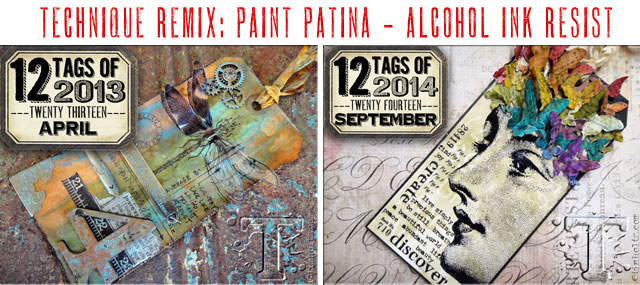
And this is the tag he created:

So, here are the steps I used to create my project:
- Select a base cover stock to work on. I chose two so I could experiment with the shiny side and the matte side.
- Shake three Distress Paints and apply to craft sheet
- Shake three coordinating Lumiere paints and apply to craft sheet
- Mist heavily with water
- Swipe base cardstock through paint till covered (repeat with other card)
- Mist with more water to blend
- Dry with heat tool
- Ink over entire tag with various Distress inks using blending tools
- Flick water to activate top layer
- Stand on end to let water drip
- Dry with heat tool (blot excess for contrast)
- Trim matte piece to size and ink edges with walnut Distress Ink
- THIS IS WHERE I DEPARTED WAYS WITH TIM
- Use a small leaf stamp and Archival ink to make a 'second generation' stamped border around the edge
- On glossy piece, stamp realistic leaves using Archival ink
- Cut out leaves
- Use colored pencils to add a bit more color to leaves
- Use a scoring tool to score the major veins
- Bend leaves forward on the scores
- Use bone folder to gently curl the leaf tips back
- Use foam tape to mount leaves to matte base (foam under the raised areas and glue on the center vein and tips)
- Add sticker letters to form text
- Layer vellum over a dark cardstock and trim large enough to leave a border around the matte piece
- Mount matte piece to vellum
- Add gold peel-off corners and borders
- Display
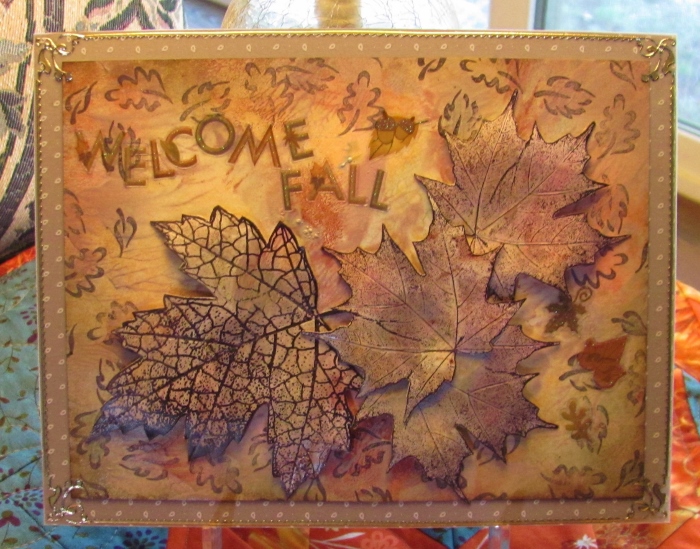
Here is the artwork I created using these steps:
So, what did I skip? the use of a 'paper' called Yupo and a 'negative stamping' technique using alcohol inks. I've done this technique with transparency (long ago) but I don't have access to Yupo and didn't want to buy any just to try this.
I also skipped a technique for creating a patina on plastic letters. This is where I used sticker letters.
I'm happy with my 'tag' though.
Ddd
