Topic: Quilting
Just by the skin of my teeth I finished these last two quilts within the year - bringing the total to 26, a new high for a single year. These also bring the total I will have donated to our hospital to 99 though these won't be delivered to them for a month or so.
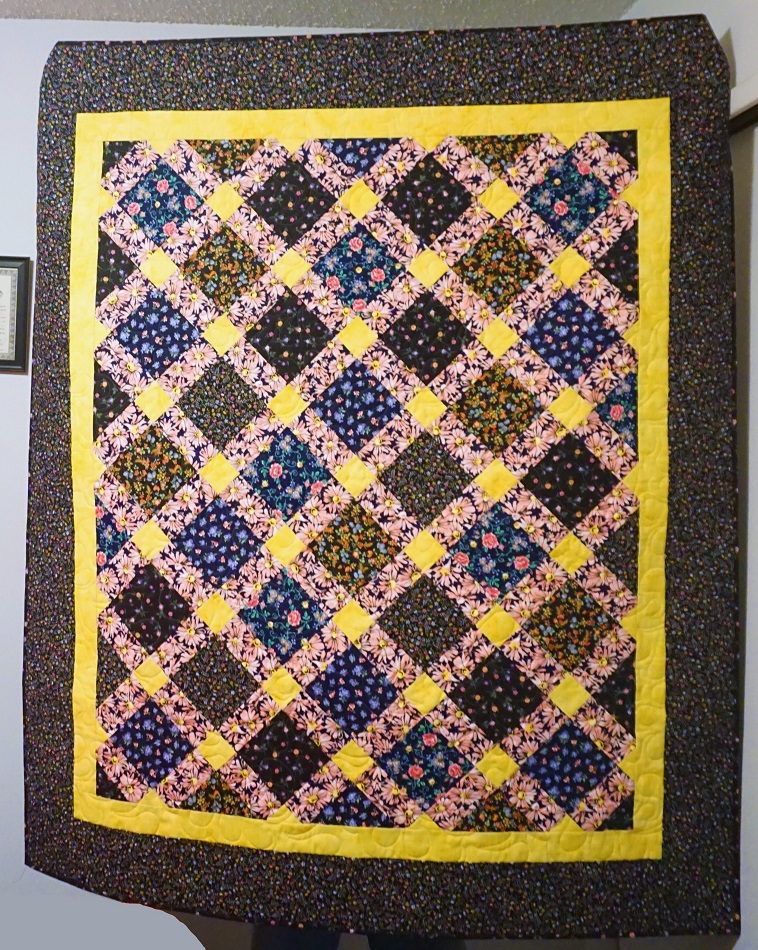
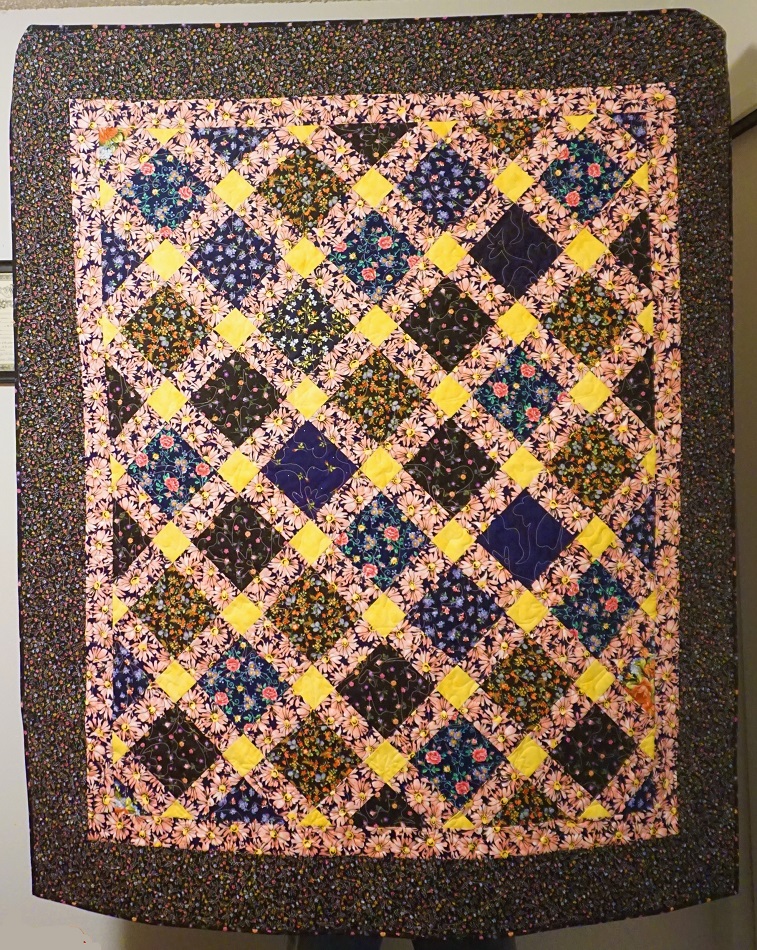
I found the pattern for these in a quilting magazine and it was a totally new concept for me. Start with 4o squares and frame them with sashing and cornerstones on two sides. Set them together in a 5 x 8 layout (leave that one side and top without sashing). From the bottom left corner slice at a 45 degree angle to the right side. Take the resulting bottom triangle and stitch it to the top. You now have a trapezoid. Make another 45 degree angle from side to side and sew the resulting triangles together. Magically you end up with a rectangle again but one in which the squares are all set on point.
I changed the pattern by using wider strips for the sashing and ended up with quilts mesuring 50 x 60 inches.
I really don't like to make a project and then start over and make another just like it. So I let these quilt 'grow up together' step by step. They are made from essentially the same supplies although I did run short on the yellow for the inner border and made it pink (matching the sashing) on the other quilt. Everything was cut together, centers stitched one after the other, border one added to both, outer border added to both and placed on the longarm one after the other on one long backing and batting. Then they were bound one after the other.
The first one throughout all the steps was this one - called First Among Equals (for the process of creating identical quilts in tandem).

With the exception of the yellow cornerstones and border are all from black and blue background calicos and pink daisy fabric from my late sister's stash.
Here's a closeup of the fabrics. It is quilted with a fine yellow thread.
The second quilt I called Save the Last Dance For Me. This was because it was the last one done AND the song was playing on my iPod during the binding process.

The color really isn't as fat as it appears in the photo. Here are the fabrics and you can see the heavier pink thread used for quilting.
The backing was selected to go with the vintage feel of the calicos. It is a parchment colored print with ledger entries in sepia script dated in the 1700s.
That's it! A close to another quilt year in grand fashion.
Ddd
