Topic: Bible Journaling
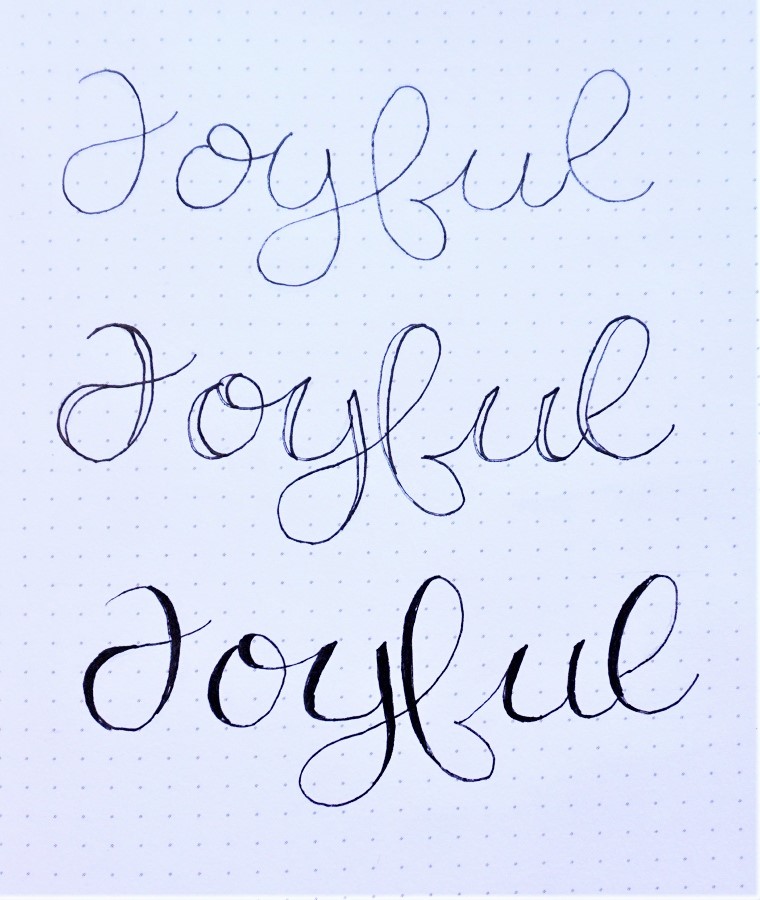
The lettering that was taught this week on Creative Bible Journaling was another faux brush script with awesome big loops and swooshes. Ann did a good job by naming this style 'joyful'.
[I think you'll find the pictures will be clearer on artwork posted now as I finally figured out how to to scanning on my new printer instead of having to take photos and editing them]
As usual, we started on Monday with practice writing the focus word in the new lettering style.
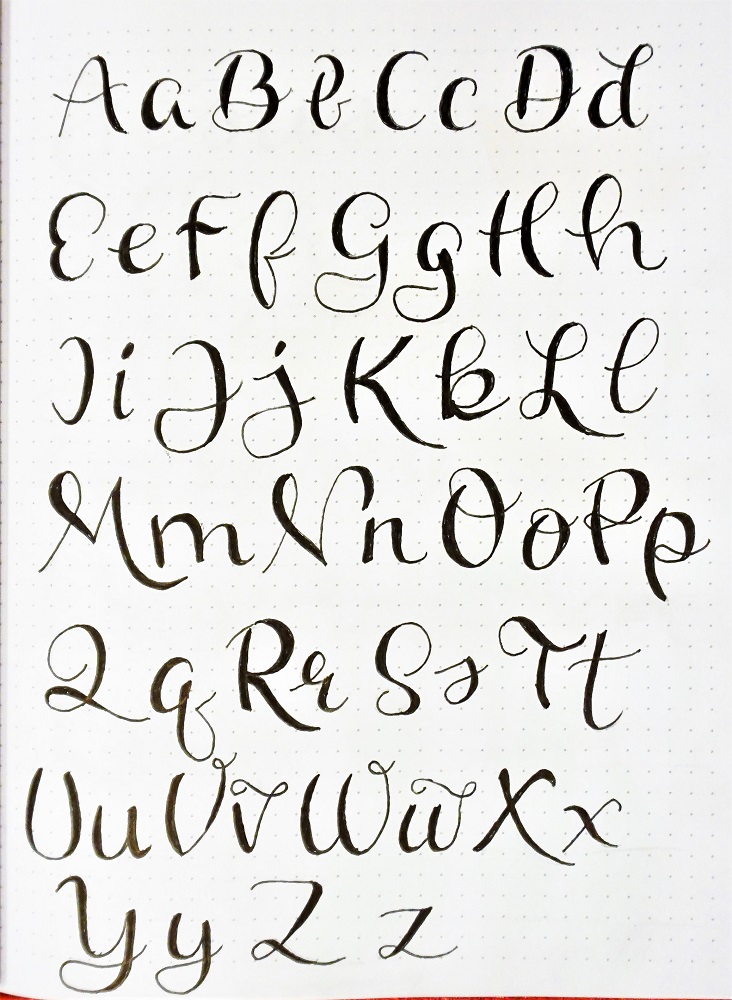
On Tuesday we got the whole alphabet. In the faux brush style, you draw the base letter and then add a second line beside the downstrokes. Once these are inked, you fill in the gap with ink to create a thick line.
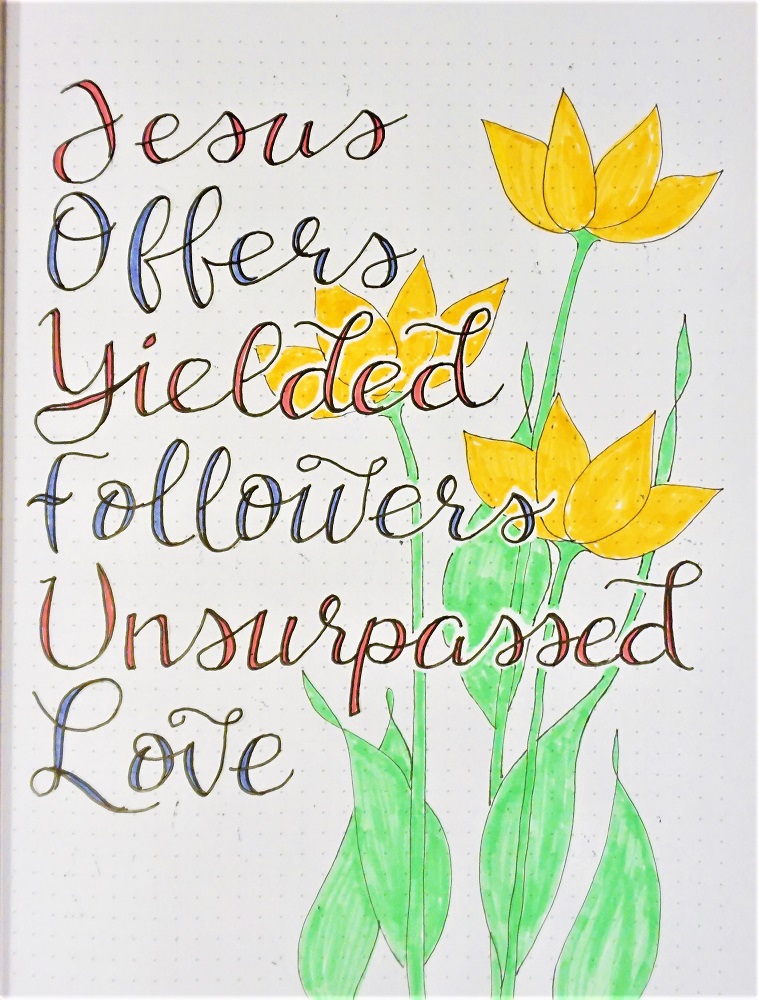
For the Wednesday activity, Ann had us create an anagram with the word 'joyful'. When I do these, I like to have mine create a phrase or a sentence rather than just listing random words.
I filled the gaps between the double lines on the letters using different colors from a new set of markers. I also decorated my page with the flowers I taught in the Drawing Room tutorial this week. These were very popular.
When I first started writing with this lettering I thought it would make a great style to use for bounce lettering because of the big swoops. It would just take some exagerating of those as well as curving the baselines and varying the letter bases along those lines. Each letter is finessed so the parts and pieces of the words nest into one another.
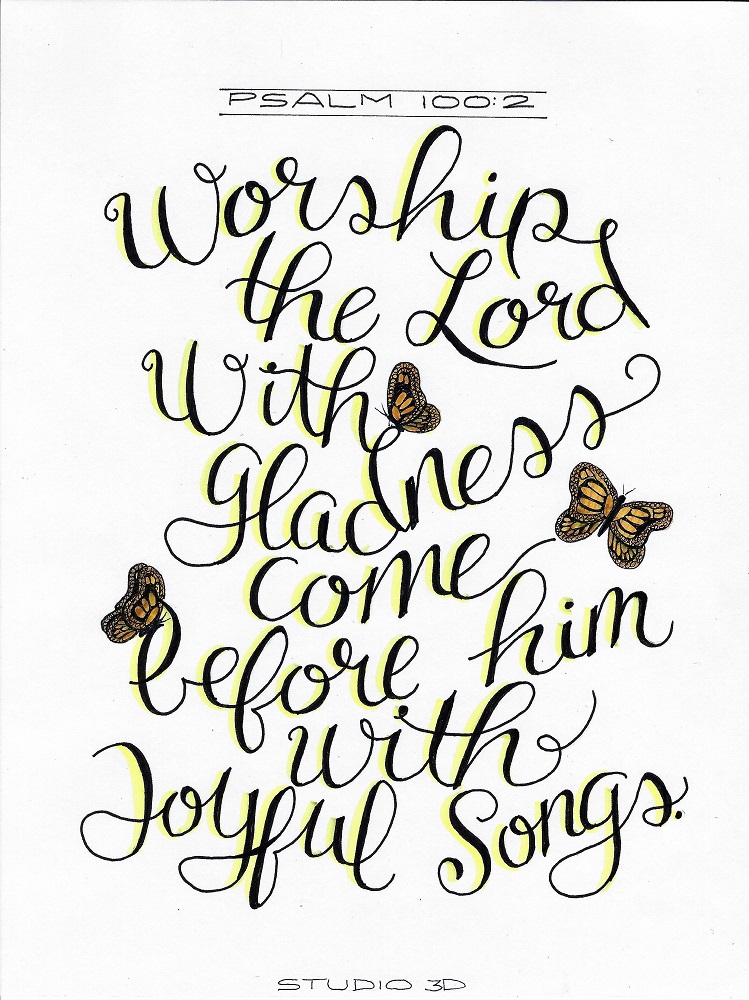
So, for Thursday's activity of lettering a scripture on paper, I did a rough sketch in a generic script for spacing, and then worked on incorporating all that flair.
After inking my piece I found I had some areas with open white space that were a little distracting. I sketched some butterflies and colored them with orange marker.
That step made them take the forefront so I used the yellow brush marker to add a highlight along the left side of all the thickened ink strokes on the letters.
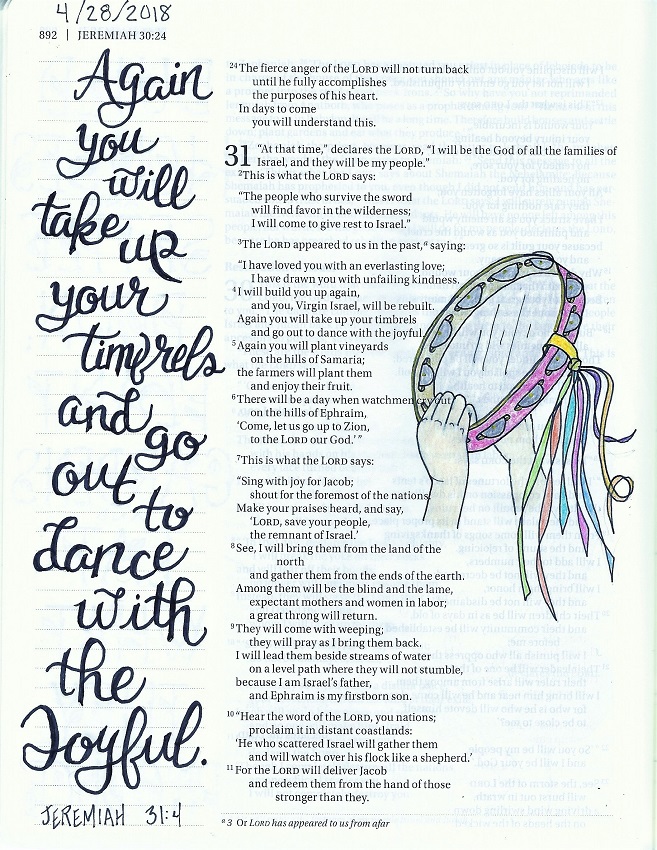
On Friday, as usual, the activity was to use the new lettering style in our Bbile with a scripture that has the word 'joyful' in it.
I liked the way the bounce lettering looked on the previous piece so I had another run at that for the Bible page.
I added a sketch of a tambourine to illustrate the scripture and to fill in the white space on the page.
I will be saving this alphabet to use for bounce lettering in the future. I love the way it looks!
Ddd
