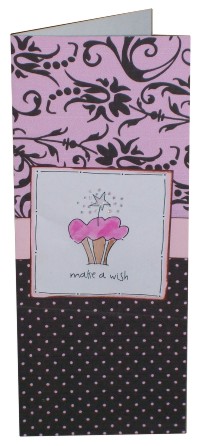
Now Playing: A simple combination
Topic: New Work
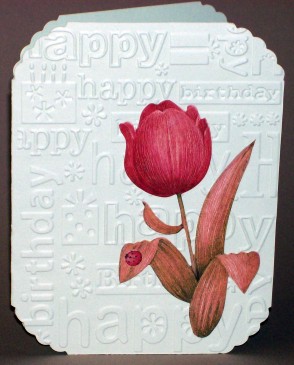
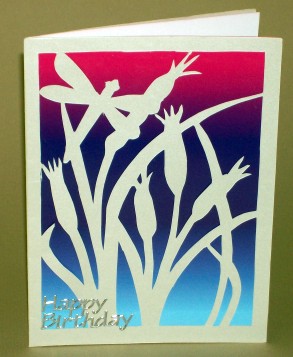
Here's another card background made by my friend using her Cuttlebug for embossing. I added a tulip sticker from the Dollar Store.
Posted by studio3d@ccgmail.net
at 6:00 AM PDT
| « | September 2007 | » | ||||
| S | M | T | W | T | F | S |
| 1 | ||||||
| 2 | 3 | 4 | 5 | 6 | 7 | 8 |
| 9 | 10 | 11 | 12 | 13 | 14 | 15 |
| 16 | 17 | 18 | 19 | 20 | 21 | 22 |
| 23 | 24 | 25 | 26 | 27 | 28 | 29 |
| 30 | ||||||
Here's another card background made by my friend using her Cuttlebug for embossing. I added a tulip sticker from the Dollar Store.
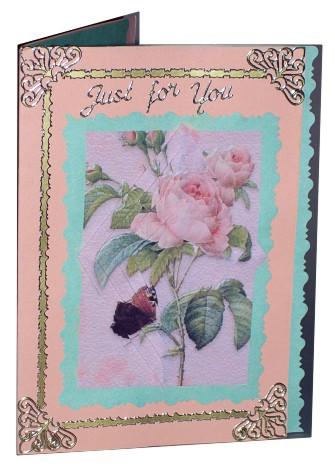
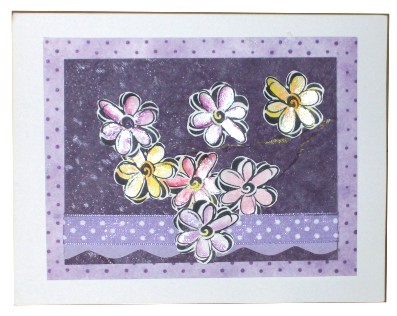
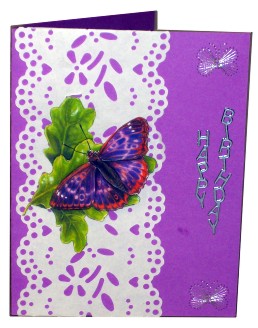
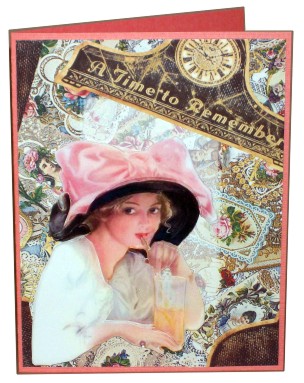
I made this card by using two identical pieces from a collage sheet. They had photoedited the original to appear three dimensional anyway, so I cut aroung the elements on the second copy and mounted them with silicone glue.
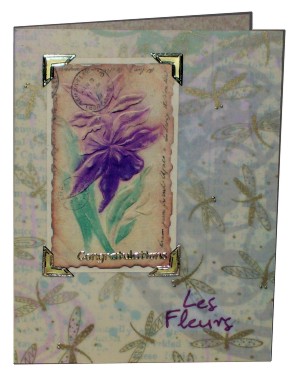
It is mounted on vellum with gold dragonflies printed on it, over printed scrapbook paper. The eyes on some of the dragonflies are little gold peel-off dots, the corners and the "congratulation" are also gold peel-offs.
I added the purple script as a vellum sticker.
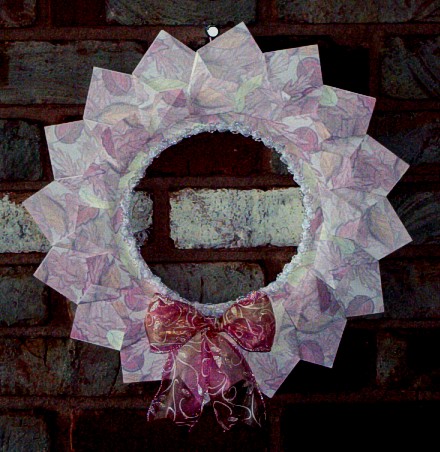
Last fall... hmmm, maybe it was the year before last... I made this paper wreath as a demo for an online group. It is from the instructions on a Carol Duvall show (Episode CDS-1561)
I used four sheets of scrapbook paper with an over-all leaf pattern in muted tones (each is cut into 4 squares for the project). I added a bow of wire-edge ribbon that I had on hand.
OK my holidays are NOT all sewed up, but I am making progress.
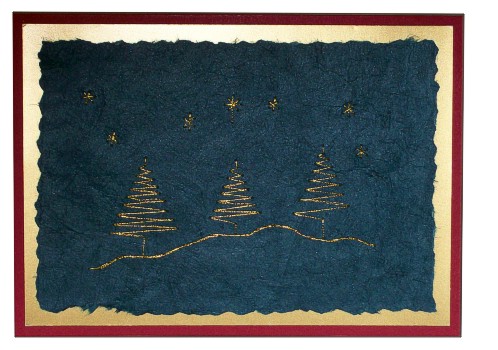
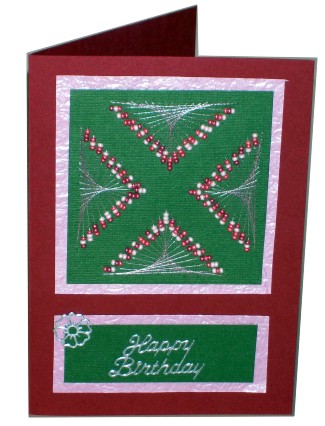
This pattern is from a demo website and is offered free. I used metallic gold thread on forrest green mulberry paper. Then I tore the edges against my deckle-edge ruler and mounted to gold card and then to burgundy to finish out the trio of Christmas colors.
I belong to several online groups and many friends from those groups sent lovely cards for my birthday. Some are on more than one list with me and many friends not on any of my lists. So I thought I'd show them all here in one place.
Thank you, my friends!
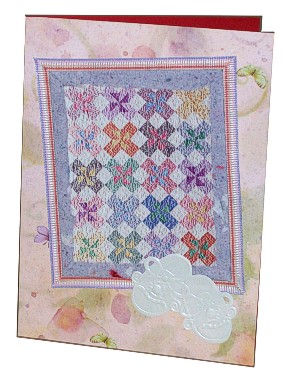
I get a catalog of quilt kits on a regular basis. I don't 'do' quilting but I sure love to cut up the catalog for the nice pictures! This is a section of the center of one such catalog illustration. I mounted it on scrapbook paper that looks like a checked flannel fabric.
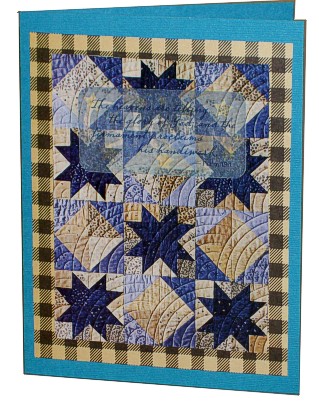
The text label is vellum which does not show well in the photo, but looks great in person. It is a Psalm "The stars are telling the glory of God and the firmament is reflecting his handiwork." It seemed to fit with not only the blue of the quilt but with the star pattern of it.
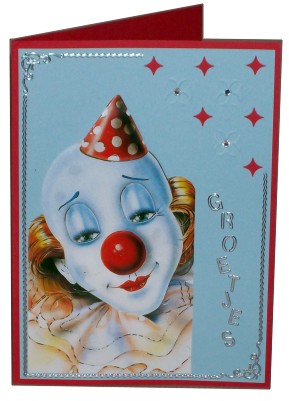
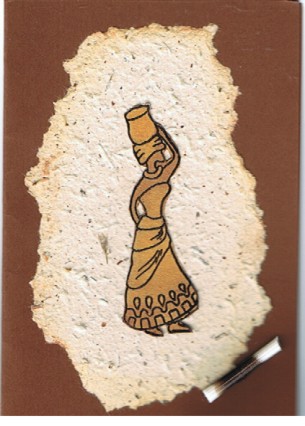
I printed up a LOT od 3D sheets from my two favorite sites and spent an evening cutting out parts for 10 of them. These are the first I have done using the silicone glue to separate the layers. I can't imagine going back to the foam tape or any other method of mounting.
This lady in pink is my favoriet and I even gave her a rhinestone where the picture had a ring.
This baby card began life as a much larger quilt in a catalog. I trimmed it down to 'baby size' and mounted on handmade paper. I tore the paper along a ruler, mitred the corners and folded all 4 edges in to make a 'binding' for the quilt and it even feels kinda like flannel! Then I used grosgrain ribbon to frame all 4 sides, again with mitred corners.
The whole quilt is glued onto a card covered with leftover scrapbook paper and, finally, a sticker of baby shoes was placed in the corner.
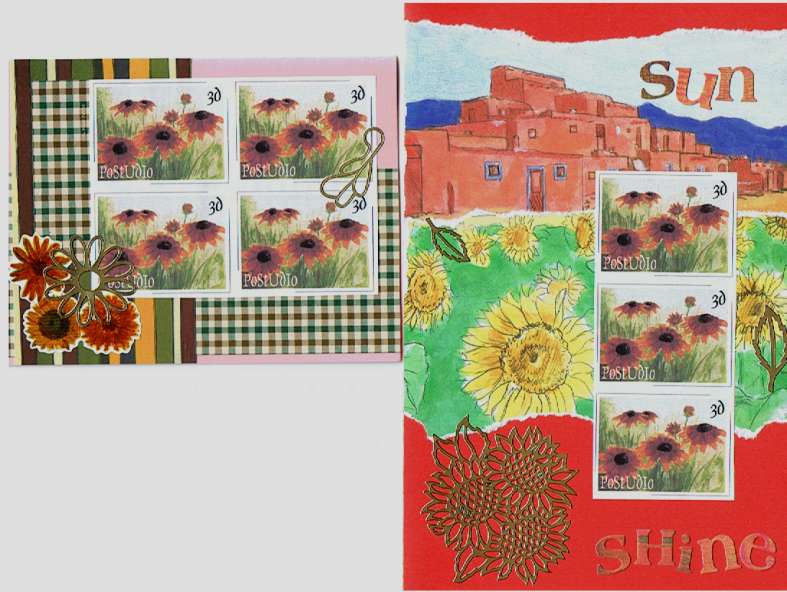
For a swap a few years ago I made some faux postage using some of my own paintings. I had sheets left over so recently used blocks of them to make cards. I just combined papers and illustrations that complemented the colors and theme of the artistamps.
Here are two of the cards I made:
The website for Form-a-Lines recently shared three new free patterns. I make up their new Christmas Tree twice.
Both of them are done on metallic black paper. First I used a verigated metallic thread in purple and green. I mounted it on... you guessed it: metallic purple and green.
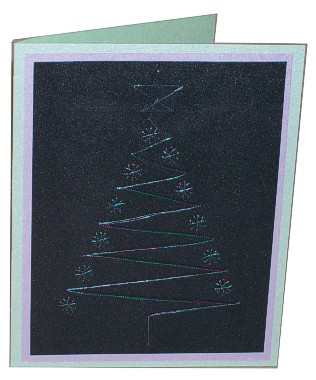
True, it does not show up too well on a photo, but in person it looks good.
Then next one I used a two-toned green for the tree, metallic gold for the ornaments down the left side, metallic copper for those on the right, and a metallic silver for the star. The mounting used a layer of gold and ov copper over green cardstock.
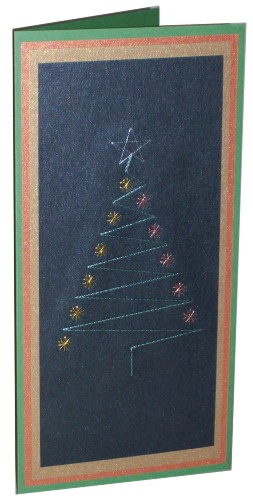
When I add a 'Merry Christmas' caption to these they will be ready to go.
For those who are fans of nut breads and find themselves, at this time of year, deluged by tomatoes in the garden, I'll share the recipe I have for Green Tomato Bread. If you've had Zucchini Bread you'll find it similar but I actually like it better:
GREEN TOMATO BREAD
1 ½ cups ground green tomatoes ½ cup grated tart apple 2 cups sugar 1 cup vegetable oil 3 beaten eggs | 1 teaspoon vanilla 3 cups flour 1 teaspoon baking powder 1 teaspoon baking soda 1 teaspoon salt | 2 ½ teaspoons cinnamon ¼ teaspoon ground cloves ¼ teaspoon grated nutmeg ¾ cup chopped nuts ½ cup raisins (optional) |
In a large bowl, combine green tomatoes, apple, sugar, oil, eggs and vanilla. Into separate bowl, sift dry ingredients. Stir dry ingredients into wet ingredients.
Add nuts and raisins (if using) and stir to combine. Divide mixture between two greased 9x5 inch loaf pans. Bake at 325 degrees for 1 hour, or until a tester comes out dry.
NOTE: The green tomatoes can be ground and measured out for freezer storage until you are ready to make bread, if you wish.
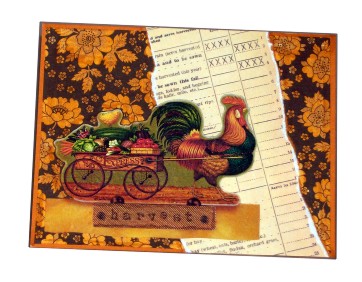
I put together some scraps to make this county-style card. The chicken is a catalog illustration for a wall plaque. I added a brown floral background and re-colored the lightest parts with watercolor marker to bring it up to the gold in the illustration. The wide strip is an account ledger from a farm. Then I added a fabric text strip at the bottom.
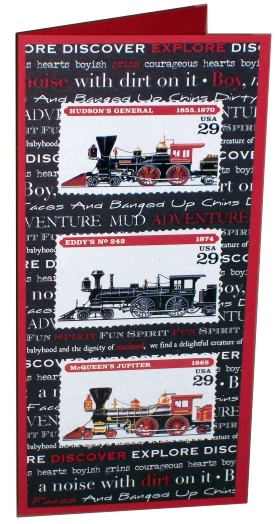
Once again I dipped into the bits I have saved from my junk mail to make a card. These stamp replicas were in an ad (acutally 5 of them) in a strip. I used stamp edge scissors to cut them into individuals and mounted them on black and white text scrapbook paper.
To play up the red color in the engines I used watercolor marker on selected words in the text background. Then I mounted it all on cardstock of the same dark red.
From one friend I got embossed cards from her Cuttlebug machine, from another friend a gazillion Halloween stickers. Voila! A simple card ready to mail.
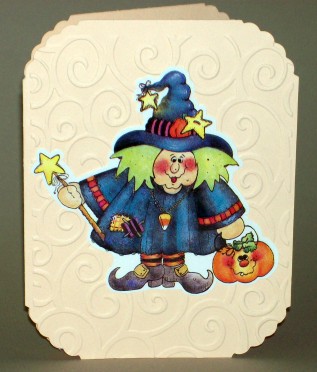
The embossing friend sent me 6 different colors with 5 different embossed patterns so you will be seeing more of these. I only made ONE into a Halloween card, though.
Hubby and I have been playing with blocks! BIG blocks. After living in our house for over 18 years we finally decided to put in some landscaping in the front. We started last weekend and finished this new flowerbed today.
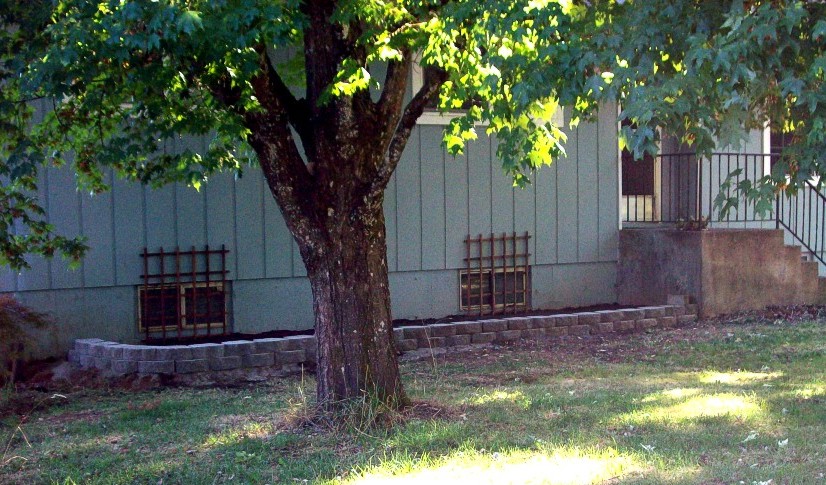
I will be planting ferns in back, hostas in the center, coleus in the front. We want to have some color and it is in perpetual shade - all seasons and all times of the day. I still have to research the best time to plant all of these, but when the time is right WE ARE READY!
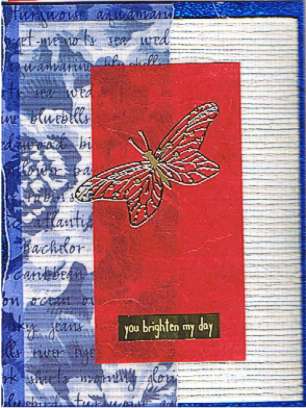
Last year one of my groups was challenged to create a card with only Red, White and Blue. We made three cards and then swapped them.
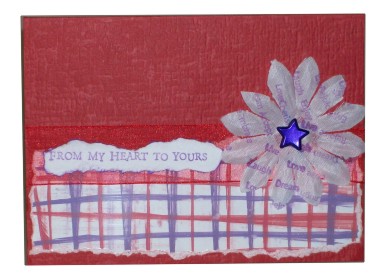
I make a collage card using blue metallic crinkle paper, white textured wallpaper, translucent printed vellum, and red mulberry paper. We were allowed to use gold as an accent so I added a butterfly peel-off and a brass text plaque.
Here are two cards I made from my parts-and-starts drawer quite a while back.
The first started out as a simple magazine photo of a lake. That ring of ripples was too good to resist so I added a rub-on of a jumping fish. Then came the swooping bird and finally the rowboat. I had these great text stickers and they were the perfect finishing touch.

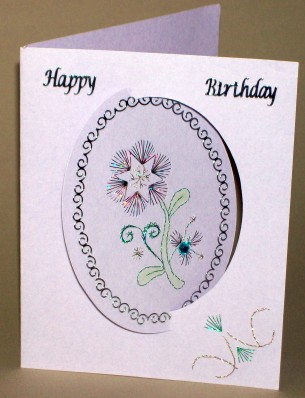
The second card motif was a botanical illustration from a book. I cut an oval in printed scrapbook paper to frame it and used the center scrap to make the matching tag. The text blocks are stickers.
I love being able to combine elements from a variety of sources - many of which would be trash in another's hands - to make something fresh.
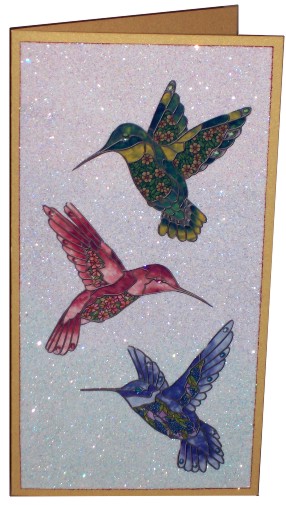
The magazine in the Sunday paper had an ad for these three hummingbird ornaments. I cut them out for this card.
I ran a piece of white cardstock thru my Xyron and placed it sticky-side up on the table. After placing the birds on it I sprinkled it with three colors of ultrafine glitter. The edges of the glittered card were inked with cranberry color and glued to the front of a gold metallic card.
The central stamped, embossed and colored image was stamped by my sister-in-law on a Thanksgiving dinner invitation. I saved it for repurposing!
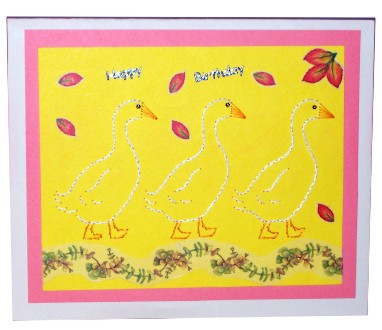
I made the background with peel-and-stick paint samples which I cut into 1/2 inch strips. I arranged them on a square of paper with diagonal lines drawn on.
After gluing on the image I trimmed it up with peel-offs. I didn't have gold so used a Sharpie marker on silver ones to get the same effect. I mounted the whole lot on a square yellow-gold card.

I am obviously working on the holidays way out of order! My latest creation is a Halloween card. I was inspired by the Halloween card shown on one of my lists that used this same stitching template. I have stitched it up several times myself but always end up putting something old-fashioned or elegant in the frame.
This time I had it already stitched up in copper metallic Sulky thread on dark green cardstock. I had multiples of the central motif which are stickers. I applied one to the center and two more onto plain white cardstock. From these I cut out separate elements and mounted with foam tape for a nice 3D image.
Double matting, first on copper edged with dark green ink then on orange, brought out the colors of the stitching and the illustration. I added more stickers in the corners for framing and a fabric text sticker at the bottom.

