Sunday, 21 September 2008
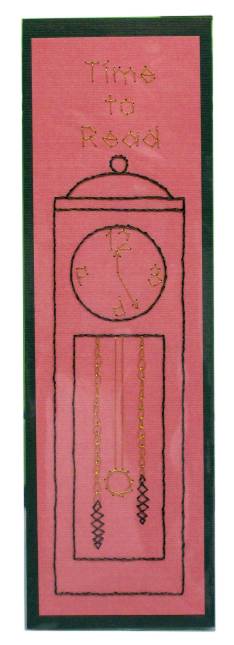
Time Running Backward
Topic: New Work
Well, here's one I will have to tear apart and re-stitch! I didn't notice until insertng it into the plastic sleeve that I had reversed the 6 and the 9 while stitching upside down! LOL!
Ddd
Posted by studio3d@ccgmail.net
at 6:00 AM PDT
Saturday, 20 September 2008
Play Ball!
Topic: New Work
I love the casualness of this pattern which is really a 3D construction. The glove is stitched on a crackle printed scrapbook paper which makes it look well-used. Then it is trimmed close and mounted with pop-dots. I used a scrapbook paper that resembles worn denim.
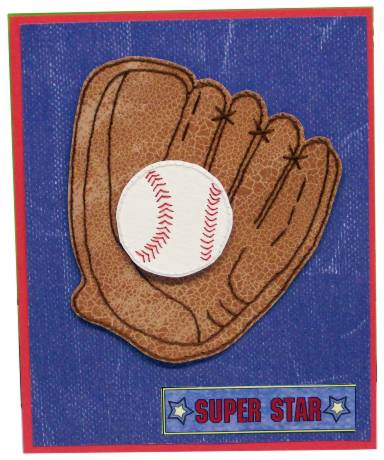
The ball is stitched on watercolor paper as it has the texture I like for the ball. Then it is trimmed close to the stitching and mounted on pop-dots as well. The banner is a sticker.
Ddd
Posted by studio3d@ccgmail.net
at 6:00 AM PDT
Friday, 19 September 2008
The Leaves are Falling
Topic: New Work
I wanted to create a 'how I create patterns' display for my stitched cards presentation. So I imported this maple leaf into my program and printed up the steps as I created this pattern.
Then I stitched it up on red cardstock in golden thread and mounted on multiple layers of fall colors and gold metallic cardstocks. On the main background I imprinted swirls with the Cuttlebug to evoke winds and falling leaves.

The greeting is a Cuttlebug greeting plate which was imprinted on gold metallic, cut out, mounted on colored cardstock and trimmed again.
Ddd
Posted by studio3d@ccgmail.net
at 6:00 AM PDT
Thursday, 18 September 2008
Antique Rose
Topic: New Work
I selected the crackle printed scrapbook paper and pricked out this pattern first. Then when I went looking for the right thread discovered every pink I had was either too orange, too blue, too wahtever. I decided on white and then brought in the cream petal edges in keeping with the antique theme.
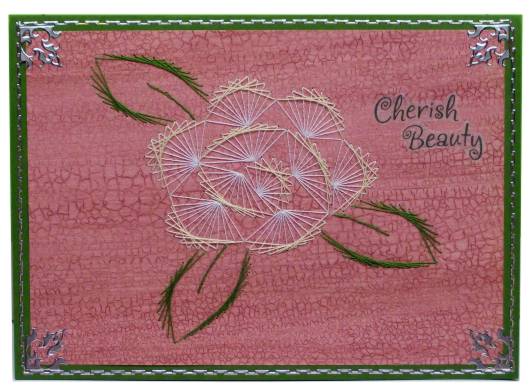
I finished with silver peeloff borders and corners and then added vellum stickers for text.
Ddd
Posted by studio3d@ccgmail.net
at 6:00 AM PDT
Wednesday, 17 September 2008
Sweet Violets
Topic: New Work
I don't do many stitching cards that are just borders but in trying to stitch up as many of my patterns as possible, this wone was fast to do! the center illustration and the greeting are a collage of vellum stickers.
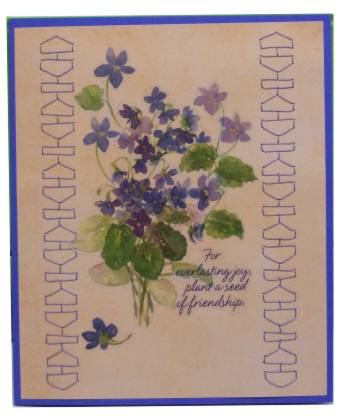
It is stitched on scrapbook paper and mounted on card to match the flowers.
Ddd
Posted by studio3d@ccgmail.net
at 6:00 AM PDT
Tuesday, 16 September 2008
Criss Cross
Topic: New Work
This is the first time stitching directly on an embossed background. This pattern of hearts was made with the Cuttlebug.
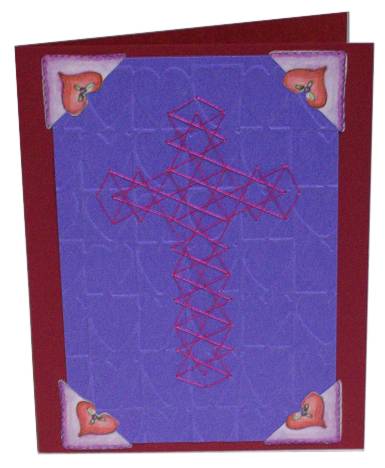
The purple and the hearts are repeated in the corner stickers.
Ddd
Posted by studio3d@ccgmail.net
at 6:00 AM PDT
Monday, 15 September 2008
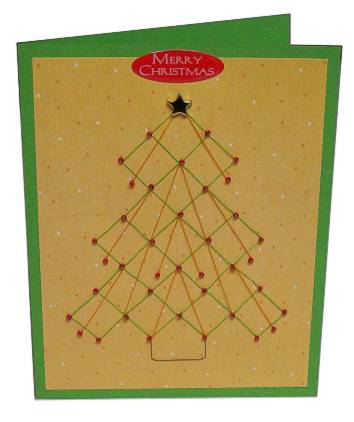
Deck the Halls
Topic: New Work
A puffy acrylic sticker, a gold star brad and red seed beads pull this card together. The threads are actually brighter green and gold than they appear here and are stitched on a spotted scrapbook paper.
Ddd
Posted by studio3d@ccgmail.net
at 6:00 AM PDT
Sunday, 14 September 2008
Wheeeeeee!
Topic: New Work
I originally designed this with red, green and bright blue colors. But when I found this great background I decided to mute the threads as well. I used a single strand of embroidery floss.
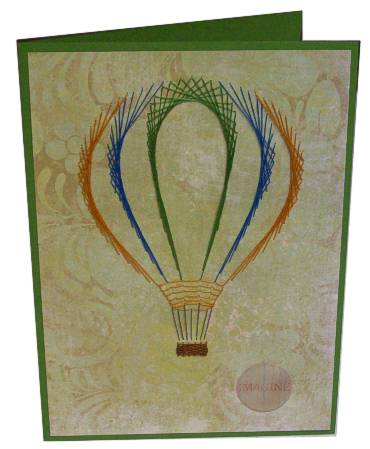
The text is a printed acrylic puffy sticker that says IMAGINE. The background of the sticker works so well with the card background.
Ddd
Posted by studio3d@ccgmail.net
at 6:00 AM PDT
Saturday, 13 September 2008
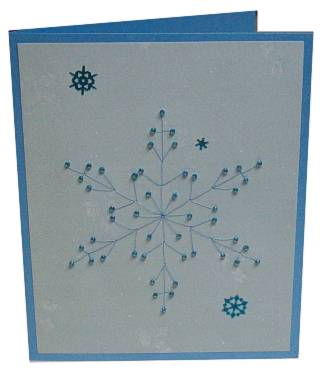
Is That a Chill In the Air?
Topic: New Work
I originally designed this snowflake to have sequins at the tips. But I beleive I do like it better with these ice-blue beads. I colored silver peel-off stickers with Sharpie marker before adhering to the background.
Ddd
Posted by studio3d@ccgmail.net
at 6:00 AM PDT
Friday, 12 September 2008
Handy Man
Topic: New Work
I found the best quote for these stitched tools... "Blessed are the joy makers"
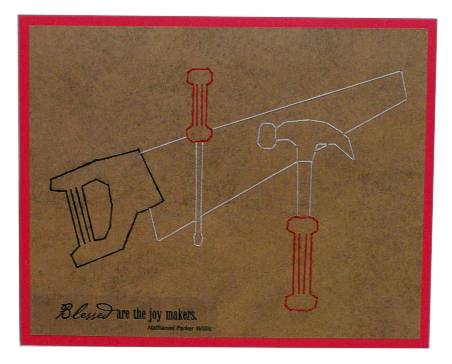
I wanted these tools to have a bit of 'presence' so I used embroidery floss to stitch them.
Ddd
Posted by studio3d@ccgmail.net
at 6:00 AM PDT
Thursday, 11 September 2008
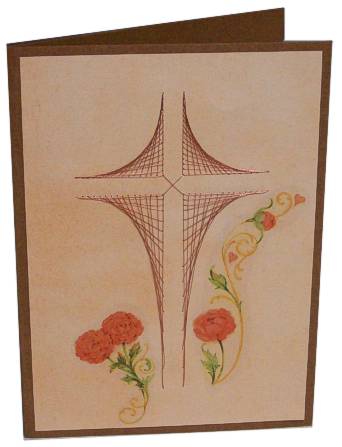
One of my first patterns
Topic: New Work
Actualli, I believe this was the second pattern I designed. I usually stitch with a layer of vellum over a floral imprinted paper. This time I stitched on scrapbook paper and used vellum stickers on top to add the floral element.
Ddd
Posted by studio3d@ccgmail.net
at 6:00 AM PDT
Wednesday, 10 September 2008
Stitching Marathon
Topic: New Work
I'm going to be showing some of my patterns at an event on Friday so needed to stitch up as many as possible in a short timespan. I'll just post one per day, though, so as to stretch the entries out!
This pansy pattern is difficult and time consuming and I never felt like it was quite right when done. This time I added the outline stitch around each leaf and petal and I like it SO much better.
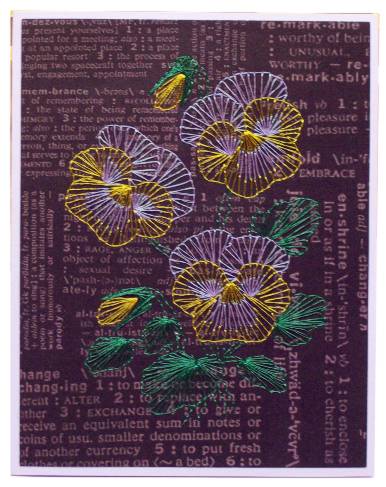
I stitched on printed scrapbook paper with metallic threads.
Ddd
Posted by studio3d@ccgmail.net
at 6:00 AM PDT
Tuesday, 9 September 2008
Red Pears
Topic: New Work
A magazine illustration is the feature of this card which uses a striped scrapbook paper for a background. The brown cardstock pulls out some of the background color and I used Whisper inkpad direct-to-paper to make the background for the greeting. It was then stamped with red ink and cut out with a Cuttlebug die and the edges distressed with the same red.

Gold satin ribbon with a bow defines the bottom border.
Ddd
Posted by studio3d@ccgmail.net
at 6:00 AM PDT
Monday, 8 September 2008
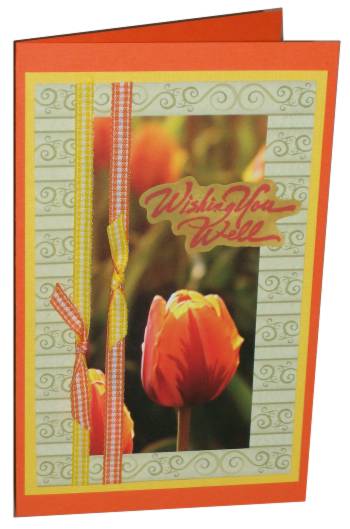
Wishing Well
Topic: New Work
The orange tulips are back. I cut these (from an advertising folder) and gave them a green scrapbook background, a yellow border, and orange cardstock. Then I pulled out the orange and yellow plaid ribbons and used a snippet of each to tie contrasting 'bows' on them. The text is rubberstamped with dark orange on card I toned green with Whisper inkpad direct-to-paper. I trimmed close around it before mounting.
Ddd
Posted by studio3d@ccgmail.net
at 6:00 AM PDT
Sunday, 7 September 2008
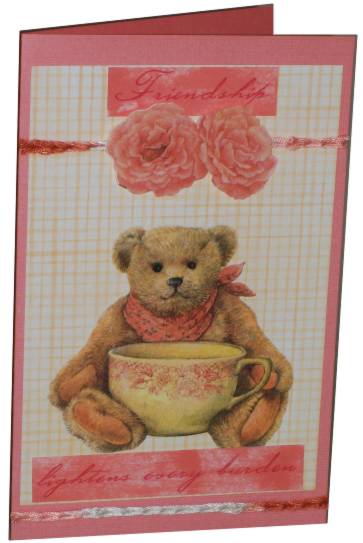
Friendship
Topic: New Work
Start with a sticker... (I know, I usually end with a sticker!)
In this case I rally wanted to use this cute bear so everything else was based on this. First came the yellow-gold plaid scrapbook paper to match the teacup. Then the background cardstock to match his kerchief. I found that I had the sticky-backed braid in the right colors and a lovely pair of roses from the same sticker sheet as the bear. They are raised on foam to ride over the braid. The text is from a printed scrapbook paper but it was a light pink background. So I used Whisper inkpad direct to paper to match it to the cardstock.
Ddd
Posted by studio3d@ccgmail.net
at 6:00 AM PDT
Saturday, 6 September 2008
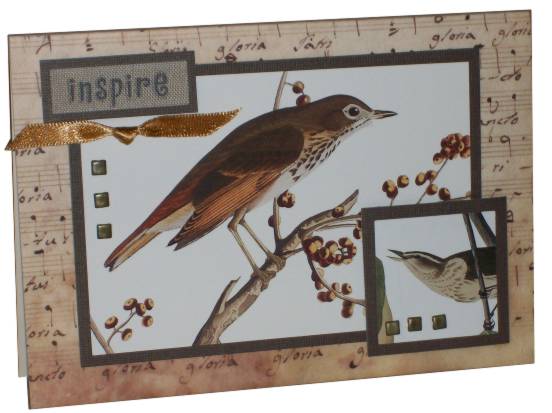
An Inspiring Pair
Topic: New Work
Two little birds (from a calendar) sing inspiring notes from the 'gloria' music in the background. The music is printed tissue on cream cardstock. Each bird and the fabric text sticker are mounted on brown card. Each birg got 3 little square brads installed and then everything is mounted on the background. The two smaller pieces are raised on foam for dimension. The final step was to add a bit of ribbon.
Ddd
Posted by studio3d@ccgmail.net
at 6:00 AM PDT
Friday, 5 September 2008
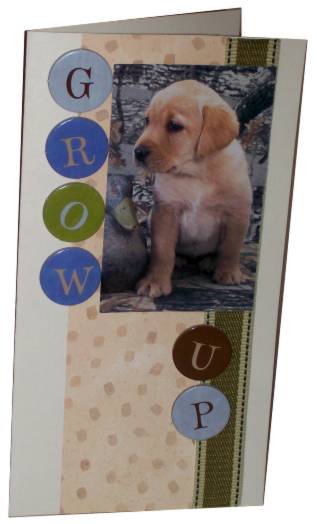
It's a Dog's Life
Topic: New Work
Another little pup from the back of a calendar. I gave him a background of scrapbook paper and some ribbon. The letters are chipboard.
Ddd
Posted by studio3d@ccgmail.net
at 6:00 AM PDT
Thursday, 4 September 2008
What a Blessing
Topic: New Work
What a strange collection of scraps! The serendipity squares across the top are the ultimate in scrapping as they are made of bits of odds and ends and then cut into little squares and mounted on a coordinating scrap of card. Then the butterfly came complete with the cutouts in the wings from some sort of advertisment (I think it was for papers), and the text is a cut-down sticker that matched. I mounted every one of them on a glittery salmon cardstock, some on foam. Then they were all mounted on purple to match the item backgrounds.
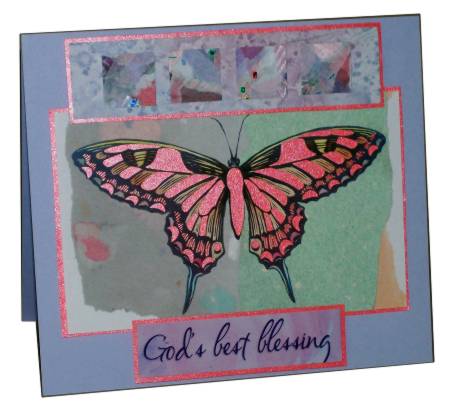
Ta dah!
Ddd
Posted by studio3d@ccgmail.net
at 6:00 AM PDT
Wednesday, 3 September 2008
When It All Comes Together
Topic: New Work
I think this card made itself! I picked up the magazine illustration which already had a thin black border. I thought "this needs text behind it' and remembered I had this printed tissue. I tore out a section and distressed the edges with ink. Then I pulled out a bunch of brown-toned scrapbook papers looking for just the right one and 'wham' this diamond print in gold and black just called out.
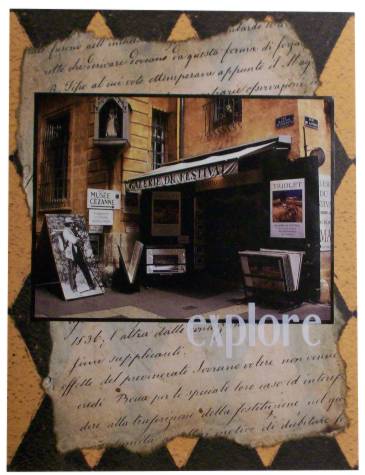
I folded a base card and glued everything down, then added a white rub-on to bring out the white in the signs.
This card literally came together in 10 minutes!
Ddd
Posted by studio3d@ccgmail.net
at 6:00 AM PDT
Tuesday, 2 September 2008
Great Impressions
Topic: New Work
I started with this impressionist painting from a magazine and gathered complementary elements for this card. Down the left is a scrap of paste paper with four serendipity squared on top. The lower right corner hosts a butterfly sticker and two white rub-ons are combined for the text.
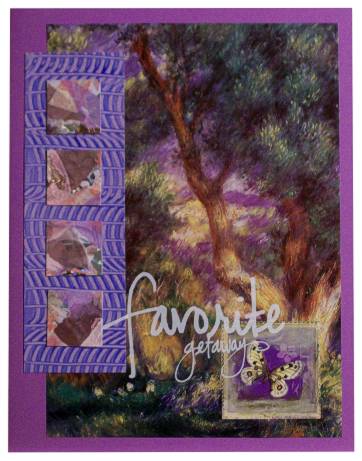
The base card was selected to pull all the purple elements together.
Ddd
Posted by studio3d@ccgmail.net
at 6:00 AM PDT
Newer | Latest | Older
