Topic: New Work
This was made for a challenge to use paper embroidery on a box. I made the stitched panel and then constructed a box to fit it on. I trimmed it out with gold peel-off corners.
The box measures 6"x6" square.
Ddd
« | March 2009 | » | ||||
S | M | T | W | T | F | S |
1 | 2 | 3 | 4 | 5 | 6 | 7 |
8 | 9 | 10 | 11 | 12 | 13 | 14 |
15 | 16 | 17 | 18 | 19 | 20 | 21 |
22 | 23 | 24 | 25 | 26 | 27 | 28 |
29 | 30 | 31 |
This was made for a challenge to use paper embroidery on a box. I made the stitched panel and then constructed a box to fit it on. I trimmed it out with gold peel-off corners.
The box measures 6"x6" square.
Ddd
Here's a little vignette from around my house. This is the arrangement on my kitchen table this week.
Ddd
This does NOT look like the original calendar illustration. I trimmed the flowers close around and arranged them to look like a vine. Some leaf stickers were added to cover the gaps. Two birds from the same page were cut with the scalloped nestabilities. I cut two tones of textured cardstock and uses my scallop scissors to trim up one edge.
The text is a vellum sticker and I added three green rhinestones.
Ddd
Somewhere I came up with a card front that said Grandfather and had these apples on it. There were more apples that I trimmed away with the first half of the word. I used 4 layers of scrapbook paper and a couple of text stickers.
Three square brads finish this off.
Ddd
I realized that anniversary cards usually end up being girly looking so I wanted to make one that is more suited for a guy.
These plainly colored birds look well put on a leather printed scrapbook paper. I had a tag with a printed oval so I used a vellum sticker in its center, cut curved slits and threaded green dotted ribbon through.
I placed all this on afolded cream cardstock base.
Ddd
You may recognize these tulips from 4 or 5 other projects I have used them on. I had just two sheets of them left and combined them by cutting and layering. Since I had done the ovals with scallops I used scallop scissors on two edges of yellow cardstock and then mounted that over an orange card base.
I tied a couple of bows in orange ribbon and affixed it at the top and the bottom of the yellow borders. The text is a sticker.
Ddd
What will I do when all my bird calendars are gone?
I cut this with a scalloped nestability die. The feathers are from my handcarved rubber stamp and colored with watercolor pencils. The text is cut from a Cuttlebug impression and the piece is enhanced with rhinestones.
Ddd
This scrapbook paper with friendship text was a perfect foil for a watercolor illustration from a greeting card. I hand-cut the flowers and vase and made a few 'paint strokes' of my own with watercolor markers. One bloom was WAY off to one side so I snagged it and cut it out separately with a nestability die. It is popped up on foam tape.
A preprinted tag used only the glue and greens so I used those watercolor markers again to fill in the pink stripes. A supplemental tag s attached with a heart brad. Can't read it? It says "Listen to the voice inside your heart. Believe."
Ddd
Some advertising piece used this woodcut illustration of a queen so I hijacked her for this card for "Queen of the Month" on one of my lists. I gave her a hand-cut crown to which I added sitck-on rhinestones. I gave her a necklace of stickles and added a large rhinestone to it.
Gold gel pen enhances the scallops from the nestabilities die and I inked in the 'decree' on her paper. The text is a peel-off followed by more gel-pen to which I added just a bit of Stickles.
Ddd
A few months ago I was working a lot from inspiration pieces. I got the idea to sign up a few friends to work with me in a series. I selected the inspiration piece and created my card. Then I sent ONLY my scanned card to the next person. When they sent their scan to me I sent ONLY that one on to the next person. Here's the resulting serial inspiration...
This is the inspiration piece...
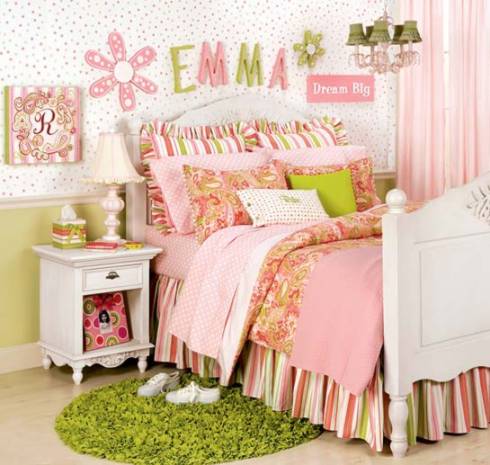
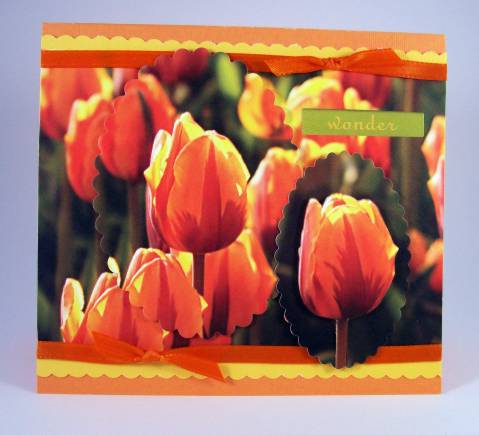
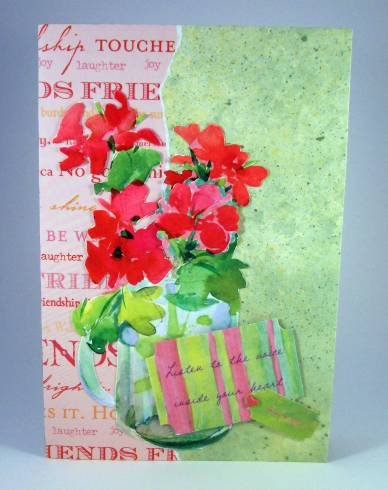
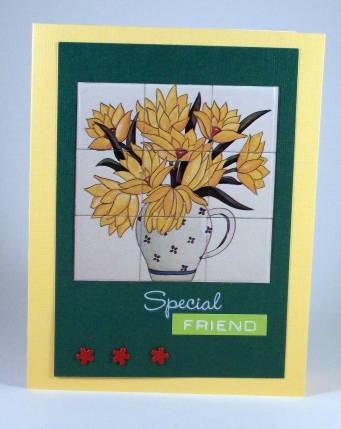
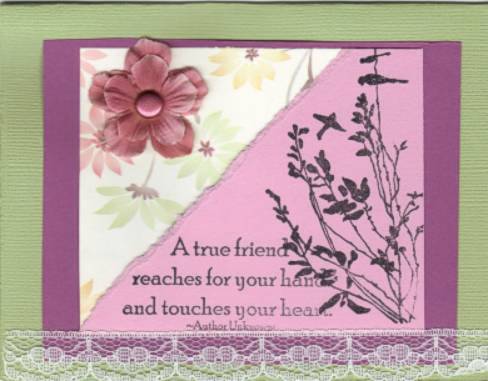
I used the colors, flowers, and the ruffle from the bed skirt to create this...
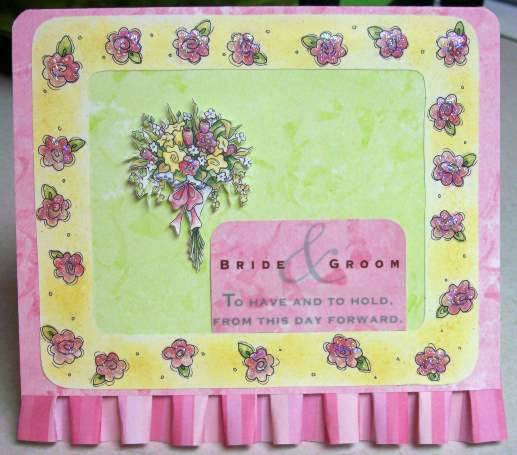
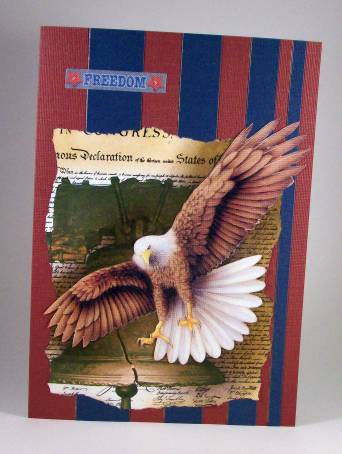
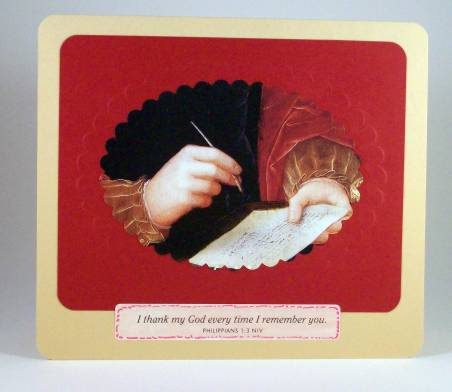
Elaine used some of the same colors, kept flowers, and a little of the layout. She substituted lace for my ruffle...
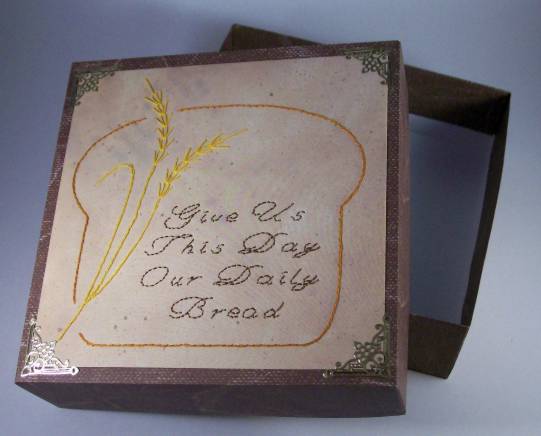
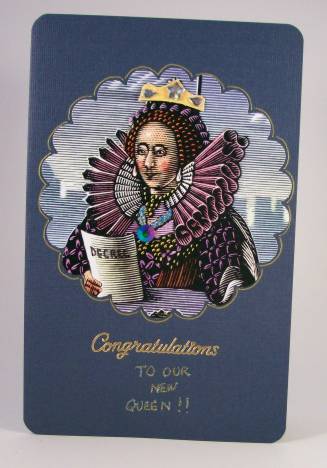
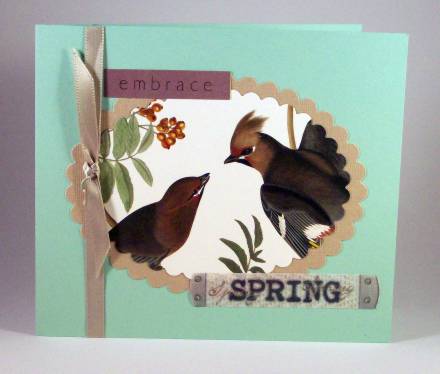
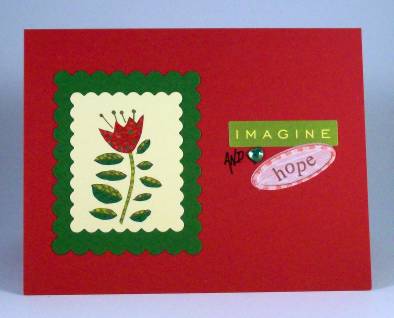
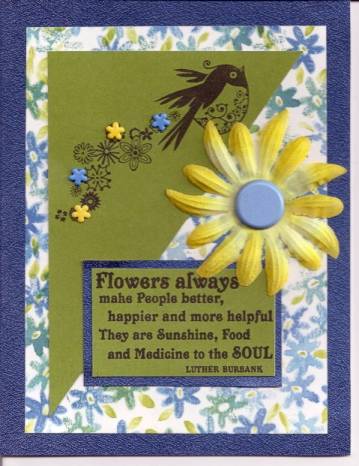
Janet kept the diagonal in the layout and the large flower, though she moved it. She also used rubber stamping on her card like Elaine did. Her sentiment has been framed and she changed up all the colors...
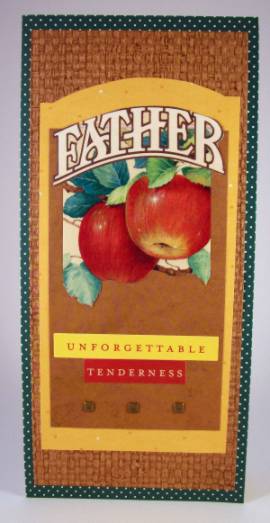
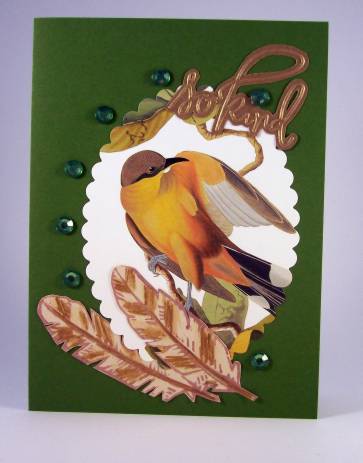
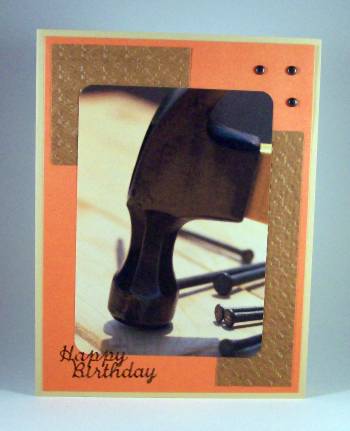
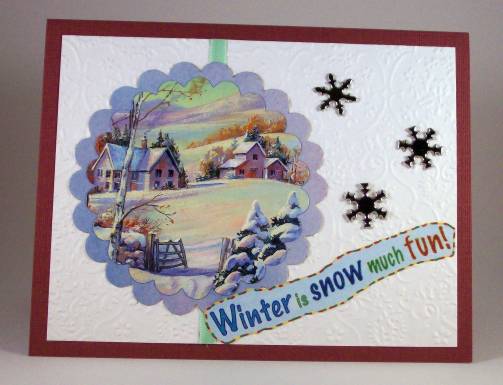
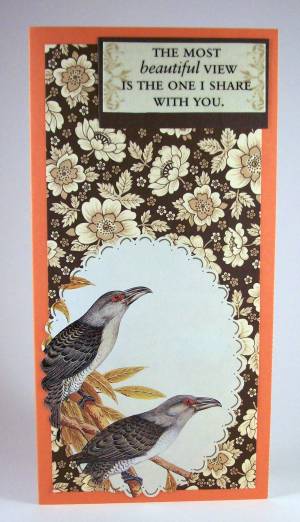
Robin kept the triangle but changed it to a center alignment. She also uses a single large flower but has changed out the little florals for a center embossed band. In place of the framed sentiment she uses a framed 3D cutting. Also, new color scheme...
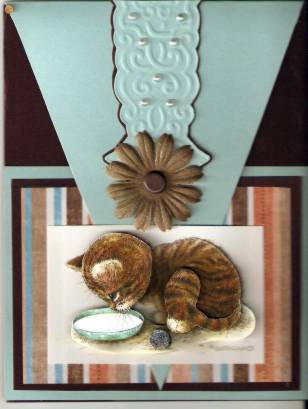
So, we're at the end. Now go back and compare Robin's piece with the inspiration piece. What a ride!
Ddd
If you're a carpenter and having a birthday, this card's for you. Behind the hammer I added two blocks of paper impressed with houndstooth. The burnt orange background sets off the 'nail heads' from brads and greeting.
The greeting is gold peel-off re-colored with sharpie markers.
Ddd
I hand-cut the eagle from a magazine illustration and added it over an image of the Liberty Bell and Declaration of Independence. Before placing it I stained a 'shadow' around the eagle to make it pop.
On the burgundy background I added stripes of dark blue in 1", 3/4", 1/2" and 1/4". I drew a metallic gold line along the left edge of each.
The Freedom text is a fabric sticker.
Ddd
The color block on this is from a catalog of kitchen tiles. I made a crease at each of the seams and around the outside to reinforce the look of real tiles.
red brads, a rubon and a sticker finish off this card.
Ddd
As a followup to yesterdays rant about winter, I thought I'd welcome SPRING back.
These birds are from a calendar and cut with nestabilities. I dropped in a tan background and added a bit of ribbon with a bow. The text at the top and bottom are stickers (no surprise there).
Ddd
It SNOWED the day I made this (Feb 14) and that is SO WRONG! I'm tired of winter which started early this year too. Too much snow for me.
Anyway, I pulled together a Cuttlebug background with whire swirls, an old card illustration, some snowflake brads and a glittery sticker. Add this to burgundy cardstock, a green ribbon, a scalloped background and, voila!
So I'm ready nor NEXT year, but I am SO done with this one.
Ddd
More puppies from my calendar...love these little guys.
Sut with nestabilities and backed with green paper to blend in with the leaves in their background.
I used white rubons for text and added a little rhinestone heart to show how much they mean to each other.
Ddd
From a full-page magazine illustration I selected just this small part to feature on this card. These hands are so expressive and the sticker I found fit perfectly as the sentiment.
I mounted on cranberry cardstock and rounded the corners. It just barely shows but I used the next largest nestability to emboss a scalloped background on the cranberry and then mounted all on a tan card base.
Ddd
A simple card made from a card!
I cut out the image from an old card front with nestabilities and then cut a larger piece of green for a background. The folded card base pulls the colors from the flower and then dropped on a couple of stickers and a rhinestone heart.
The black text is hand-written with a marker.
Ddd
I'm not much of a morning person so it really takes an extraordinary sky to get me to pull out the camera at 6 am! However, TWICE in one week I was inspired to do just that.
One morning it was the beautiful fog in the valley behind the house.
Then two days later, here comes the most incredible sunrise.
I better save these someplace safe. Who knows when I'll be coherent enough at the crack of dawn to capture something like this again?
Ddd
More calendar birds! For a while they were lining them up in pairs so this clear sticker was a perfect sentiment to use. I used a scallop Nestability but the shape just faced into the background paper so I did a bit of doodling around the illustration. The salmon cardstock base brings out the color of the birds' eyes, reinforcing the theme of 'viewing'.
This was hubby's Valentine.
Ddd