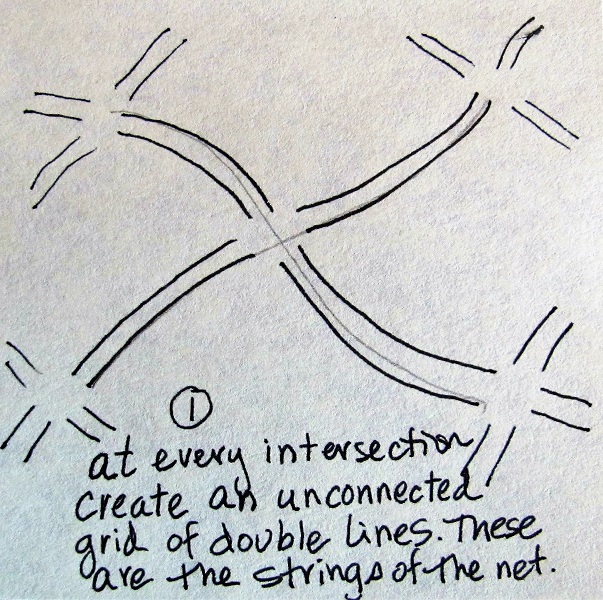
« October 2018 »
S M T W T F S
1 2 3 4 5 6
7 8 9 10 11 12 13
14 15 16 17 18 19 20
21 22 23 24 25 26 27
28 29 30 31
You are not logged in. Log in
Entries by Topic
All topics
3D paperwork
A - Z challenge 5
A - Z challenge 7
A - Z challenge round 4
A to Z challenge round 3
A to Z round 2
A to Z round 6
A-Z round 1
Around the House
Art Challenges
Artist Trading Cards
Backgrounds
Beads
Bible Journaling
Books
Boxes
Collage
Color Challenge
Coloring
cookbook
Die Cuts
Digital Projects
Digital Stamps
Drawing  «
Dry Embossing
Fabric Stuff
Fantastic Folds
Field Trip
Home Decor
How Does Your Garden Grow?
Hymnal Art
In The Kitchen
In the studio
Jewelry
Lettering
Links
Multi-Technique
Music to Work By
Musings
Nail Art
New Work
Online Class
Other Hobbies
Other Projects
Painting
Paper Embroidery
Paper Piecing
Photo
Pretty Paper
Quilting
Random
reading
Scrap Recovery
scrapbooking
Sewing
Sketch Challenge
Some Backlog
Stamping
Stencils
Stickers
Supplies
Teabag Folding
Techniques
Testing
tips and tricks
Tutorial
Web resources
Welcome to my Blog
Work By My Friends
workflow
Writing
Blog Tools
Edit your Blog
Build a Blog
RSS Feed
View Profile
Group One
In & Out of Studio 3D
Friday, 26 October 2018
The Highs and Lows of Drawing
Topic: Drawing

It didn't take long before I was anxious to move on to the next drawing lesson.

This lesson was on multi-point perspective. Trying to get the angles AND relative sizes correct was hard. The original photo had multiple rooflines below this but I ran too close to the bottom of the page so those partial lines made no sense. The solution - leave them out!

So, here is the drawing for lesson 4:


Done!

Ddd


Posted by studio3d@ccgmail.net at 9:30 PM PDT
Wednesday, 24 October 2018
Drawing On My Travels
Topic: Drawing

The next lesson in the Drawing 101 class was on one-point perspective.

I know my own tendency, when working from provided photos and teacher sample drawings, is to base my own drawing too much on the derivitave work. I need to work from a photo with a similar concept but one I have not seen drawn. That way I get original work and learn the lessons rather than just duplicating someone else's work.

So I decided to use some of my own travel photos for reference.

This is a courtyard in Barcelona, Spain where we visited on a cruise a couple of years ago.


I took some liberties with the contents of the various floors on the right and left as those in the photo were boring. What isconsistent with the photo is the angle of view, which was the point of the lesson.

Ddd


Posted by studio3d@ccgmail.net at 3:55 PM PDT
Friday, 19 October 2018
Drawn to Drawing More
Topic: Drawing

The next lesson in Drawing 101 was on two-point perspective.

First we set up a horizon line and two points on the outer ends. Then we used those reference poits to draw cubes with a mid- low- and high-horizon.


Then we worked from a variety of photos to learn how to turn those 'cubes' into buildings, maintaining the correct perspective. These were sketched.


Then there was a final photo from which to make a finished drawing.


I am satisfied with the exercises I did with one exception... the one NOT SHOWN. It was a photo of an interior on which I got one whole wall off kilter. No need to expose you to that!

Ddd


Posted by studio3d@ccgmail.net at 7:51 PM PDT
Wednesday, 17 October 2018
More Drawn to Drawing
Topic: Drawing

It took me a couple of days but I did find reference photos and objects to draw for the three final pages for Drawing 101, lesson 1.

The first page was 'CONES':


The next was 'CYLINDERS':


And the final page was 'COMBINED SHAPES':


Now we're on to lesson 2 - perspective.

Ddd


Posted by studio3d@ccgmail.net at 2:44 PM PDT
Monday, 15 October 2018
Drawn to Drawing
Topic: Drawing

I signed up for another art class with Sandy Allnock at Art-Classes.com and I am loving this.

I have only begun lesson one's exercises so far. This is where we practiced drawing simple objects in assigned catefories.

The first category was 'CUBES'


and the second category was 'SPHERES'


Now I have to go draw some CONES and other shapes.

Did I mention I LVOE this class???

Ddd


Posted by studio3d@ccgmail.net at 7:03 AM PDT
Wednesday, 13 June 2018
Sketchy Business
Topic: Drawing

I guess I missed posting links to a couple of the Drawing Room lessons that I illustrated for Creative Bible Journaling.

We'll start with the one posted today.

Click here:  http://creative-bible-journaling.com/drawing-room-dr216-spiral-rose/  for a lesson on making this spiral rose.


The week prior I taught this hourglass.

You can get those instructions here: http://creative-bible-journaling.com/drawing-room-dr215-hourglass/

Now I can't remember if I posted the lesson for this waterfall! 

If I already posted it you can ignore this. If not... here is the link:

http://creative-bible-journaling.com/drawing-room-212-water-fall/

Hope you enjoy following these lessons.

Ddd


Posted by studio3d@ccgmail.net at 9:39 PM PDT
Wednesday, 14 February 2018
Drawing Room - Hearts
Topic: Drawing

The new Drawing Room downloads have been posted on the Creative Bible Journaling site.

This week I drew up multiple styles of hearts to be used in their Bibles since it was Valentine's Day.

You can go download a 'Tangled Heart' and a 'Filigree Heart'at  http://creative-bible-journaling.com/drawing-room-tutorial-102-hearts-filigree-and-tangled/

Here are the samples:


In addition to these, I drew up three more to post later in the week. No breakouts of the steps in the pictures but easy to follow along on the bullet points.


Feel free to download these lessons for your own use.

Ddd


Posted by studio3d@ccgmail.net at 6:39 PM PST
Wednesday, 7 February 2018
The Drawing Room is Open!
Topic: Drawing

I've been mentioning for some time the Bible Journaling Facebook page that I joined last year. I found them through an 'advertisement' on my Facebook feed. I first got involved with the weekly lessons in the Lettering Lodge and eventually became a co-leader of that topic thread. Then, at the first of the year, I started participating in the 'Devo Den' where we are working through a daily devotional book that includes coloring. I also began following along in the 'Scripture Writing Desk' where we write out the assigned scripture of the day.

In the midst of all that, I became interested in providing a way to help others draw simple illustrations to use in their Bible journaling. I suggested a new thread called 'The Drawing Room' and volunteered to staff it.

So, today is the first posting there! I do step-by-step drawings followed by a finished color version and write simple directions. Susan makes the lessons look consistent with a banner, frames, typing the instructions and posting to both the Facebook page (member site) and the website (where resources are open to everyone).

I can't direct you to the Facebook page but you can see and download the resources from the website at http://creative-bible-journaling.com/the-drawing-room-lesson-101-wavy-rose/ 

While you're there, have a look around, there may be more resources you'd like to access!

This is what the first lesson teaches:


This will become a regular, weekly thread (new lesson every Wednesday) on the Creative Bible Journaling site. I will link new lessons here - finished artwork only - so you can go download the lesson if you wish.

Ddd


Posted by studio3d@ccgmail.net at 10:16 AM PST
Friday, 20 October 2017
The Drawing Room
Topic: Drawing

When we were in Los Angeles last year we spent a couple of hours at The Getty Center and wished we had much more time there. So, earlier this week, we made time for it and flew down to spend two days viewing all the artwork on display.

What a treat! There is something magical in standing in front of a painting of irises by Van Gogh, a sculpture by Degas, a landscape by Monet... To see the brushstrokes, fingerprints in the paint, chisel marks of a master - it is almost overwhelming.

One small section of the museum is an area called The Drawing Room in which a small-scale statue, a couple of marble busts and several paintings are displayed. There are benches with built-in easels around the room and you are provided with paper, a large clipboard and a packet of drawing materials.

With these supplies you can sit and draw - with the sculptures and paintings as inspiration. What Fun!

I selected one of the busts and drew in sepia conte crayon. Here is my model:


And here is my finished work - about 1/2 hour of time invested:


For anyone who desires, they will put your work up on the bulletin board. Thus one can say they have work hanging in The Getty!

Ddd


Posted by studio3d@ccgmail.net at 1:50 PM PDT
Thursday, 11 May 2017
All Tied Up In Knots
Topic: Drawing

I had some questions on another forum on how I drew the knots in the fish net on this page:


So I decided to put together a short tutorial for everyone.


If you're going to draw elements behind the net, do so now before you go on to the coloring. Otherwise, the coloring could be rubbed away when erasing the pencil sketch lines for the fish or whatever is filling your net.

To color the net:


Yeah, I didn't erase my pencil lines before coloring on this tutorial - but you will do that!

Ddd


Posted by studio3d@ccgmail.net at 10:34 AM PDT
Sunday, 28 February 2016
All Drawn Out
Topic: Drawing

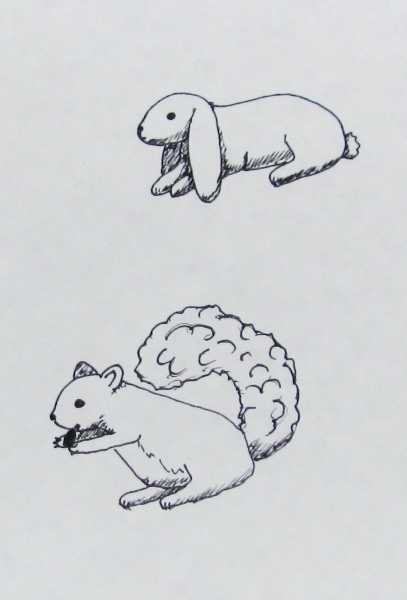
I have been doodling for as long as I can remember. It got me in trouble when I was in grade school as I used to use up my tablets with doodles instead of with my practice of printing and arithmetic.

In class lectures in high school and college I had just as many doodles in the margins as I had notes. Fortunately, I could look at what I had drawn and remember what the teacher had been talking about.

Later, sermon notes included many little designs that later became cards or scrapbook page sketches. 

I am not one to carry a sketchbook along with me (just one more thing for an already heavy purse) so I don't sketch much 'on the fly'.

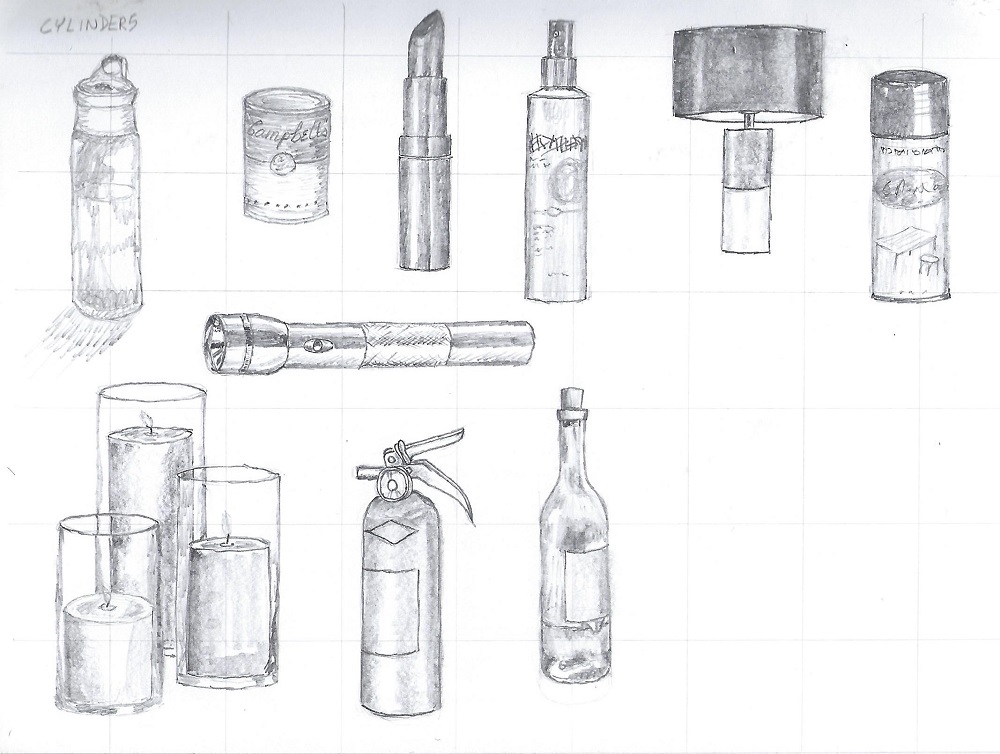
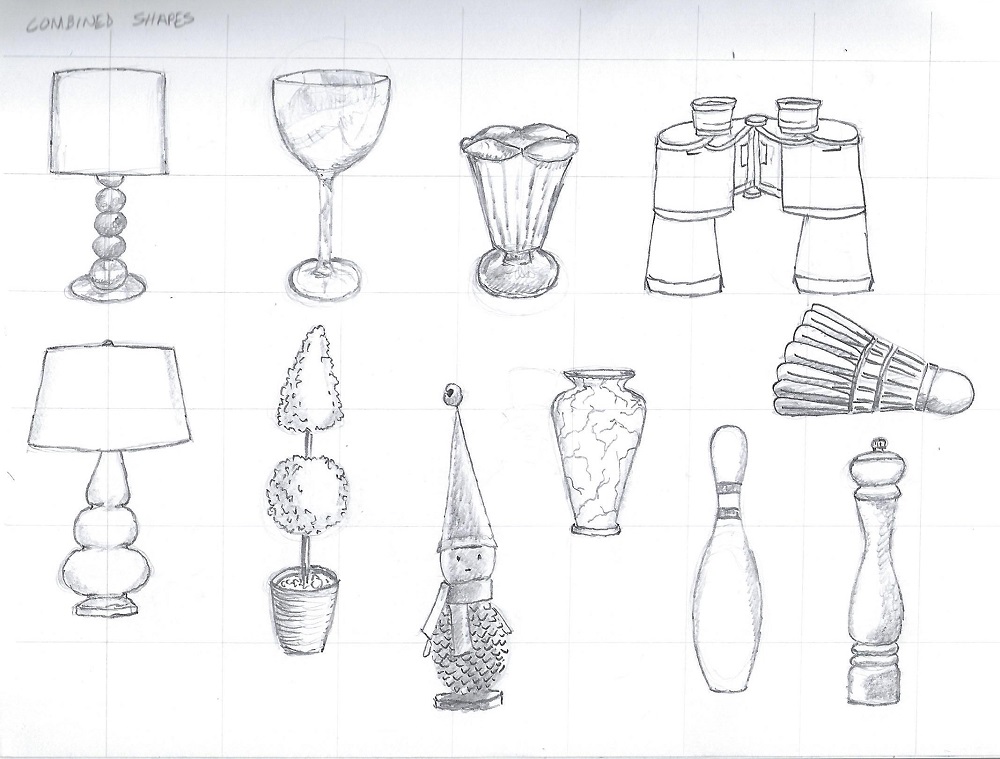
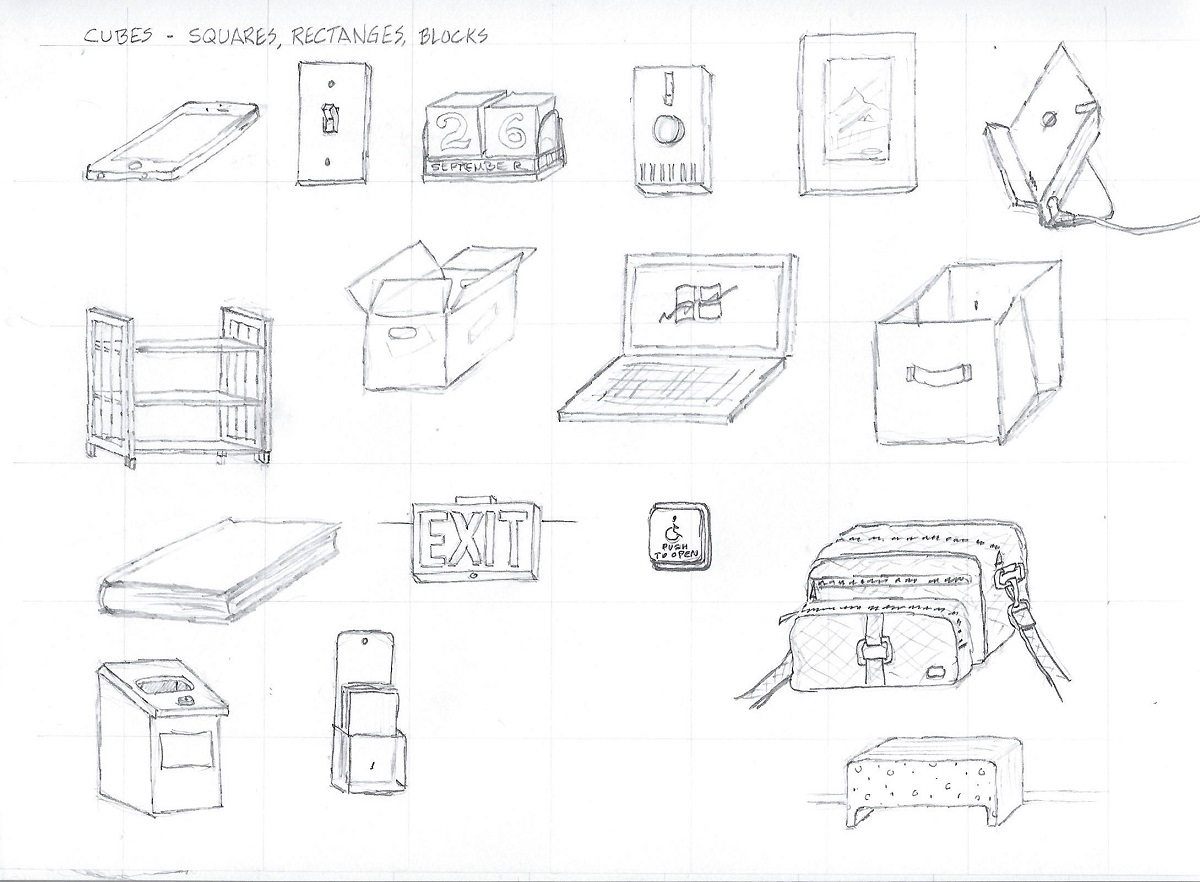
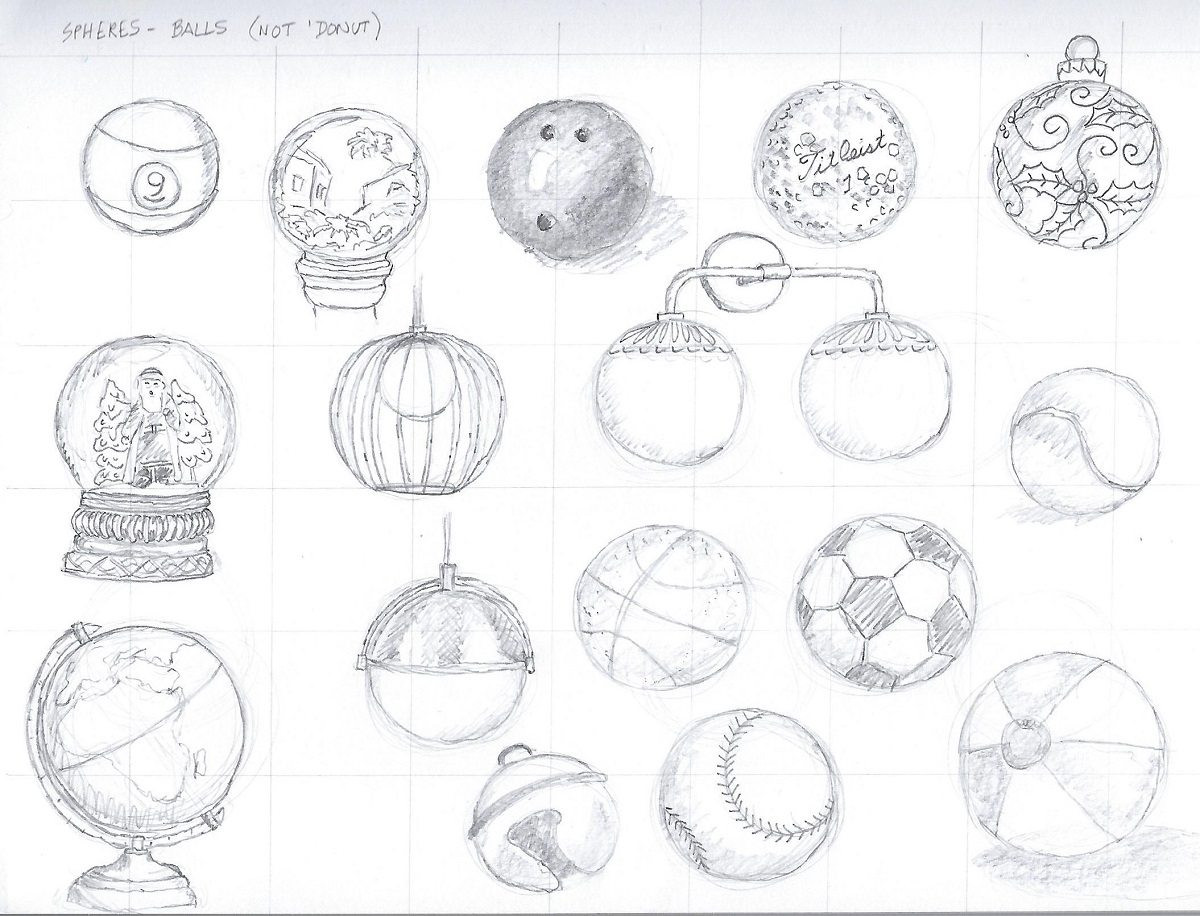
I do have a sketch pad that I can use when I intentially sit down to do some doodles, though.

I use an eversharp number 2 pencil because I can't stand the way regular pencils get dull so fast. I use a Mars eraser as it is easy on the paper surface. 


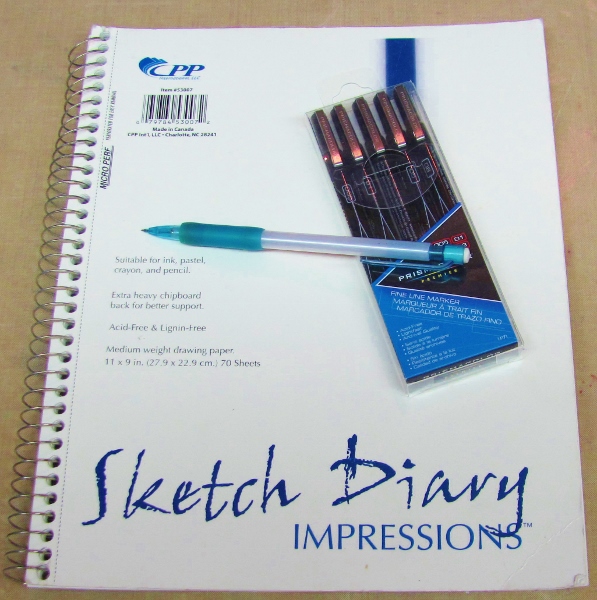
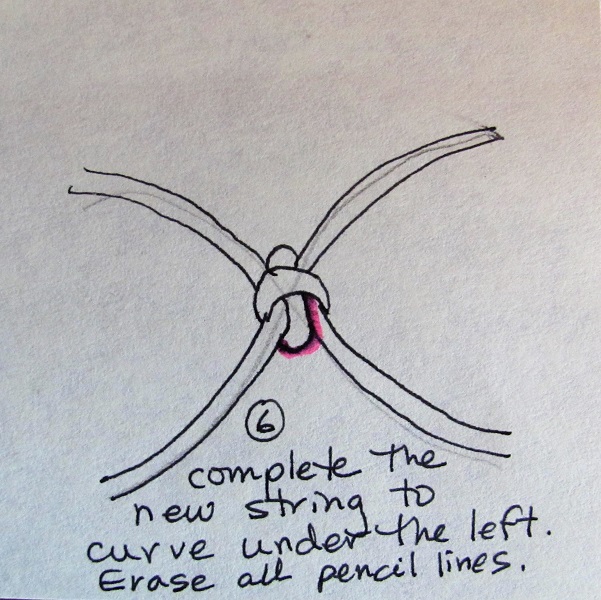
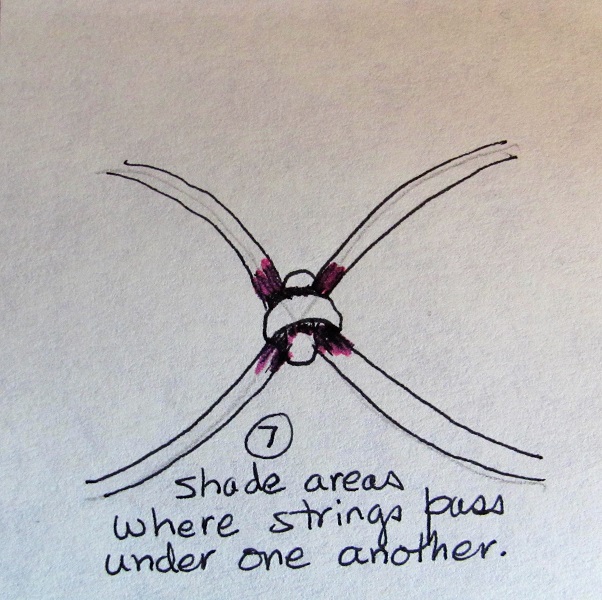
When I have a doodle or sketch I like I use permanent marker to ink it and then erase the pencil lines.

These get clipped out and filed for future reference.

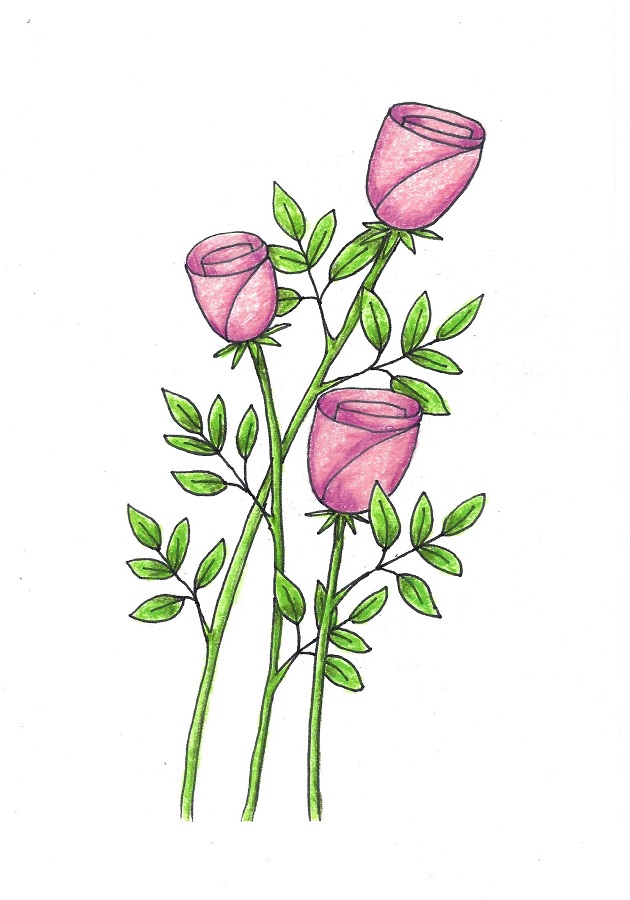
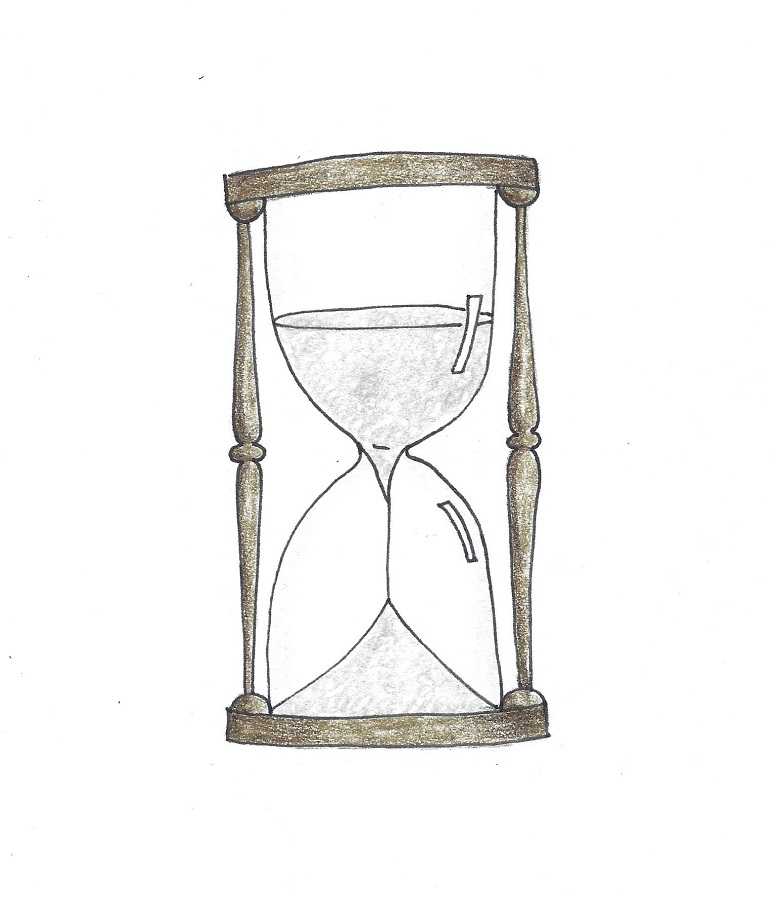
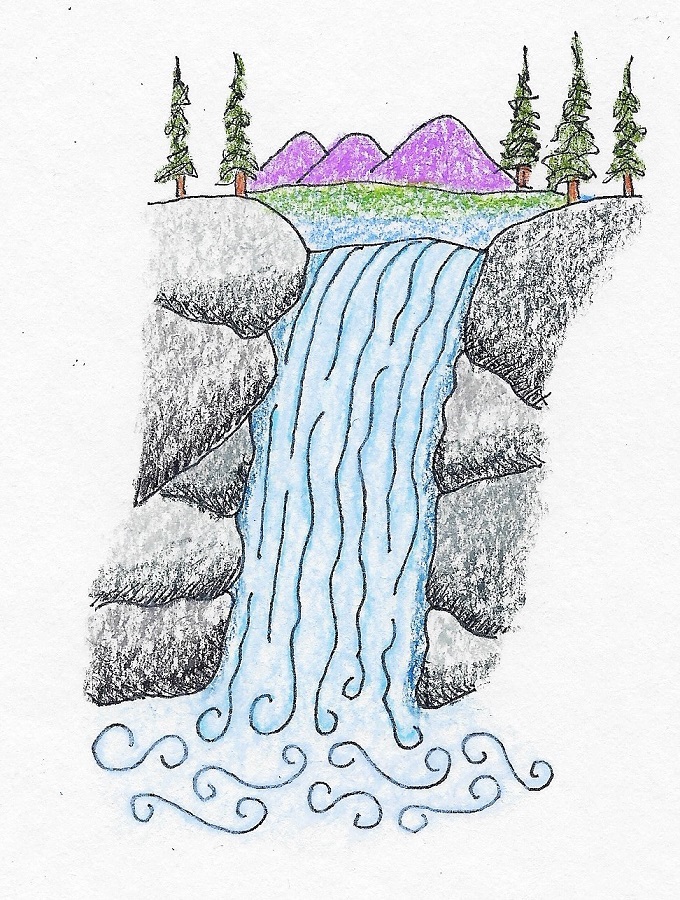
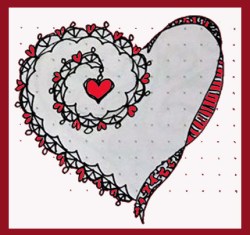
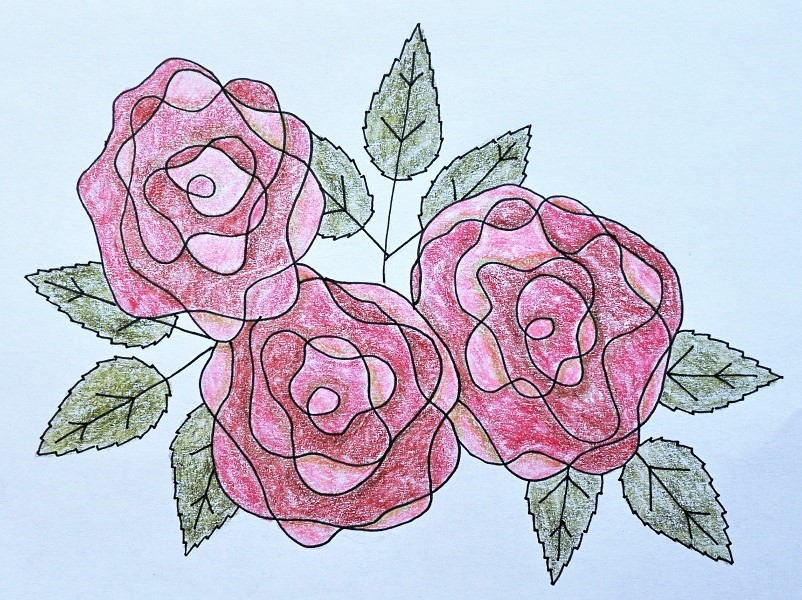
After refining further, they might be turned into a sketch for a card, a rubber stamp to carve, or a watercolor design.

Ddd


Posted by studio3d@ccgmail.net at 12:01 AM PST

Newer | Latest | Older