Topic: Books
Today there are instructions on how to make a 3x3 meander book SO EASY that I taught it to 5 grandkids this summer - ages 9 down to 3. If they can do it, you can do it! There are two ways of making it. With the boys I made hard-cover books and the girls made soft-covers.
Let's begin with the hardcover version. Staft with a 12x12 piece of scrapbook paper.
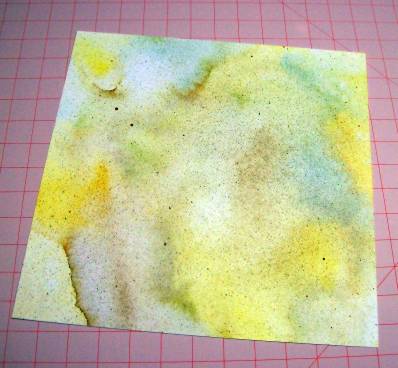
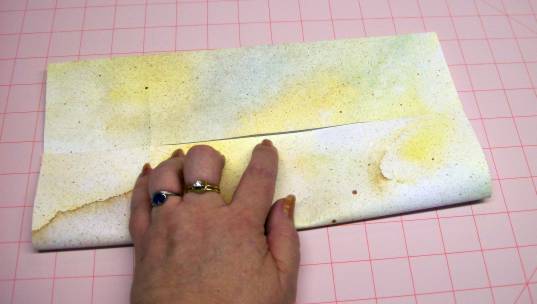
Begin with the printed side down and fold precisely in half.

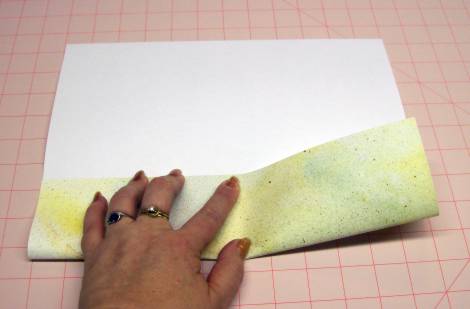
Open and fold the side closest to you to the center fold.
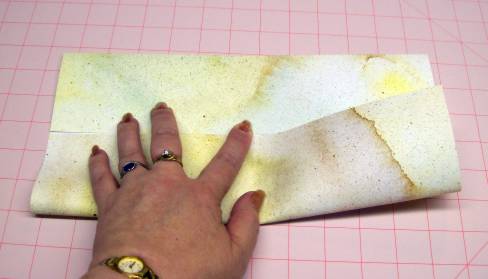
Rotate on the table and fold the other side to the center.
Open flat. Rotate 1/4 turn and fold in half again.
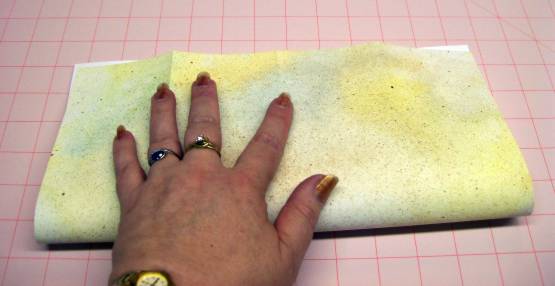
Open and fold side closest to you to the center.

Rotate and fold remaining side into the center.
Open out flat.
Use pencil to draw 'in the ditch' across the first three blocks from the upper left, then the right three blocks in the center row, then the left three blocks in the lower set. The finished lines will look like this:
_ _ _
_ _ _
_ _ _

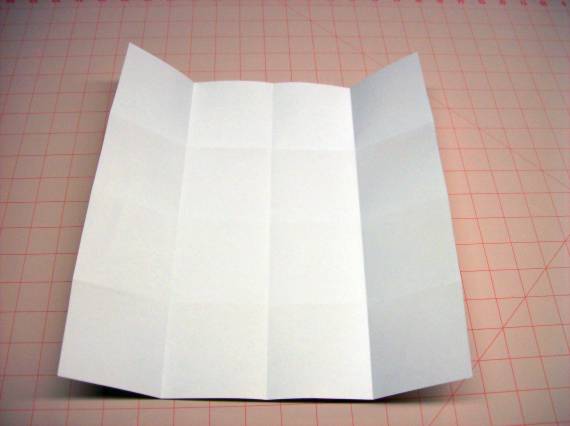
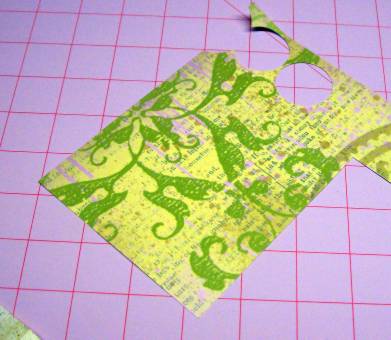
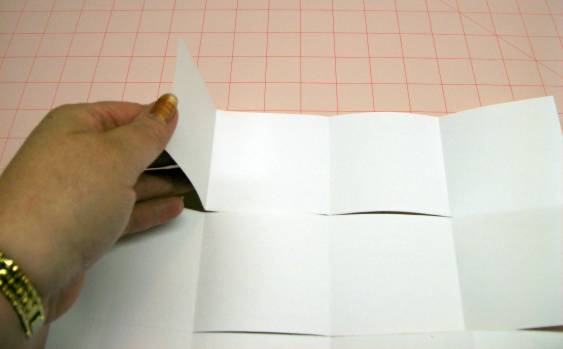
Cut on the drawn lines so finished page looks like this:

Lay on surface with printed side up. Fold first block (upper left) over.

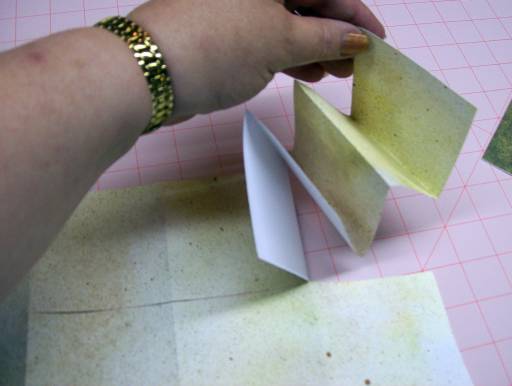
Fold next block under

Continue accordion folding around corners right to the end.
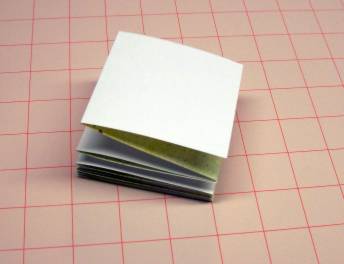
You end with the book stacked like this.
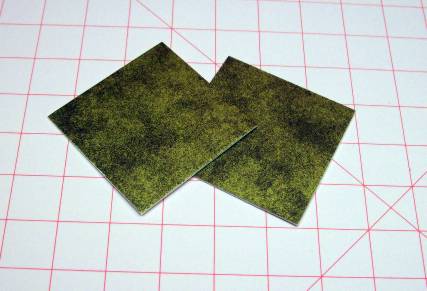
Now cut a couple of pieces of mat board measuring 3 1/4 x 3 1/8.
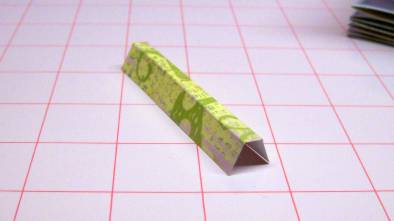
Our of scrap scrapbook paper cut a piece 3 1/4 x 2 1/2
Fold this piece with two creases 1/4 apart running lengthwise.
Apply glue lightly to end paper of the book stack.
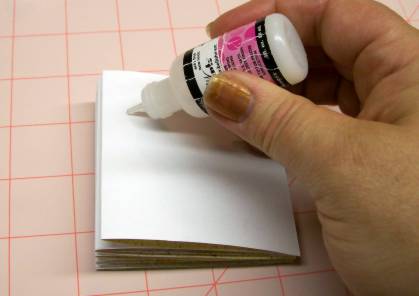
Glue cover board to pages with back of spine flush on all parts.
Apply glue lightly to spine paper and apply to book.
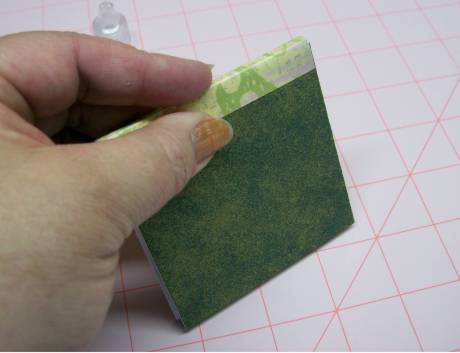
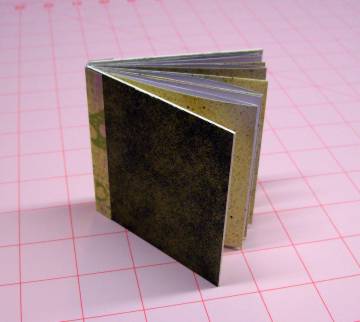
You did it! (so did a 3-year-old!)
Now, to make it a soft-cover book, skip cutting out the mat boards. Then when you begin folding, start with the unprinted side up.
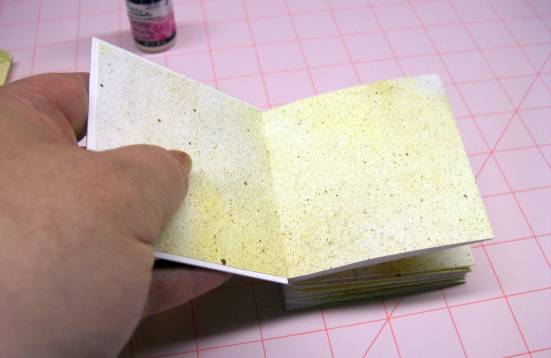
Your stack will end up with printed pages on the outside. Find the spine by turning the book so when you open the accordion you see color rather then white. Apply the spine paper (prepared the same way as for the hardback except it will only be cut 3 inches high instead of 3 1/4) to the spine.

Now you've made a softcover book like the girls made (ages 5 and up)
Ddd
