Topic: Stickers
I decided to try using up the last of the floral panel stickers I started with a while back. So I sat down and selected a main backing color for each, a card base, and sometimes another piece that 'goes with'. This is what I came up with, making additions to each one as it was created.
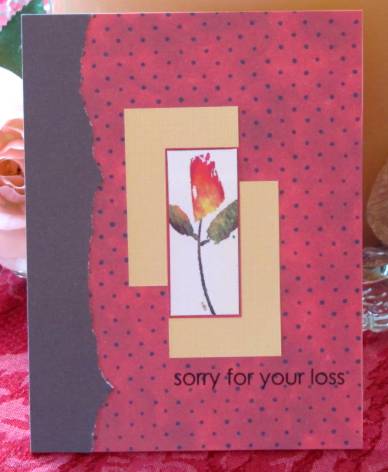
First, I went very simple, using a torn edge on the left over the dotted paper. Then I found two yellow scraps and layered them to frame out the sticker. The text was stamped after the sticker was adhered to the card front.
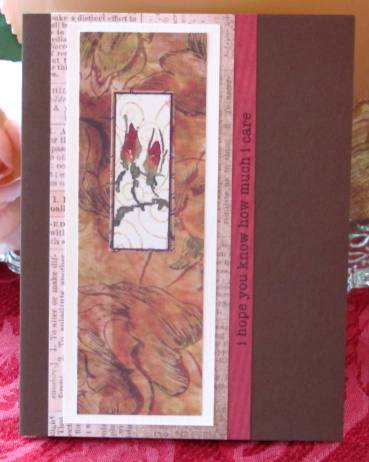
Another one created with very simple layers. On this one I used a piercing tool to poke holes along the sides of the brown panel to add some interest. The sentiment was selected because it fit in the space!
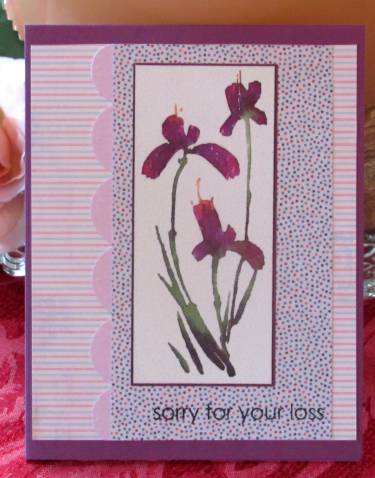
When I got to this layering it needed a little 'zing' so I added a scallop on the left side. By shifting the panels to the right then the left it creates a balance but is not semetrical. This, also, was stamped with the text after the card was complete.
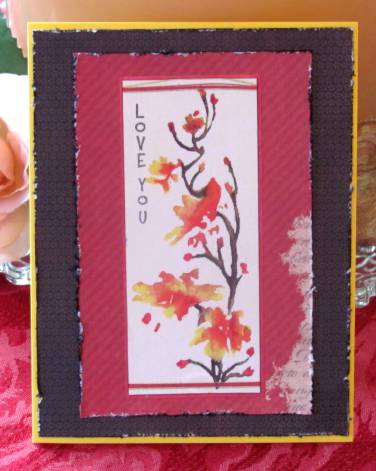
After laying out the layers for this one they looked too stark so I used a distressing tool to rough up the edges. Then they showed too much white so I inked the rough edges to tone them down. The vertical stamp was added at the last, after completion.
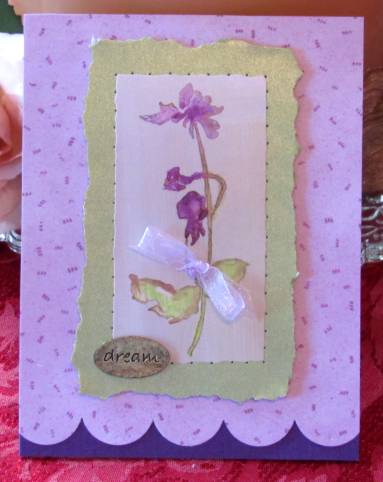
I chose to tear the edges of the mounting panel on this one to soften it up a bit. I cut slits around the stem and threaded sheer ribbon to tie in a bow. The violet panel was cut with the scallop punch and the torn panel is popped up over it on foam tape. I used glue dots to adhere a metal tag that reads 'dream'.
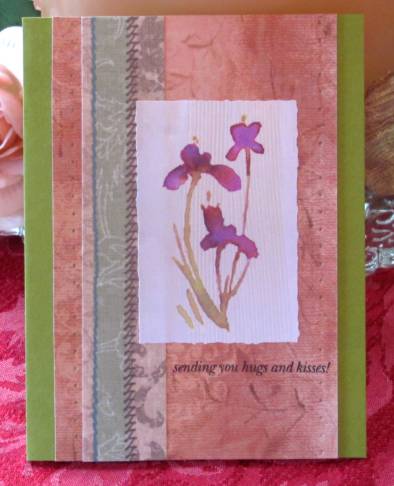
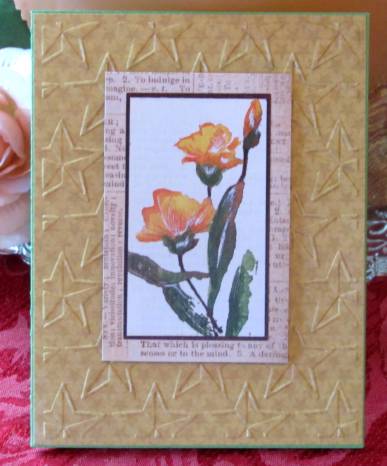
For this card I chose a background cardstock with tiny tone-on-tone stars then ran it through the Cuttlebug with the Stars embossing folder. A printed text panel frames out the floral sticker and these are raised up on foam.
Finally, I had a printed piece from a cheesy card 'kit' and used one panel as a backing. That panel includes only the violet on the left with the white 'happy birthday' greeting and the dotted side on the right. I adhered the butterfly sticker and then added the stem and leaves with green marker. The bloom is a silk flower, folded in half, and held in place with glue dots. I used glue dots to adhere it to the card as well as to attach the flower rhinestone to the fold. A sheer ribbon, tied in a knot, defines the line between the two sections of the cardstock. I rounded two opposing corners on the printed panel as well as the base cardstock.

How's that for variety? Now with all these floral sticker panels used up, I'll have to move on to something else for a while.
Ddd
