Topic: Sketch Challenge
Very late in posting these cards for the Operation Write Home Stars and Stamps Sketch Challenge #70. Here is the sketch they provided:
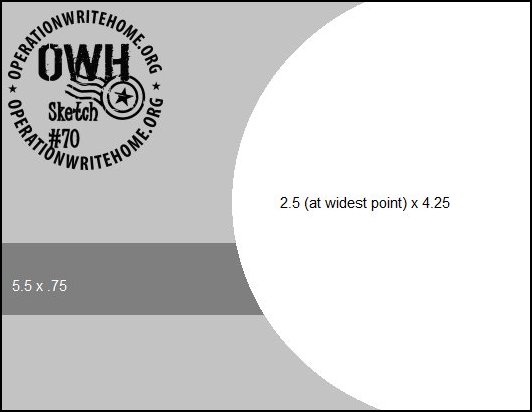
As soon as I saw this a bunch of ideas just popped into my head and when I woke up the next morning I had dreamed up even more. I hurried to write down all my ideas and off to the studio I went to implement a few. As it turned out I ended up making all of them and even made a couple of them twice. I finished 15 cards from this sketch in one session.
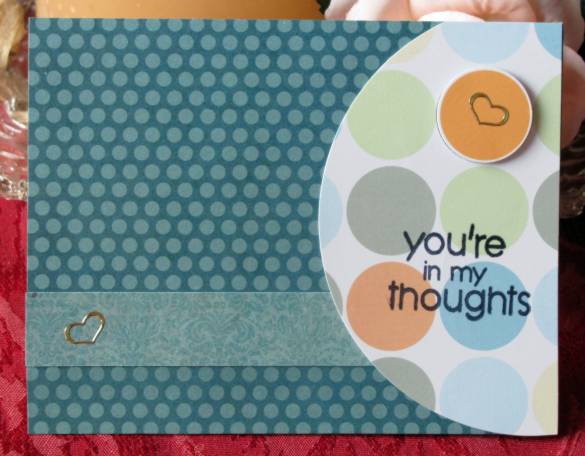
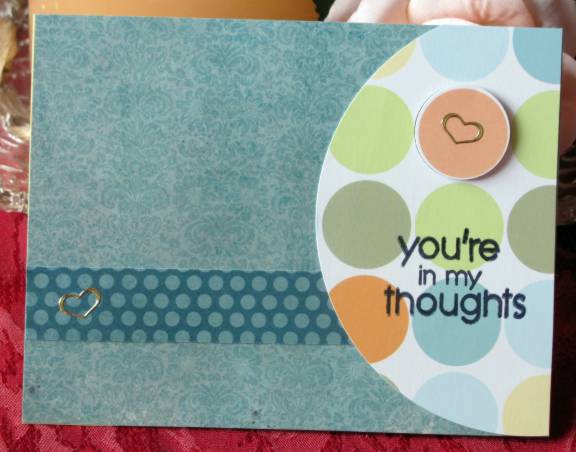
The first set is very standard interpretation using printed cardstock with big dots for the circle element. I used a punch and removed one of the dots and popped it up on foam tape for dimension. This got a couple of gold peel-off hearts, too. This is one that I liked so much I made another just like it except the main paper and accent strip are reversed.
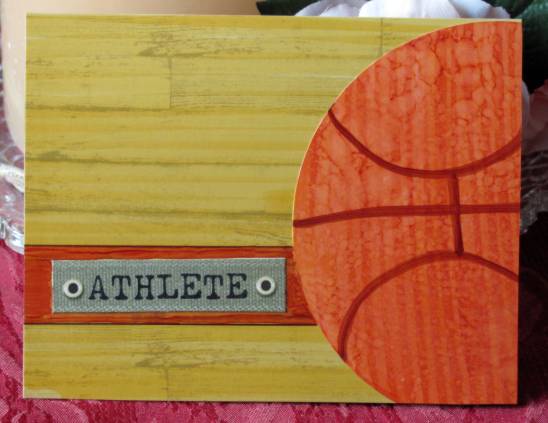
I then went on a sports kick. First I made a hand-drawn basketball and colored it with copic markers. The flooring in the background was grey wood-grain cardstock that I colored with copics and I hand-drew the accent stripe and added a sticker for the text.
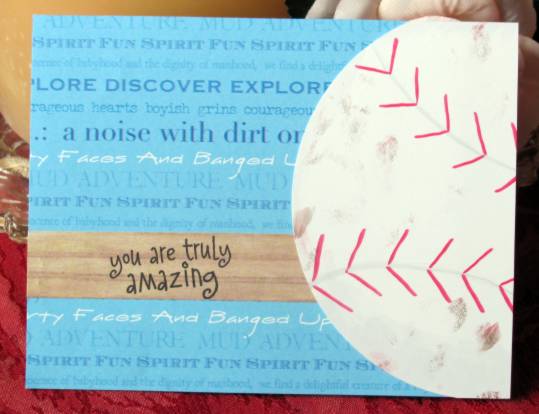
The baseball came next with details drawn with copics. I got some smudges on it with my fingers so I just added lots more smudges to make it a well-loved ball. I used printed scrapbook papers for the background and accent strip and stamped the greeting.
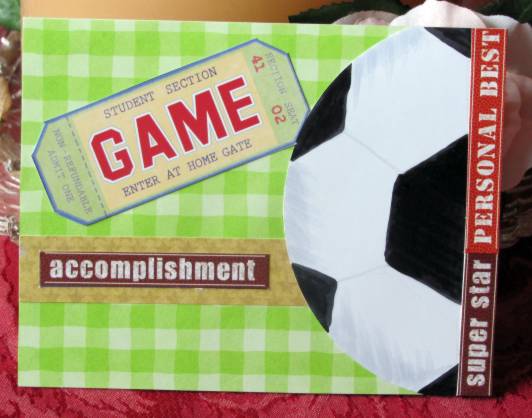
The third sports ball is for soccer. I didn't make it wide enough to fit the sketch exactly so I offset from the right edge and added some inspirational sports stickers. I used another one on the accent strip and then pulled a sticker 'ticket' from the same set as an additional focal.
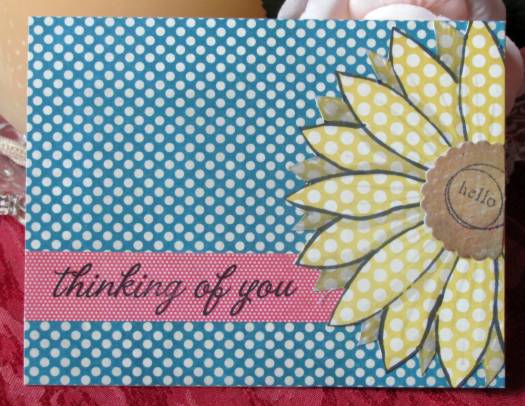
The first idea I had, but not the first executed, was this daisy. I sketched onto yellow dotted cardstock and used copics to add shading. The scalloped center piece was table scraps that I popped up on foam. I chose two other papers from the same set with different colors and different dot sized. The greeting on the accent strip is stamped.
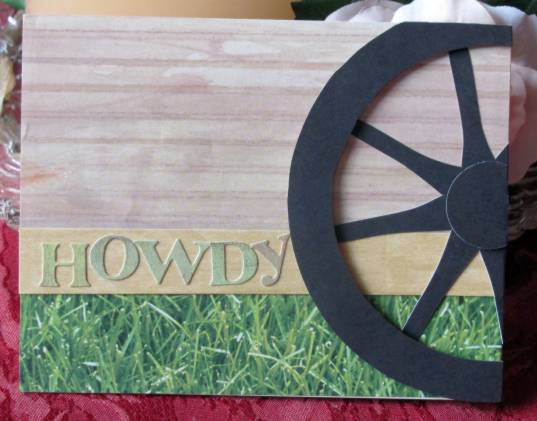
I love it when the vision becomes reality and looks exactly like what I had in my head. I was so glad to find these woodgrain papers in a new pack I had just bought. They made the perfect background to represent the covered wagon. The wheel is two layers - the hub and the rim are popped up on foam. The greeting is letter stickers. Loved finding the grass print in my scrap drawer!
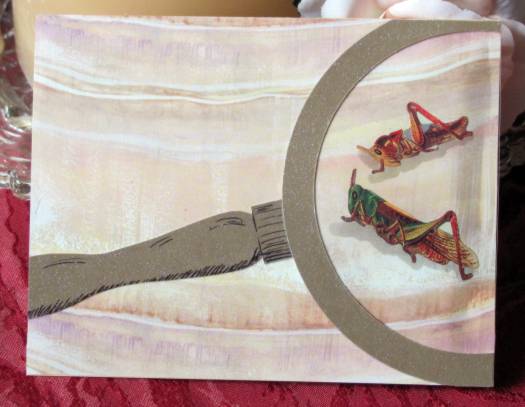
This background paper is from the same new paper pack and really looks like stone. I put the bug stickers on it and made shadows for them with copic markers. Then I cut an acetate circle and a metallic rim and handle. Details are drawn with Sharpie marker. When adhering the finished panel to the base cardstock I used foam under the magnifying glass and regular glue under the rest. This makes the lens bulge out.
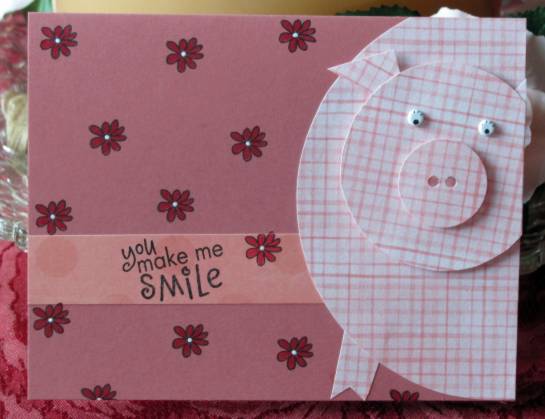
I cut circles in three sizes for these pig cards. The snout is punched with a 1/8 inch hand punch and the ears and feet are cut freehand. Eyes are white brads with Sharpie marker details. The snout and the head are popped up on foam. I stamped flowers all over the background and colored them with watercolor markers. The flower centers were dotted with a white gel pen. This was another design that I liked so much I made another the same - with different papers.

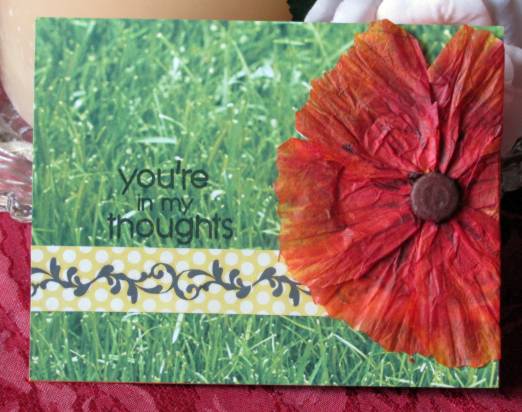
I had been wanting to try out making a poppy with coffee filters and then when this sketch was presented it seemed like the ideal time to do it. I placed a button in the center of the filter and wrapped tightly with thread and tied it off. Then I twisted the paper to give it the crinkly look and crinkle-cut the edges to fit the prescribed circle. I cut wedges toward the center and rounded the outside edges. Then I colored all the petals with three copic markers. I used a brown copic for the center and to add some veins in the petals. This was mounted on a backing circle and then onto the grassy paper. The accent strip has a rub-on scroll and the greeting is stamped.
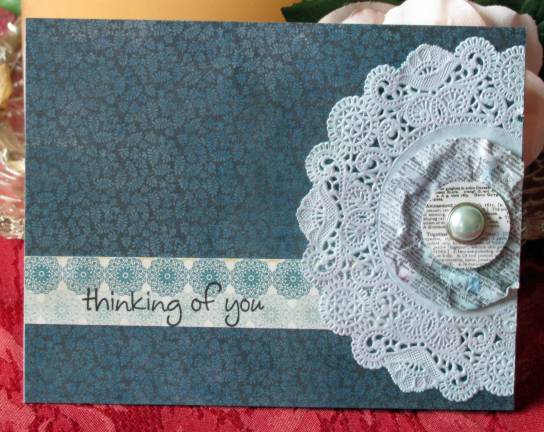
The idea for the paper doilies was to use them like a stencil to create a background. But it wasn't working for me so I set the project aside. When I went back later I realized the doily itself with the ink on it was looking pretty cool so I decided to use it on the card. The center is a couple of pieces of tex-printed scrapbook paper that I wrinkle-distressed and popped up on foam. I used a pearl-centered brad to hold all the layers together. The background paper and accent strip are printed cardstock. Text is stamped.
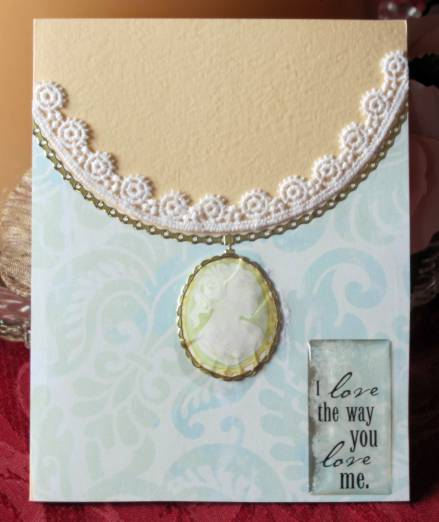
The rest of the samples turn the sketch on the side. For this one I rotated the circle element to the top and, instead of adding the circle I subtracted it. I used the circle cutter to cut out the top area and mounted the patterned paper over 'flesh' toned cardstock. Then I used lace to add trim to the neckline and used gold peel-off to create a chain. The cameo is a sticker which I burnished from the back to make it rounded in the center. Then I adhered it with foam tape, added a gold bezel and drew in a drop-shadow with copics. The text is a thick acrylic clear sticker.
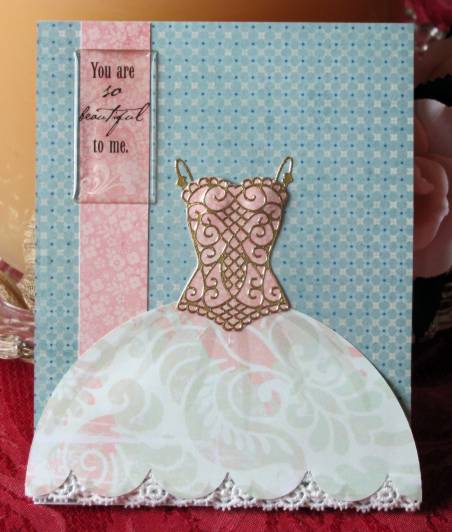
And this one is rotated 180 degrees from the last one. I used the circle element on patterned paper, scalloped the straight edge and adhered lace underneath with glue dots. the bottom of the skirt is attached to the card with foam tape but the top of the skirt is sliced so it will lay flat to the backing with regular glue. I drew in some pleating with copic markers. I had a gold peel-off sticker 'bodice' that I placed on printed pink matching the accent strip. Tehn I cut close around it and adhered over the top of the skirt. The text is a thick acrylic clear sticker.
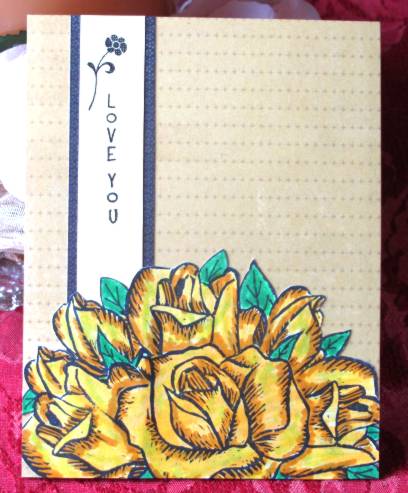
And, finally, I made a bouquet of roses by stamping my hand-carved blooms, using a lot of masking. The outer leaves are hand-drawn and the whole thing is colored with watercolor markers. I layered with simple strips for accent and stamped the text.
And that's it. 15 cards from one sketch.
Ddd
