Topic: Scrap Recovery
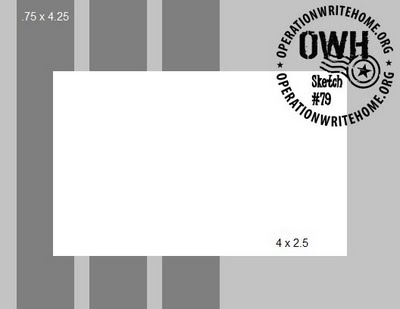
Time for another Operation Write Home Stars and Stamps sketch (#79)
Since I also needed to fill 1/2 of my box of cards with holidays I made all of my sketch into Christmas cards. Today I will show those made with recovered materials. Tomorrow will be those made with stamps.
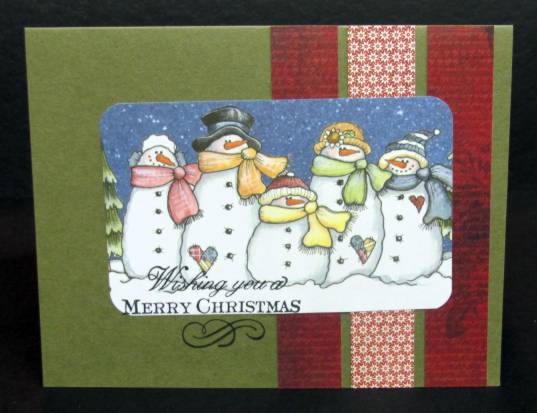
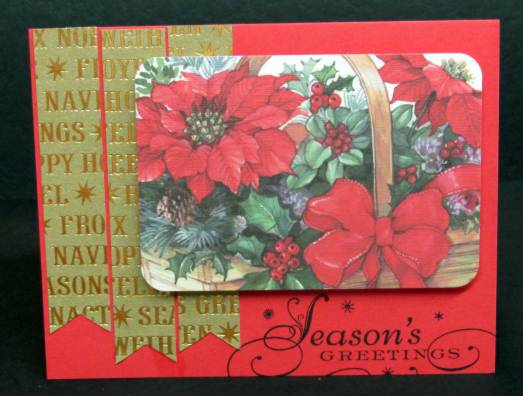
First up is an illustration from an old page-a-day scrapbooking calendar. This time the sketch was flipped 180 degrees to put the three stripes on the right. I used strips from an old paper pack and stamped the greeting on the illustration with its flourish falling on the base cardstock:
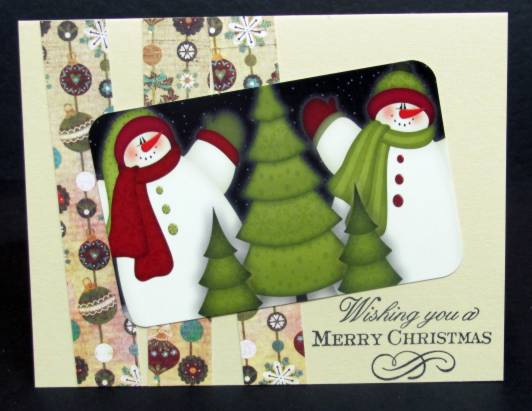
For this card I went a little funky and arranged the strips and the illustration off-kilter. The picture is recovered from a card received last year. I used the same stamped greeting:
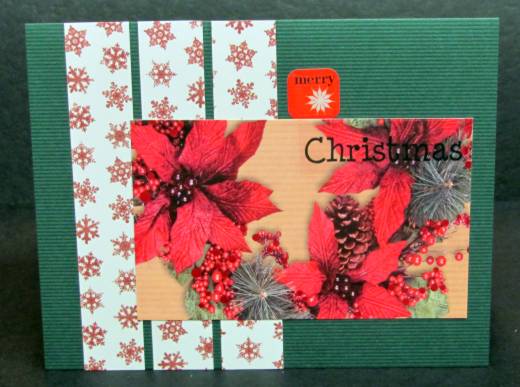
This card is also illustrated by means of a recycled Christmas card. The 'merry' is a puffy acrylic sticker. 'Christmas' is a clear sticker:
I did a very tight trim on this recycled Christmas card image so it would fit the sketch. By mounting the image high I had room to stamp a larger greeting. I like the way the flourishes escape the edges of the card borders:

Another recycled card image - trimmed close to rid it of background. I cut the bottoms of the metallic strips to resemble a banner, for some added interest. A little dimension is achieved by popping the image up on foam tape. The same stamped greeting was used:
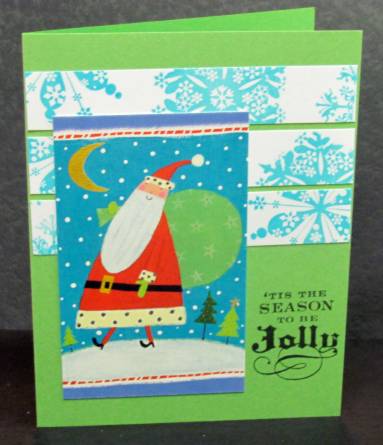
I rotated the sketch for the rest of my card set. The strips on this one are the last of piece of cardstock I stamped two years ago. It seems I get one or two of these same Santa images on Christmas cards every year. That's OK - I kinda like the folk art look of him. I stamped the greeting on the lower right:
This Santa face is from the page-a-day scrapbook calendar. I left the printed borders at the top and bottom for framing. The beard provided a handy spot for stamping the greeting:

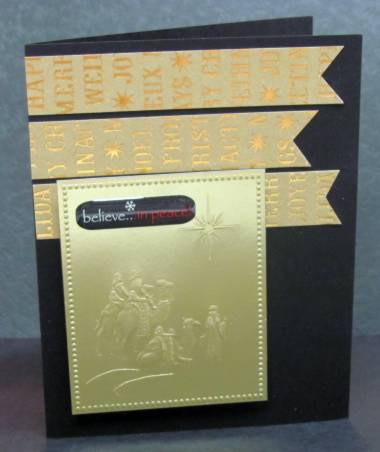
The gold in this recycled card image looks so formal that I just continued down that path. I even chose black cardstock for the card base. The strips are gold on gold text and I created those banner ends again. The image is raised up on foam tape and the greeting is a puffy acrylic sticker:
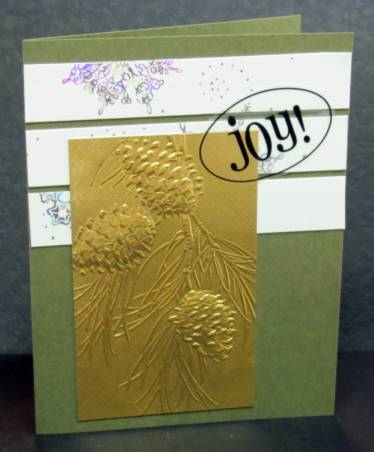
This gold pinecone image from an old greeting card was paired with silver and white strips sor a fresh look. It looked so clean and simple that I did not want to mar it with stamping so I selected a clear sticker for the text:
More sketch cards tomorrow - using stamped images.
Ddd
