Topic: Sketch Challenge
OK, I admit it. Only ONE of these cards really has a stamped image. The rest are from a book of 'clip art' designed to be used for folk art painted plaques. NOT my thing - so I appropriated the images I liked and colored them with Copic markers for these cards.
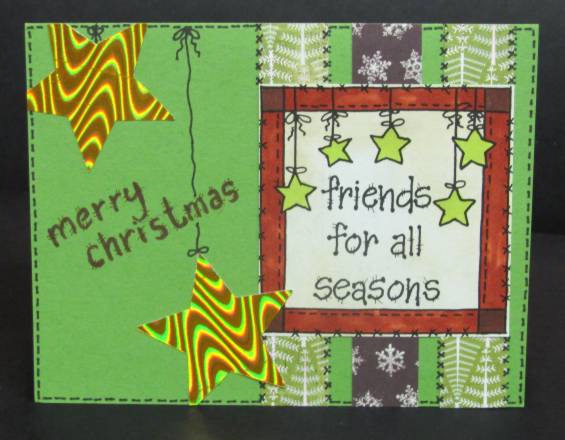
For this first one I used the sketch rotated 180 degrees. I selected all the papers first and colored the image to match them. After gluing the strips and image I had a bunch of open space on the left so I added two gold foil stars. I drew in strings and bows to mimic the image and added a greeting with the same style of lettering. Then I added pen 'stitching' around the border and cross-stitch pen work on the strips. This was done with a Sharpie. The image is muted with distress ink:
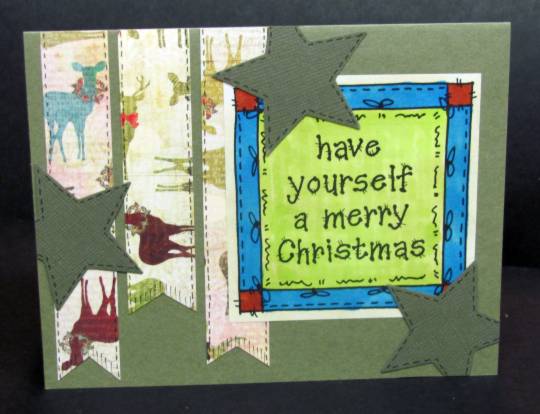
I cut the strips with banner ends and added pen stitching around them as well as the stars for a country feel on this card. The muted tones make this feel quite masculine:
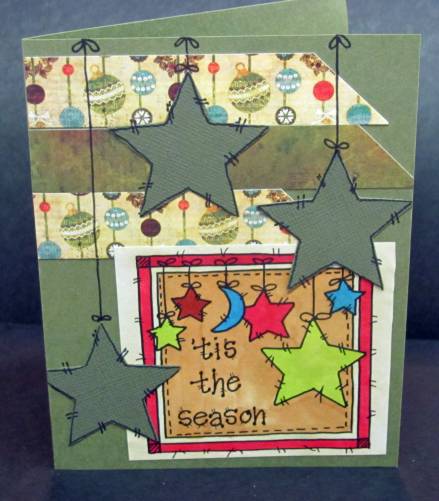
With a rotated orientation and angle-cut strips, this card is more playful. I added stars, drew around them in a style to match the illustration and added strings and bows with a pen. I used distress ink on the image to mute the tone:
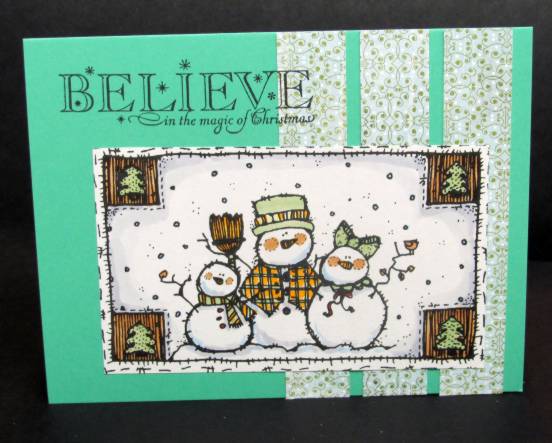
This snow family is colored in non-traditional colors to match the paper strips. I flipped the sketch 180 degrees and used a longer illustration than the formula calls for. The greeting is stamped:
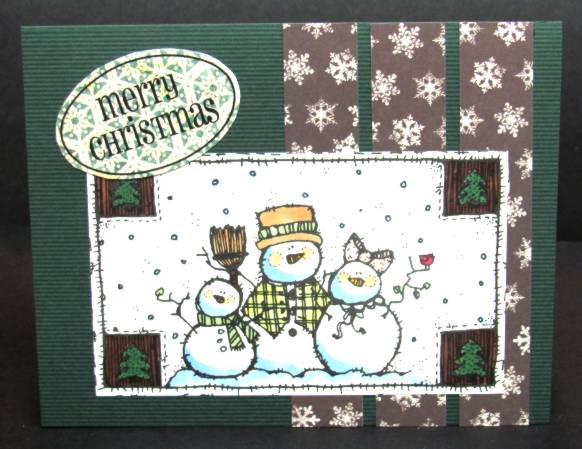
The same illustration with a different color scheme creates a more masculine card. The brown and cream snowflake strips are certainly non-traditional. Because the base card is so dark, I placed the clear oval greeting sticker on a lighter printed paper and trimmed it out before gluing it to the card:
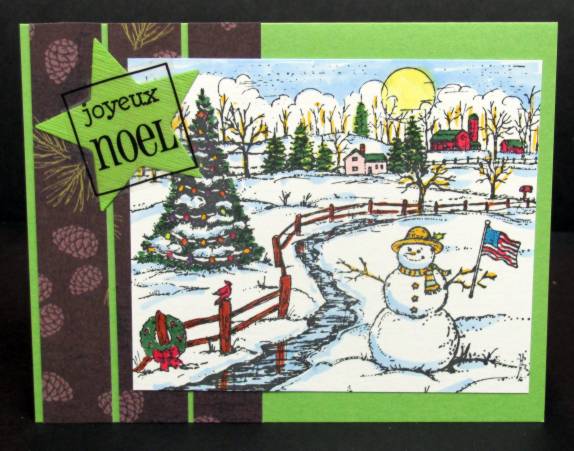
THIS card is actually stamped. But NOT by me! I got it in a stamped image swap. I did color it, though. I used a lot of blue in the snow, bits of green to bring out the color of the base card, and strips of pinecone printed paper for the strips. There was not a logical place to stamp a greeting so I layered a punched star and a clear sticker to create the text feature in the upper left:
Does this mean I am ready for Christmas? NO! It just means I have my box ready to mail to Operation Write Home. I have yet to start making my OWN cards.
Ddd
