Topic: Sketch Challenge
On one of the groups I participate in we were given... a sketch challenge! Imagine that!
This time the sketch selected was #117 from Freshly Made Sketches (http://freshlymadesketches.blogspot.com/2013/12/freshly-made-sketches-117-sketch-by-amy.html) that looks like this:
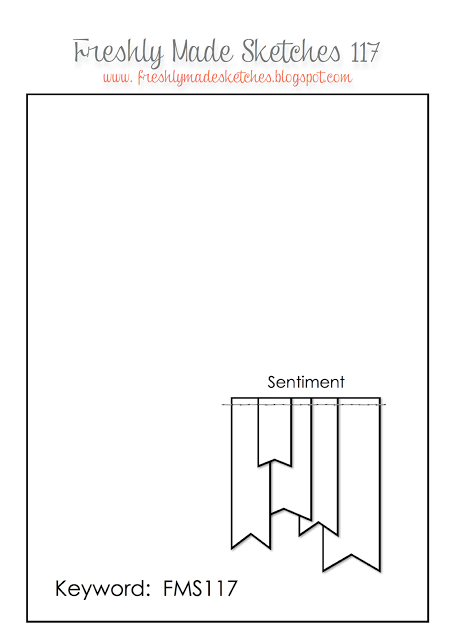
Well, I am totally up for a sketch challenge, as you know by now. I knew I wanted to use washi tape for the little flags but all that I had were printed with horizontal pattern. So I simply turned the sketch on the side for my layout. That's allowed!
I placed each tape on the same creamy backing cardstock and cut the sides of them. I used a square punch to create the flag ends. Then I stamped and cut out the sentiment strip and backed it with black.
The pieces were blending too much with one another so I used black ink pad to smudge the edges of all. Then I layered them, lightly tacking them together, working over a non-stick craft sheet. Then I moved over and prepared the card base which is more of the creamy crdstock.
I lightly blacked the edges with the ink pad, layered blask over this and then placed on the feature paper - a black, white and yellow from a recently used 6x6 pad - on which I had blacked the edges, also. Then I was able to lift the decorative tape off the craft sheet as a unit and attach it to the card face.
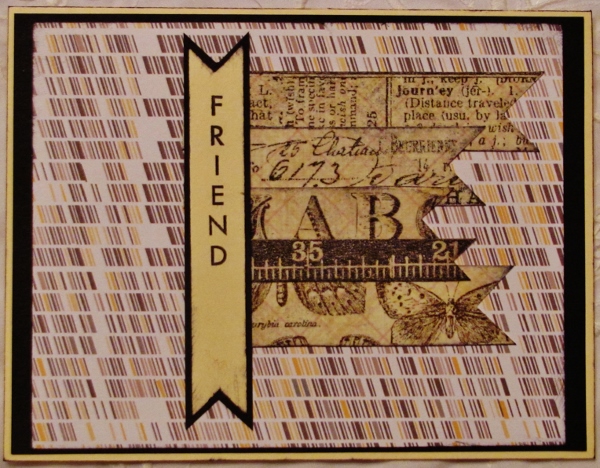
My feature design is larger than on the sketch but that is a function of the scale of the washi tapes I was using to make it.
I'm happy with this result and that's all that matters - making my happy. LOL!
Ddd
