Topic: Sketch Challenge
Want a great sketch to feature a large illustration? OWH sketch 124 fits the bill:
There's actually a backstory to the illustration I used. MANY years ago I was fascinated with 'watercolor quilts' and wanted to try my hand at that sort of design without actually quilting anything. So I turned to wallpaper sample books. I took several pages of coordinating patterns and cut them into 1-inch squares. Then I sorted them by how much and where they had the flowers: were they half on the diagonal, half on the square, only a tip, completely covered, just a leaf or part of one and so on.
Then I drew a large heart on half a sheet of watercolor paper and arranged the bits of wallpaper as shown. When they were all in place I took them off one-by-one and used Mod Podge to adhere them to the watercolor paper and seal it.
Then, before I sent it off as a gift I took photos of it. This photo is the result.
For this card, I had to cut the top and botom from the photo a bit but needed it wider than the sketch so as to not cut off any of the heart. I used a backing paper with a bottom scallop to enlarge the square closer to the sketch dimensions.
Backing and accent colors were drawn from the photo.
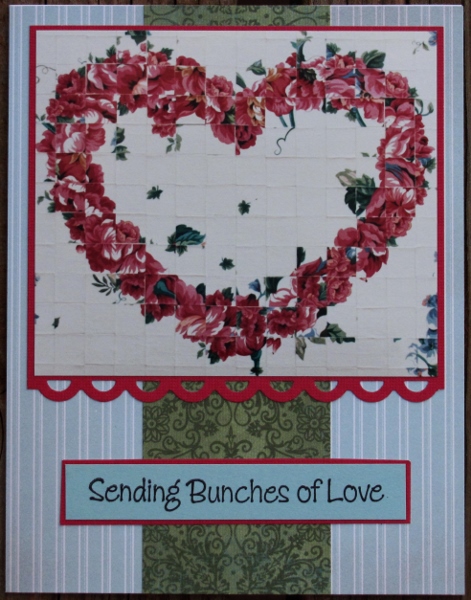
The sentiment is one I had in my pre-stamped file. I simply trimmed it and matched its border to that on the heart photo.
Ddd
