Topic: Sketch Challenge
Powerless - I was completely powerless. I knew it was coming... I even knew what time it would happen to me. This allowed me to be prepared for what would happen.
So what did I do to prepare for the day the electrician would shut off all the power to the house for most of the day? I sorted out select card-making supplies from my stash and had hubby schlep them upstairs to the dining room table. I also stamped a slew of images on watercolor paper to color and use on cards.
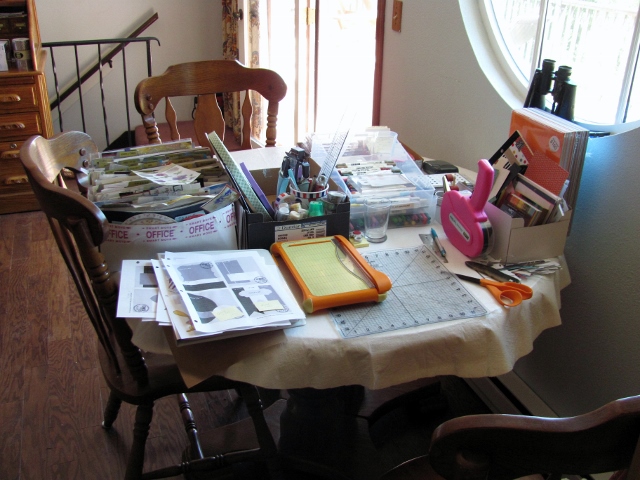
Here's what my set-up looked like for the several hours it took me to turn out 16 cards.
I've got my collection (massive) of stickers, tools including three adhesives, two rulers, craft knife, paper cutter and scissors, bone folder, distressor, aquabrush, acrylic block, pricking tool, foam pad, corner chomper and fine-line markers. I also have various supplies including cardstock in black, white, and a stack of mixed colors. Two pads of pre-cut solid colors plus a wide choice of printed cardstocks round out the paper selections. Embellishments included a selection of rhinestones, brads and tissue tapes. My full complement of watercolor markers and Distress markers rounded out the supplies list.
With the stage set I spent the first part of the day using Distress Markers as watercolor by coloring on an acrylic block and picking up with an aquabrush OR coloring direct to paper with or without a followup with clear water in the aquabrush.
Then I went through the next several OWH sketches, assigning newly colored images to them based on size and orientation. I trimmed them to size and set to work making up the cards.
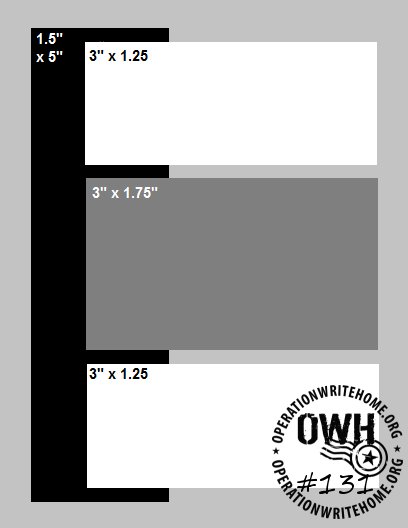
First sketch up for use was OWH 131:

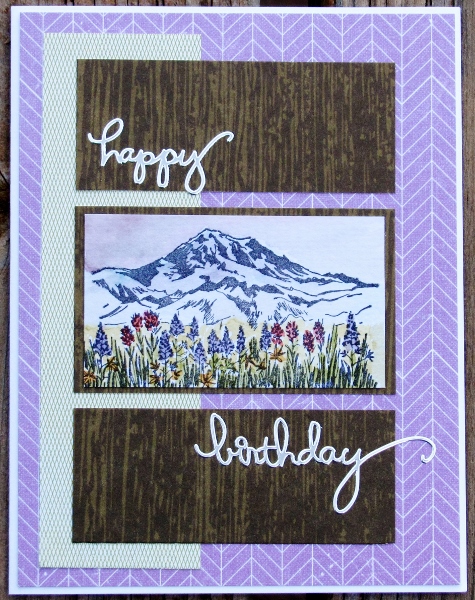
The image I chose for this was a mountain landscape. It had a bit of purple in the coloring so I chose purple for the main background. A strip of green for the vertical bar picks up the color of the grasses and three blocks of woodgrain reinforce the outdoorsy theme.

I added some silver peel-off stickers to provide the sentiment.
Ddd
