Topic: Paper Embroidery
It's been a while since I did any paper embroidery as I have been concentrating on those OWH sketches. But I signed up for a swap so really needed to get cracking on a card.
The assignment was to combine paper embroidery with 'decoupage'. Now in the US we usually call these 3D papers and the term decoupage is used to refer to a collage method where the layers are sealed under varnish. But in the UK (and probably the rest of the world) our 3D papers are called decoupage. Good to know I won't have to seal my card in varnish!
I've used the stitched round frame before - and with decoupage - and it turned out great so I decided to use that again. I selected a dark and a light rose and a dark green to go with the coloring of the picture I was going to use.
After stitching, I used a craft knife to carefully cut away the inside of the circle. Then I placed the rose picture behind with places that I knew would be layered extending behind.
This made it so that those layers would overlap the edges of the circle providing more dimensionality.
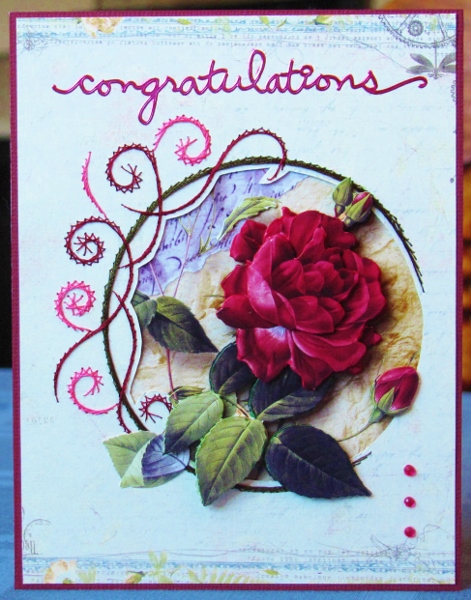
I colored a silver peel-off greeting sticker with alcohol marker and applied to the upper edge and then used a trio of bright pink rhinestones at the bottom.
The distressed borders at the top and bottom are part of the original paper I selected for the stitching. I finished off by trimming so that a border of the burgundy base card shows around all four edges.
Ddd
