Topic: Multi-Technique
I'm back with my creation based on Tim Holtz's 12 Tags of 2015 - August edition. Here is the original:
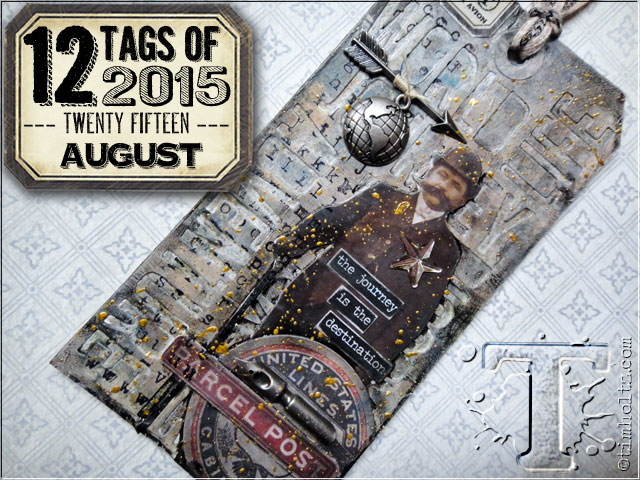
Once again, I created a display piece rather than a tag. I don't have much of an affinity for tags so creating something I can display is more to my liking.
You'll soon discover that my piece looks very little like the inspiration piece. I am pleased with this as I like mine better!
Since I did not follow the directions closely here are the steps that I used.
- Cut two pieces of heavy cardstock the same size (mine were 5.5 inches square)
- Use dies to cut shapes all over one of the pieces (I used 4 snowflake dies)
- On the second piece, use matte medium to adhere sheet music.
- Use matte medium to adhere the diecut piece over the music piece making sure all corners and edges are secure
- Seal the surface of the music with matte medium and dry with heat tool
- Paint white gesso over entire surface then wipe away excess gesso to allow music to show through. Dry.
- Smush three Distress ink pads onto surface (I used broken china, evergreen mough and shaded lilac)
- Immediately use thin layer of matte medium to blend the colors. While still wet, use paper towel to dab away excess ink. Dry.
- Stamp words on surface using Archival jet black.
- Use blending fluid to smudge and smear words on surface.
- Use black soot distress marker to draw inside snowflakes. Wipe away to create dimension.
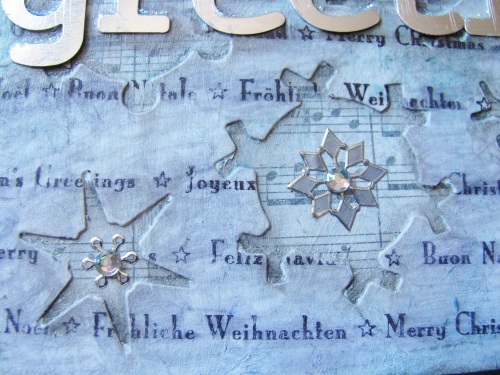
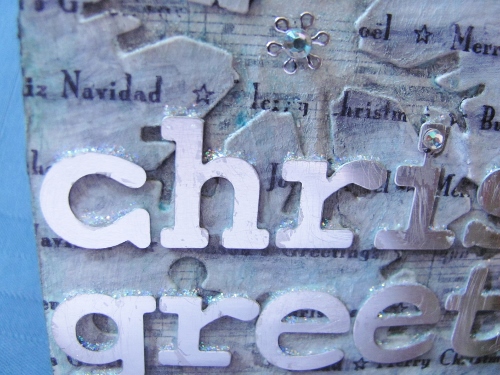
- Adhere metal letters using matte medium. Dry.
- Use soot black distress marker to draw drop shadow around letters. Wipe away to create dimension
- Apply rubon words inside one snowflake
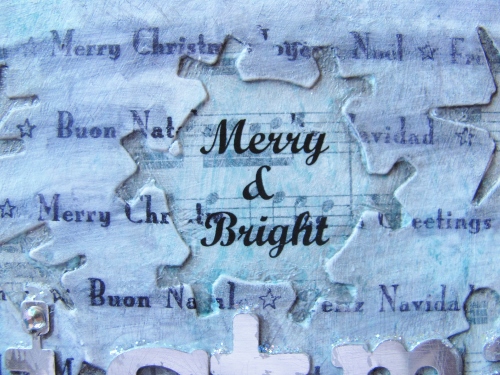
- Attach silver snowflake dazzles inside snowflakes
- Place rhinestones inside dazzles and to the dots on the 'i's
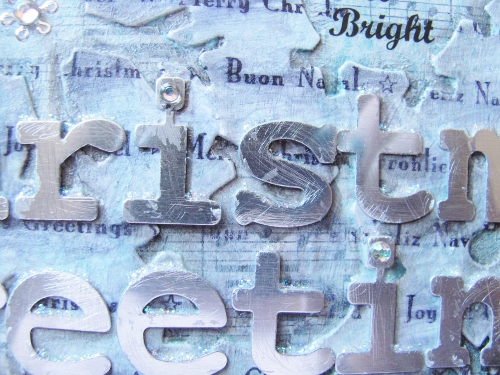
- Use stickles to add a snowcap to tops of letters
- Use black permanent marker to add a string to hold the dangling letter.

Here's the final product:
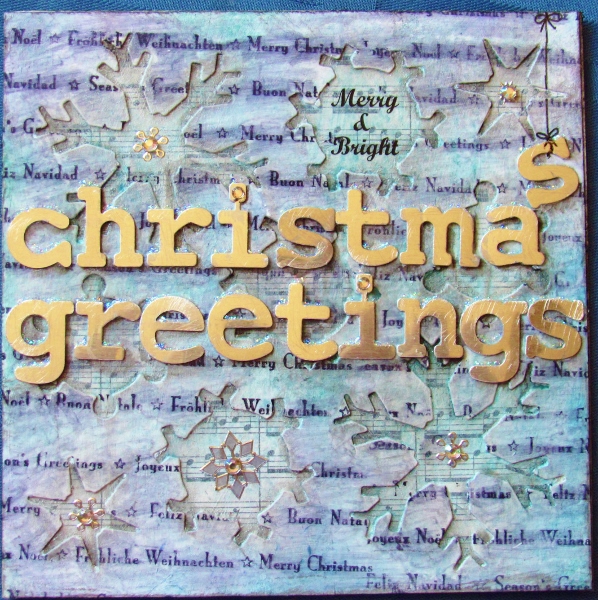
And there you have proof again that I cannot follow directions!
Ddd
