Topic: Boxes
It was hard to select a topic category for this entry because 'technically' what I made is related to bookbinding. But I'm using the end product for something else so I'm classifying it as a Box.
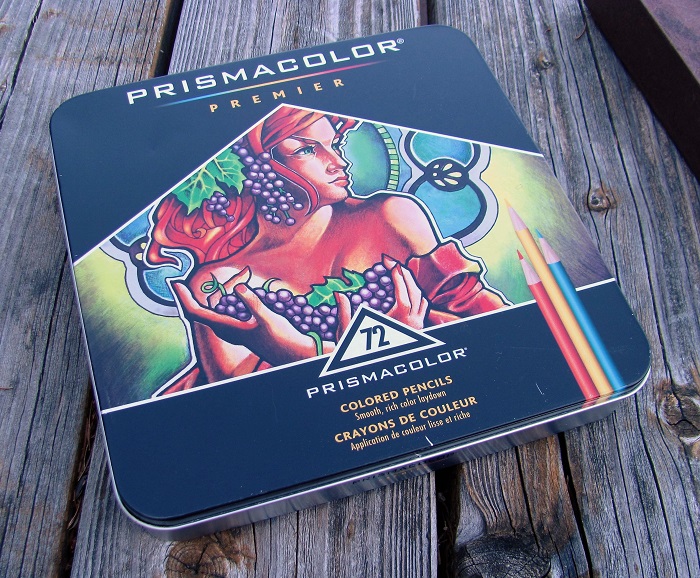
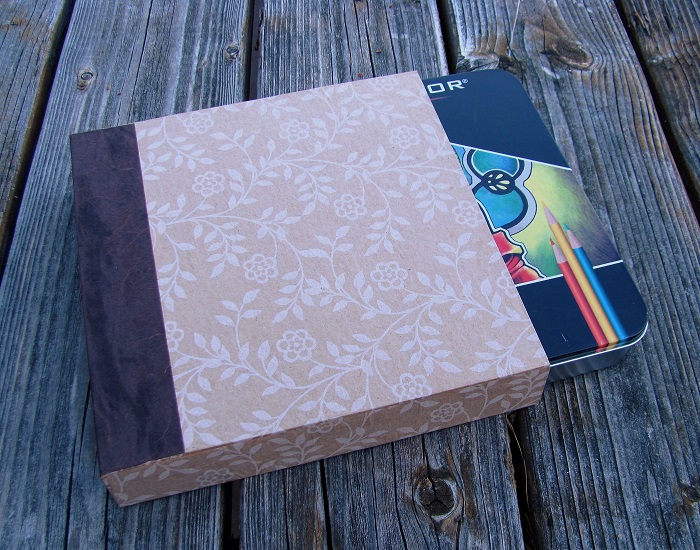
Remember the other day when I had an 'aha moment' on making a slipcover for my metal box of colored pencils. I wanted to do this so they would look like the other materials in the stack of Bible journaling supplies.
Reminder: this is what the box looks like:
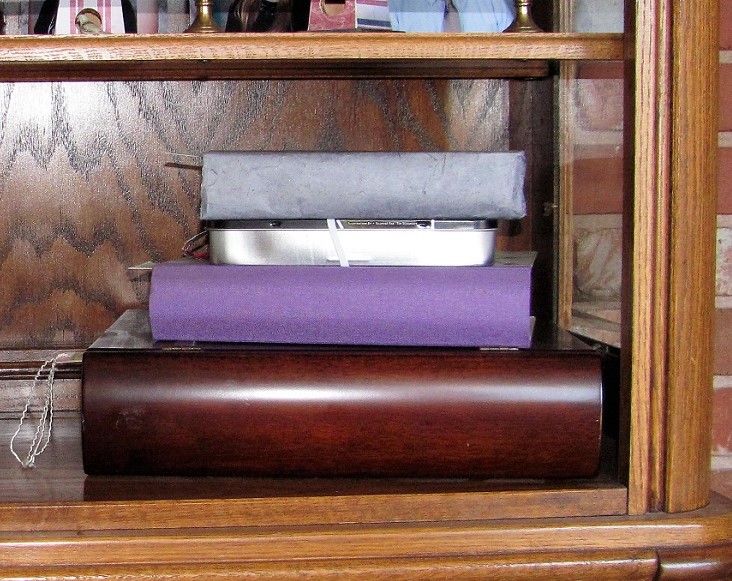
...and how out of place it looked in the stack:
I searched on YouTube and found a great set of four videos by bookbinder Sage Reynolds that were extraordinarily detailed and perfect for my purposes. He covers every detail that leads from raw board to a beautiful and completely custom slipcase. You can watch yourself at https://www.youtube.com/watch?v=ccWnUQqFyKg&list=PLKThD7m8NDz7k4HVV0g27Sjzrd3RgkujP.
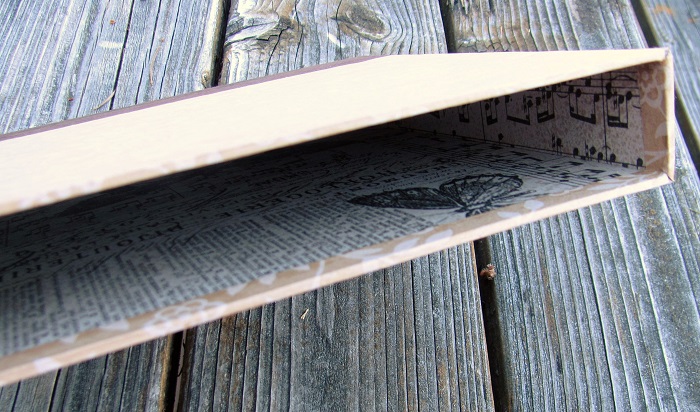
I didn't have some of the materials he used so I mounted the lining paper with spray adhesive, assembled the case with Ranger's Glossy Accents, and attached the cover papers with a foam brush and Matte Medium (generally used for collage).
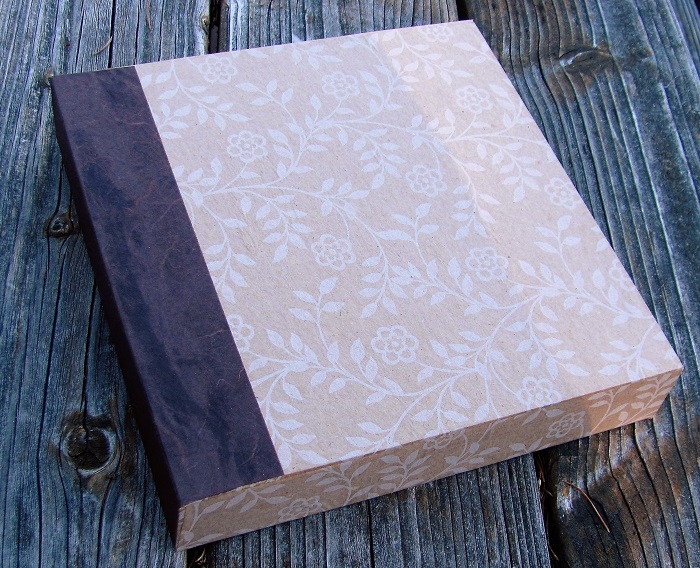
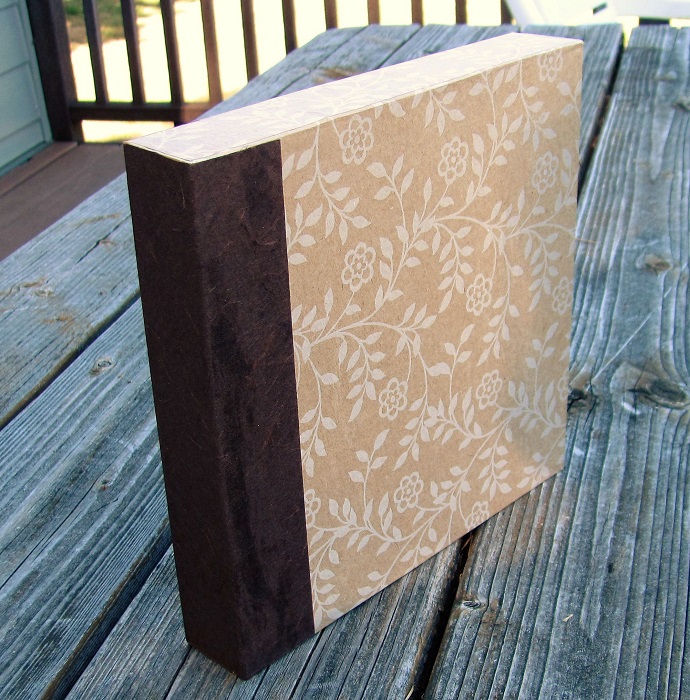
The lining paper is Tim Holtz's Idea-ology Melange Tissue Paper from a roll. The cover paper is Dollar Tree kraft gift wrap. I added a spine strip so it would liik more like the other box 'books' in the stack. This was a scrap of mulberry paper.
I was so excited to show you this project that I didn't wait for the glue to dry before taking pictures. This explains any dark areas on the papers, especially the spine.
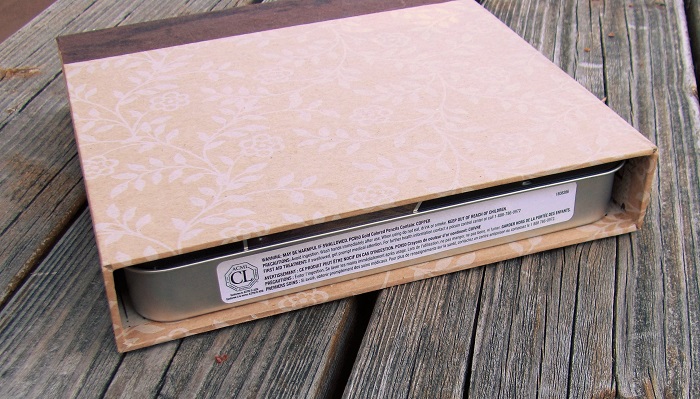
Here is the basic look of the slipcase:

And how well it fits all the way in the case:
It even looks good 'standing' on the shelf:
But the best thing is how nice it looks in the stack of other supplies:
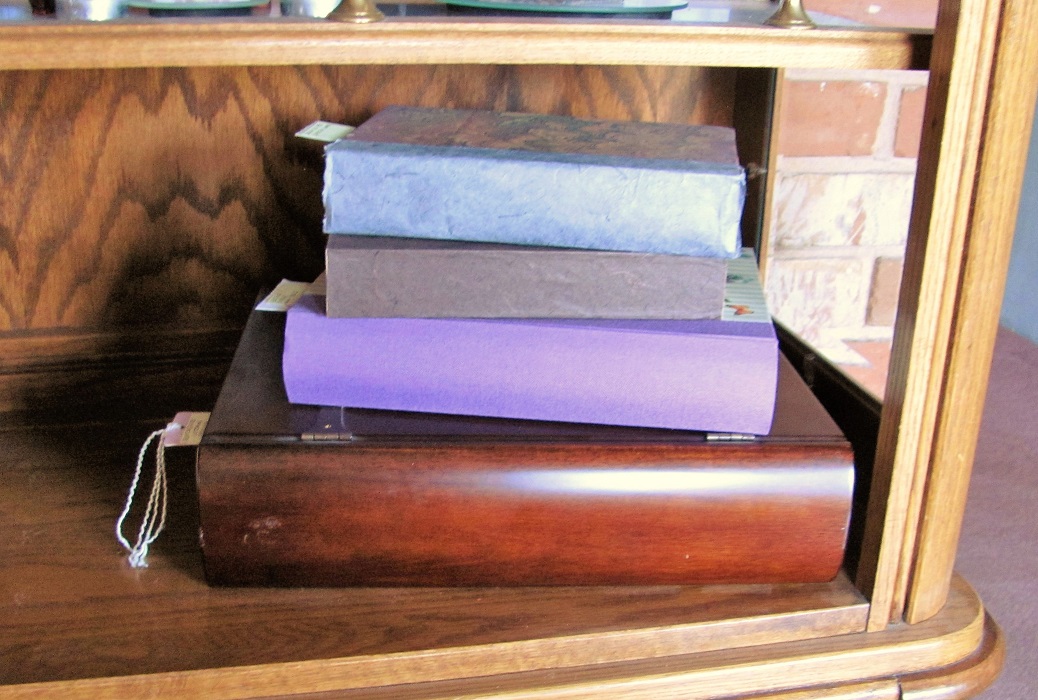
Well, I must say, this turned out every bit as good as my 'vision'.
Ddd
