« December 2017 »
S M T W T F S
1 2
3 4 5 6 7 8 9
10 11 12 13 14 15 16
17 18 19 20 21 22 23
24 25 26 27 28 29 30
31
You are not logged in. Log in
Entries by Topic
All topics  «
3D paperwork
A - Z challenge 5
A - Z challenge 7
A - Z challenge round 4
A to Z challenge round 3
A to Z round 2
A to Z round 6
A-Z round 1
Around the House
Art Challenges
Artist Trading Cards
Backgrounds
Beads
Bible Journaling
Books
Boxes
Collage
Color Challenge
Coloring
cookbook
Die Cuts
Digital Projects
Digital Stamps
Drawing
Dry Embossing
Fabric Stuff
Fantastic Folds
Field Trip
Home Decor
How Does Your Garden Grow?
Hymnal Art
In The Kitchen
In the studio
Jewelry
Lettering
Links
Multi-Technique
Music to Work By
Musings
Nail Art
New Work
Online Class
Other Hobbies
Other Projects
Painting
Paper Embroidery
Paper Piecing
Photo
Pretty Paper
Quilting
Random
reading
Scrap Recovery
scrapbooking
Sewing
Sketch Challenge
Some Backlog
Stamping
Stencils
Stickers
Supplies
Teabag Folding
Techniques
Testing
tips and tricks
Tutorial
Web resources
Welcome to my Blog
Work By My Friends
workflow
Writing
Blog Tools
Edit your Blog
Build a Blog
RSS Feed
View Profile
Group One
In & Out of Studio 3D
Thursday, 14 December 2017
Card Mill
Topic: Stamping

I recently got the Tim Holtz Stamp Platform. It is a stamp positioner with a gridded base, and a hinged gridded clear lid. You put your cardstock on the base, arrange stamps on it, close the lid and raise it. Now you can ink the stamp, close the lid to stamp, raise it, change out cardstock and repeat.

If you don't get a good impression you can ink and stamp again and it always goes back to the same place!

The difference on this positioner is that the lid is removable so you can use one side for clear stamps and the other for the thicker red rubber stamps.

So, for this card, I had a swath of snowfalkes plus several individual ones, the sentiment and the bear. All could be stamped in one go. Then I turned the card around, removed everything but the swath and repositioned that to fill the opposite corner. 

Just like that, I had a dozen card fronts ready to color.


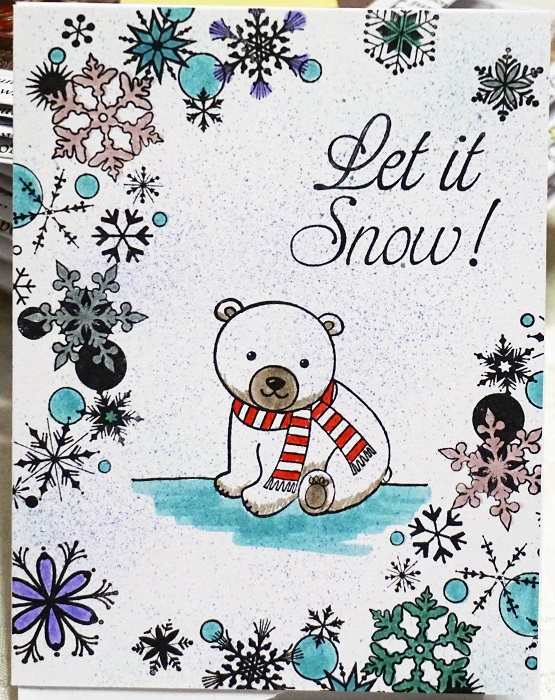
I used Distress Markers for all the coloring. Then I got out the bulb spritzer and used it with two colors of marker to create the mist over the surface.

I do believe I am going to like this new tool.

Ddd


Posted by studio3d@ccgmail.net at 12:01 AM PST

View Latest Entries