« October 2013 »
S M T W T F S
1 2 3 4 5
6 7 8 9 10 11 12
13 14 15 16 17 18 19
20 21 22 23 24 25 26
27 28 29 30 31
You are not logged in. Log in
Entries by Topic
All topics
3D paperwork
A - Z challenge 5
A - Z challenge 7
A - Z challenge round 4
A to Z challenge round 3
A to Z round 2
A to Z round 6
A-Z round 1
Around the House
Art Challenges
Artist Trading Cards
Backgrounds
Beads
Bible Journaling
Books
Boxes
Collage
Color Challenge
Coloring  «
cookbook
Die Cuts
Digital Projects
Digital Stamps
Drawing
Dry Embossing
Fabric Stuff
Fantastic Folds
Field Trip
Home Decor
How Does Your Garden Grow?
Hymnal Art
In The Kitchen
In the studio
Jewelry
Lettering
Links
Multi-Technique
Music to Work By
Musings
Nail Art
New Work
Online Class
Other Hobbies
Other Projects
Painting
Paper Embroidery
Paper Piecing
Photo
Pretty Paper
Quilting
Random
reading
Scrap Recovery
scrapbooking
Sewing
Sketch Challenge
Some Backlog
Stamping
Stencils
Stickers
Supplies
Teabag Folding
Techniques
Testing
tips and tricks
Tutorial
Web resources
Welcome to my Blog
Work By My Friends
workflow
Writing
Blog Tools
Edit your Blog
Build a Blog
RSS Feed
View Profile
Group One
In & Out of Studio 3D
Sunday, 13 October 2013
Truly Amazing Rose
Topic: Coloring

Oh look! The same diecut, the same image - wait... this is way different.

I went with bold yellow coloring for the rose and grey dots for background. Soft colors for the backing papers give the rose an elegant resting place.


I pulled th green from one backing paper into the stamped sentiment which I cut into a tag, punched and tied to the diecut with yellow and white twine.

Ddd


Posted by studio3d@ccgmail.net at 12:01 AM PDT
Saturday, 12 October 2013
Orange You Glad I Did Another Rose
Topic: Coloring

This oval diecut was just the right size to stamp my large carved rose. I colored this one up in tones of orange and added the blue dot background and the dew drop stickers on the petals. Yummy!


With such a bold image I kept the supporting papers pretty calm. This allows the image to be the true star.

Ddd


Posted by studio3d@ccgmail.net at 12:01 AM PDT
Friday, 11 October 2013
One Red Rose
Topic: Coloring

Ooooh, I love this die cut shape (all these fancy ones I've been using were given to me as a gift) and used my medium-sized handcarved rose as the feature image.

Nothing like a velvety red rose, is there? I added some 'dew drop' stickers to the petals and blue dot sky background.


I vascillated on a bordering color until I picked up the black and WOW! I love this black, red and white combo.

Ddd 


Posted by studio3d@ccgmail.net at 12:01 AM PDT
Thursday, 10 October 2013
Ruby Throat
Topic: Coloring

This large die cut allowed me to select another large image to stamp. So I used my hand carved hummingbird. Colored with Copics, I used light blue dots to represent the sky.

The roses run toward the brown in this which supports the sentiment block. I used some patterned paper with blues and greens that pick up  elements of the bird's coloring.


A blue base card is enough without adding borders to all the patterned papers throughout.

Ddd 


Posted by studio3d@ccgmail.net at 12:01 AM PDT
Wednesday, 9 October 2013
Rose on Roses
Topic: Coloring

This stamped rose appeared in duplicate the other day, but I gave this one a soft pink coloring. A light grey dotted background set the tone for choosing one backing paper and the base card. I went with multiple 'rose' papers for the theme.


The lacy border of the diecut was masked at the bottm to keep it free of the ink and then I wove ribbon through two of the slots to attach the image to the backing.

I stamped the sentiment on another rose paper and cut it like a tag. A pink twine tied through the tag and a part of the diecut adds a bit of whimsy.

Ddd


Posted by studio3d@ccgmail.net at 12:01 AM PDT
Tuesday, 8 October 2013
Big Bold Beautiful
Topic: Coloring

I stamped one of my hand carved images for the card today. I had fun blending the shades in this image and I love the result. I used libht blue to dot the background.


I did a little slice in the lacy border of the diecut to weave some of the papers through. These I held to the background with orange brads.

An orange sentiment block was bordered in blue to match the other borders on the card.

Ddd


Posted by studio3d@ccgmail.net at 12:01 AM PDT
Monday, 7 October 2013
Two Peace Roses
Topic: Coloring

For today's card I used that temporary tape to block out the border again before stamping the image. I actually stamped the image twice and colored with Copics. I created the background with dots of cool gray marker.


I was surprised how well the peach in the roses went with the yellow and gray chevron paper. Dark gray bordering unifies it all, but I didreverse this in the sentiment where the stamping is on the gray and white was used to border it.

Ddd

Posted by studio3d@ccgmail.net at 12:01 AM PDT
Sunday, 6 October 2013
A Sketchy Hello
Topic: Coloring

Backing papers for this diecut pick up the flower center and the gray dotted background. The thin lacy border of the diecut is echoed in the thin white line in the chevron. I cut a round grey diecut to back the lacy one.

The red-violet sentiment matches the petals of the flower.

Ddd


Posted by studio3d@ccgmail.net at 12:01 AM PDT
Saturday, 5 October 2013
High Ho Hibiscus
Topic: Coloring

On the diecut featured today I used temporary tape to block off the lacy part before stamping to keep the image contained. The background on this one was made with dots of light blue marker. A blue scalloped diecut was added behind the stamped one and that same blue was used for bordering.


Contrary to appearances, the large background, the sentiment and the leaves are ALL a lovely spring green.

BAD CAMERA!

Ddd


Posted by studio3d@ccgmail.net at 12:01 AM PDT
Friday, 4 October 2013
Just A Little Snippet
Topic: Coloring

I picked up another 6x6 paper pad at the Tuesday Morning store. This one is by Studio Calico and is called 'Snippets Collection'.


It made the perfect foil for a stack of of images I had colored. Here's what they all have in common: Snippets papers, fancy diecuts, images stamped on the diecuts with Momento Tuxedo Black ink, images colored with Copic and/or Bic Mark-It alcohol markers.

Today I used a diecut with a very fancy border. I stamped the center with a clear stamp of a sketchy flower and added a stem. For the flower background I used a cool grey marker to add dots, working from solid to sparsely spaced.


Three papers from the pad were used along with dark grey and a bit of red-violet to pick up the flower center color.

I added grey brads at the four corners of the diecut.

Ddd


Posted by studio3d@ccgmail.net at 12:01 AM PDT
Wednesday, 14 August 2013
Ball On A Stick
Topic: Coloring

When I was choosing stamped images to color I finally broke down and just tossed a lot of them that I was sure I never wanted to see again. Hard for me to do, too, but I kept out the best ones. Today I selected a remaining pair of topiary images and colored them with alcohol inks.

First, I cut the image with a diecut, using it half on each side so the result was narrower. I used distress ink on the image to tone down its stark whiteness. Then I backed with complementary patterned papers all banded in green to echo the bush. The stamped sentiment in brown balances the color of the pot.


I left the white background on the second tree and changed up the backing papers. I kept the green borders and changed up the sentiment. I highlighted the illustration a bit more by adding two sizes of red rhinestones where the 'fruits' were.


On the first card the illustration is up on foam tape while on the second card it is used under the sentiment.

Ddd


Posted by studio3d@ccgmail.net at 12:01 AM PDT
Tuesday, 13 August 2013
Love That Flag
Topic: Coloring

Today I'm featuring a couple of patriotic digitals that I colored with alcohol markers.

The first is a patchwork heart flag on which I blended three blues and three reds. I added a touch of golden yellow in the bottom of the stars. I selected three patriotic papers and bordered everything in denim blue. I added a square sentiment and popped it and the heart up on foam tape.


The second digi is a standard flag presentation. I used three reds and two blues to color it and used two yellows for the flagpole. I used only two of the patriotic papers and arranged a tab to contain the sentiment.


The illustration, with rounded corners is popped up on foam tape.

Ddd


Posted by studio3d@ccgmail.net at 12:01 AM PDT
Monday, 12 August 2013
Hello, I'm Your Mummy
Topic: Coloring

I set aside this little guy for about two years because I wasn't sure how to color him successfully nor if he was strong enough to be a feature. Once I got the coloring done with two cool greys and just the hint of light blue I knew I had been successful on the first front.

The secret to keeping him as a feature was to stay with mostly black and white as the background papers. Upon finding just a hint of green in the dotted paper I decided to use that as the bordering color. Some blank space in the upper right called to mind to fill it with a bit of foliage.


There's another good use for the "Hello Handsome" sentiment.

Ddd


Posted by studio3d@ccgmail.net at 12:01 AM PDT
Sunday, 11 August 2013
Cupcake Sitter Critters
Topic: Coloring

Another stamped image from a swap is featured today. I used alcohol markers and did no shading so the colors are pure and bright. I tried to keep that brightness going byusing hot pink as the bordering color to a stripe and a bright orange tone-on-tone paper.


I diecut the illustration and popped it up on foam tape over a tie of yellow twine.

As a last step I used a multitude of Liquid Pearls to fill in the cupcake sprinkles.

Ddd


Posted by studio3d@ccgmail.net at 12:01 AM PDT
Saturday, 10 August 2013
Oh, You Devil!
Topic: Coloring

This stamped illustration that I got in a swap was embossed in black which made it easy to color without fear of smearing the ink. I used alcohol markers and used two warm grey for her and two cool grey for him. Each got some brown for hair and then I decked her out in red accessories.

I used a diagonal cut for the decorative paper background. Grey doilies and pink/red hearts suit the theme beautifully and I bordered everything with maroon.


That saucy sentiment made me giggle when combined with this card front.

Ddd


Posted by studio3d@ccgmail.net at 12:01 AM PDT
Friday, 9 August 2013
Love Bunnies
Topic: Coloring

I'm pretty sure these cute little bunnies are a digi stamp and I have NO idea why I waited so long to color them. Aren't they adorable?

I colored them with alcohol markers using just two tones for each bunny. Afterward, I selected some patterned papers with complementary colors to place over a salmon card base. Bordering with yellow pulled in some lightness from the illustration and some diecut swirls hold it all together.

The simple sentiment was really the only logical choice for this card. I flag cut it, bordered it, and popped it up on foam tape.

Ddd

Posted by studio3d@ccgmail.net at 12:01 AM PDT
Thursday, 8 August 2013
Orange You Glad To See This
Topic: Coloring

Back again with some image coloring. Today the image is one I received in a swap and I colored it with alcohol markers. I wanted to skew the theme toward fall so I used an orange coloring for the bird.

I cut around the leaves on the branch and then cut the rest of the panel down to a rectangle and rounded three corners. I dropped a scrap of ColorMe paper behind the leafy area and a greeting stamped on a rusty cardstock. All these elements are bordered with a green to echo the leaves.


The background is a leftover of a project from LONG ago and I am not entirely sure which one! LOL! It is possible it is a portion of a geletain print. Then again, maybe not.

Ddd


Posted by studio3d@ccgmail.net at 12:01 AM PDT
Monday, 5 August 2013
Hop-a-Long
Topic: Coloring

Well, this has been a looooo-o-o-n-g stretch of coloring images. But today marks the end of those so we will move on to something else after today.

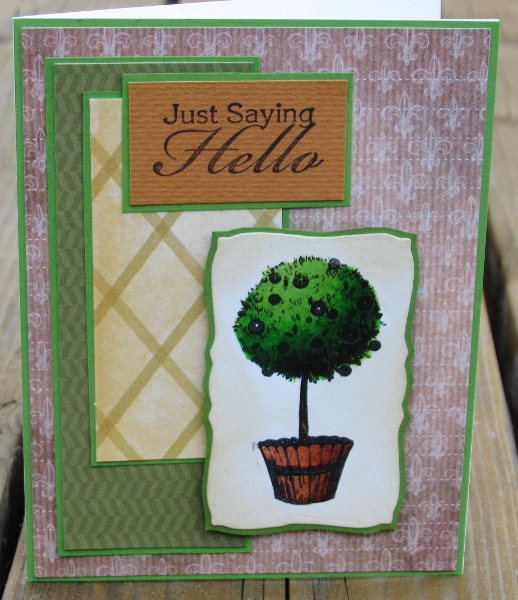
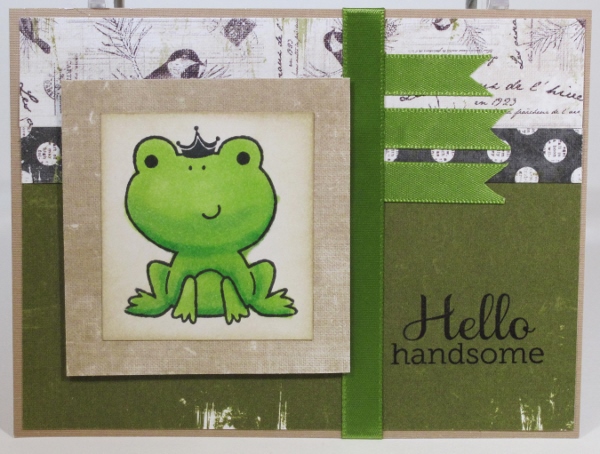
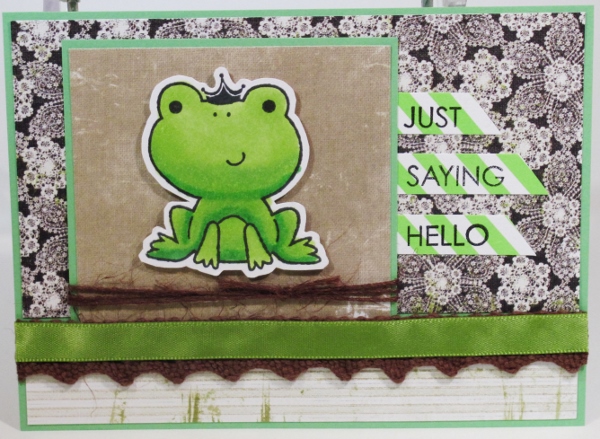
For this last round I stamped and colored with alcohol markers some little green frogs. I have no idea why they are wearing crowns. I think they might be companions to some other stamps with a castle, a carriage and something else I've forgotten. If so, they would represent fairy tales and this must be the frog prince.

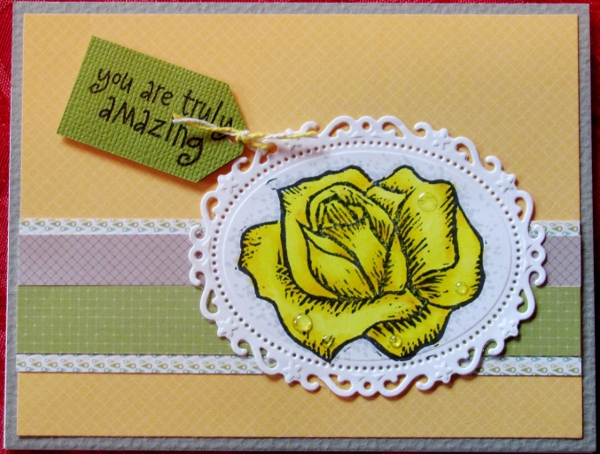
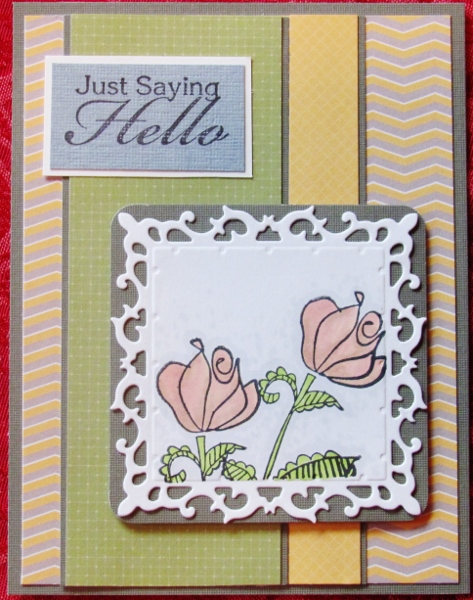
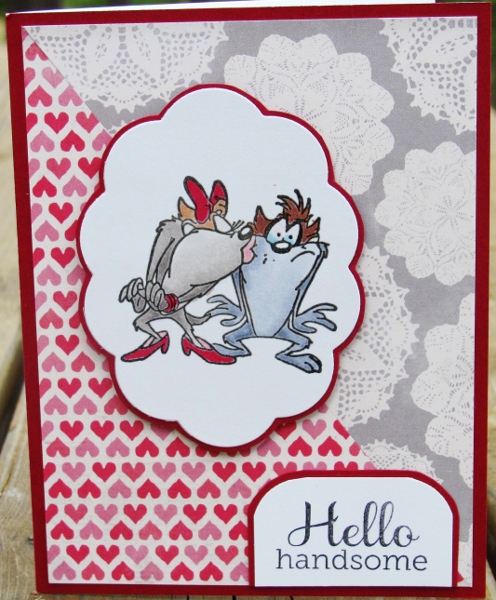
On the first I used some distressed papers and green ribbons over a taupecard base. The sentiment suits the 'kiss the frog' under-message.


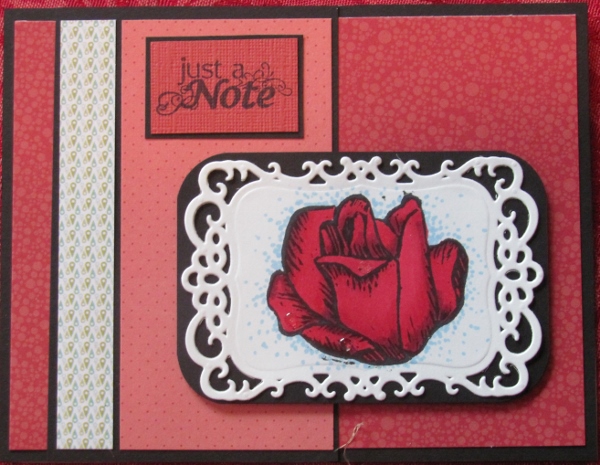
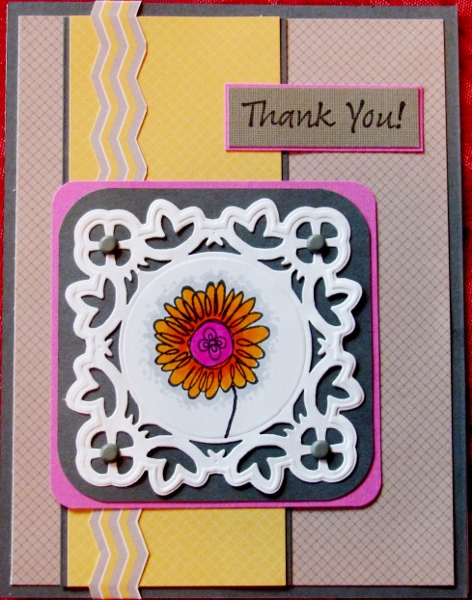
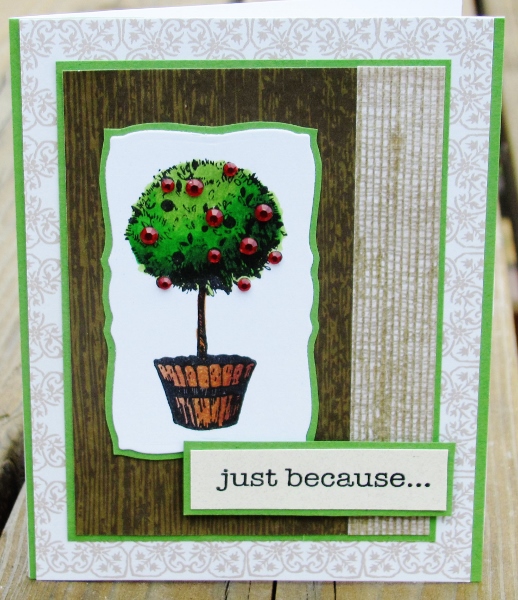
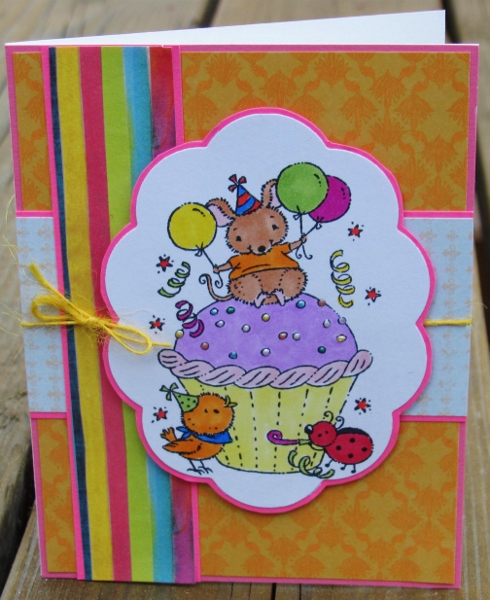
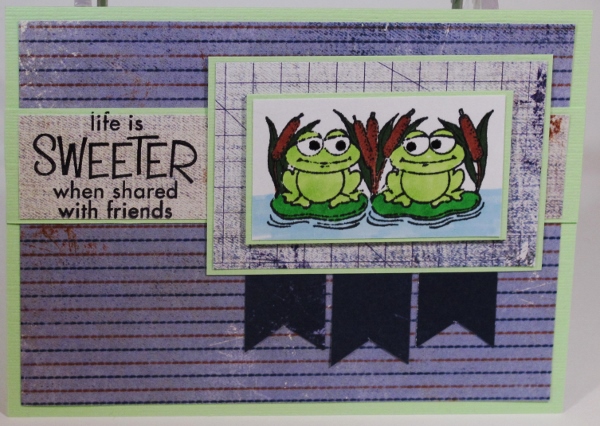
More busy papers on this one with embellishments of crocheted trim, ribbon and twine. I stamped the sentiment words onto separate strips of striped paper.


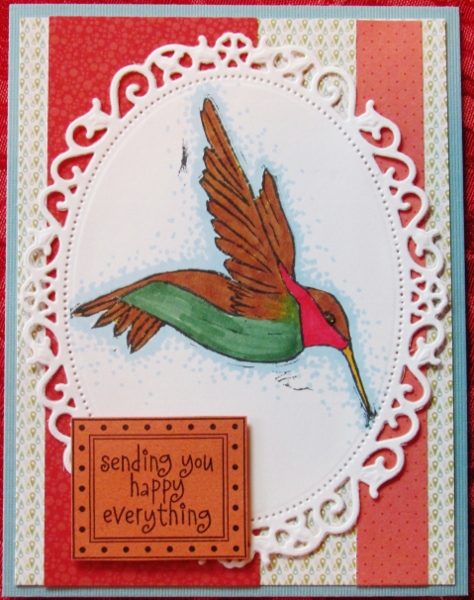
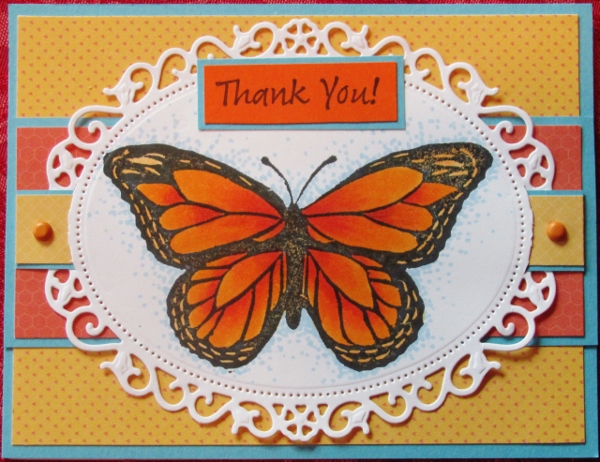
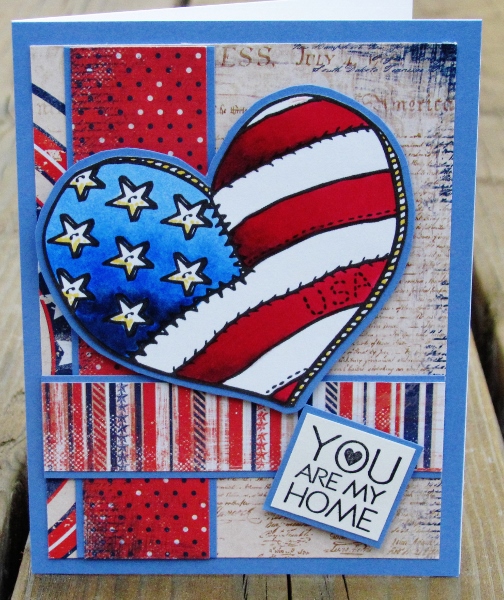
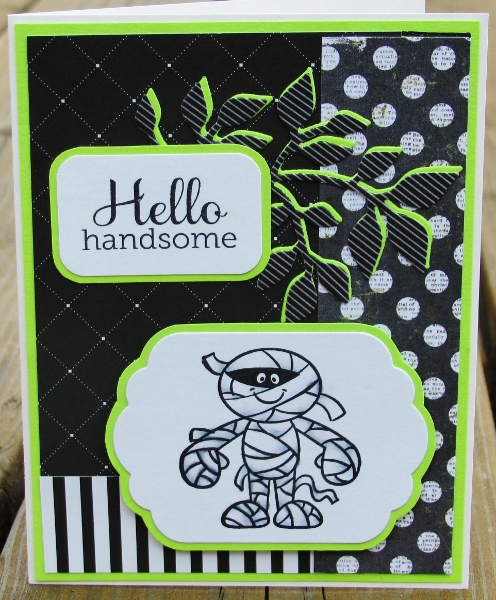
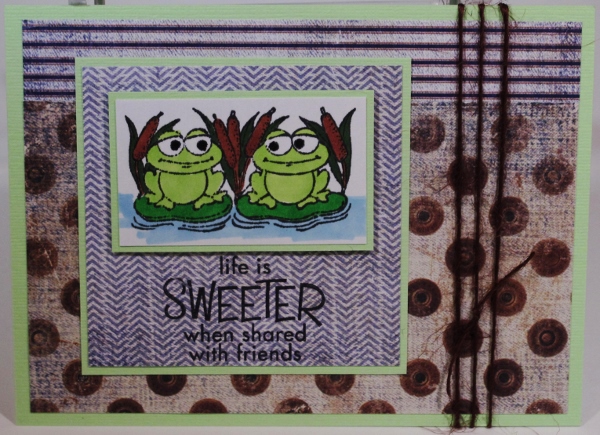
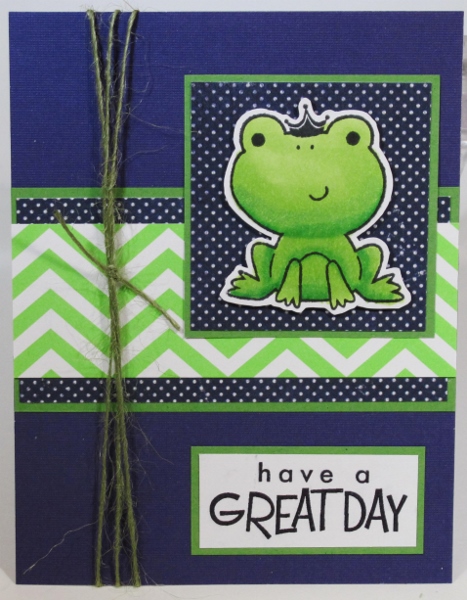
I love this fine blue dot paper and decided to add just a bit of zing with the green chevron paper. A little green twine ties into the frog and a sentiment stamped on white echoes the border on him.


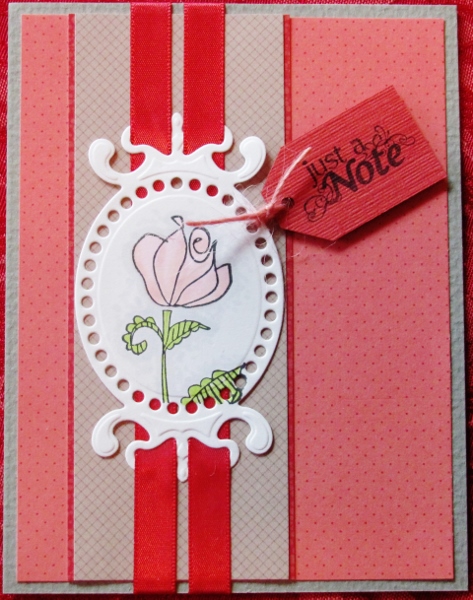
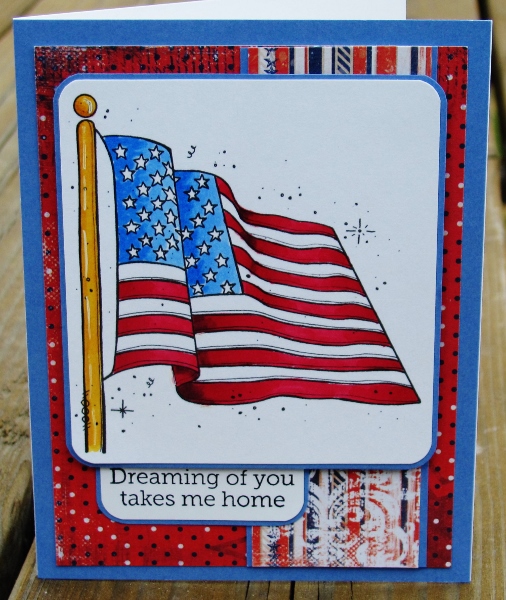
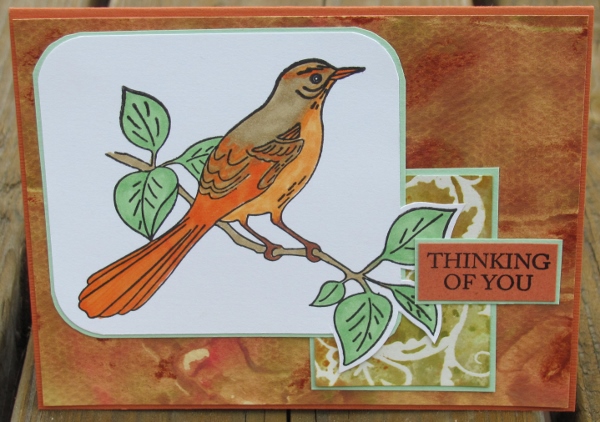
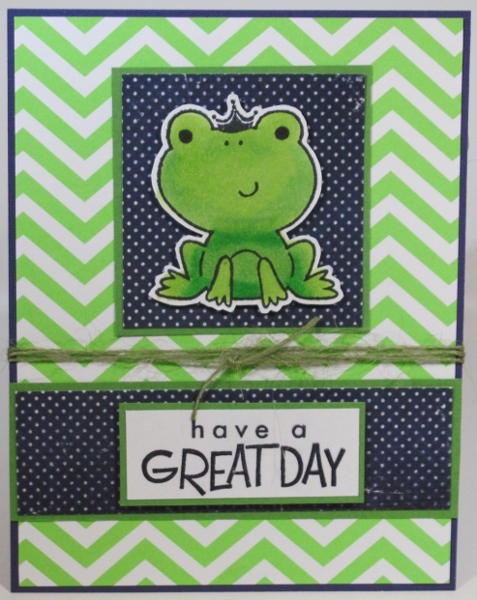
I used the same papers as before but with a different balance. the same sentiment was used and this, again, uses a blue card base.

Actually, I am more than ready to move on to a new focus.

Ddd


Posted by studio3d@ccgmail.net at 12:01 AM PDT
Updated: Monday, 5 August 2013 8:58 AM PDT
Sunday, 4 August 2013
Leap Frogs
Topic: Coloring

The stamp I used for today was one I got in a grab bag at Goodwill. There were few useable stamps in there as many of them were damages, poor quality foam stamps or ones with the rubber hardened on them.

I colored this up twice on plain white cardstock using alcohol markers. IFor both cards I used denim prints from a 6x6 pad, green bordering and the same sentiment stamp.


Due to the variety of papers in the 6x6 pad the cards come out looking toad-ally different! (hee hee hee)

Ddd


Posted by studio3d@ccgmail.net at 12:01 AM PDT
Saturday, 3 August 2013
Great Day At The Beach
Topic: Coloring

This is another image that was sent to me in a swap. It was a very light impression which worked OK in the image itself but the bold border on the round image looked lame. So, after watercoloring the image, I glued three rounds of twine around the edge.

I chose a base card to pull out the colors in the sky, the dotted background that echoes the circle element, and the bottom border which picks up the green from the bamboo.


I stamped the sentiment directly onto the background paper and used one with a casual feel to suit the theme.

Ddd


Posted by studio3d@ccgmail.net at 12:01 AM PDT

Newer | Latest | Older