Topic: Supplies
I have had a set of 'coloring things' in my supplies for several years but never really had any idea how to use them properly until now. They are marked 'Silky' and they come in a tube like a glue stick. Very strong pigment in a stick that is water soluble. Hmmm.
Well, I saw Donna Downey playing with something similar on her blog the other day and it set me to thinking about how I might make use of these 'coloring things' (not sure what to call them).
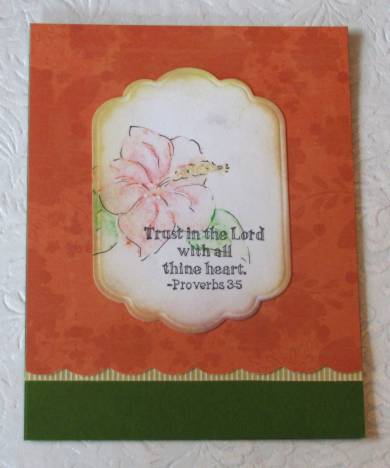
What I did was take out a solid stamp and misted it with water. Then I used two tones of pink, two of green, and one of yellow-gold and colored right on the stamp. Another mist of water and then I stamped on plain white cardstock. I was able to mist again and again, getting 4 impressions before I had to color the stamp again.
This image is one of the 4th generations. When I had all of these stamped out I dired with the heat gun and then sketched around the image with a Pigma pen.

I used the set of Stampin Up scriptures that I got at Goodwill and placed text over the image. Then it was cut with a Nestabilities die. In this case I also distressed the edges before mounting on a scalloped cardstock.
I added a bit of yellow striped ribbon under the scallops and then glued to a green folded card base.
While I was experimenting with these supplies I made a total of 8 flower panels ( 2 sets of 4 generations ). This means that you'll be seeing several similar cards coming up. I do have plans to share some other techniques first, though.
Ddd
