Topic: Stickers
So here I am with two little pads of printed vellum scriptures and sayings and also with a pile of large floral stickers. The stickers already have frames and have a watercolor look to them. I've had them for years. I decided to combine them and it turned out as a successful venture.
I cut the vellum down to 1/4 inch all around the sticker. Then I laid them face down and peeled ONE side of the sticker backing up and volded the vellum over it and creased. The backing was placed back down and on to the opposite side of the sticker. I trimmed the vellum corners and then folded in the two remaining sides. I lifted the backing once again and ran dry-adhesive over the vellum edges.
Next up was creating the card bases and selecting matching backing papers for each sticker. This is the resulting 5 cards.
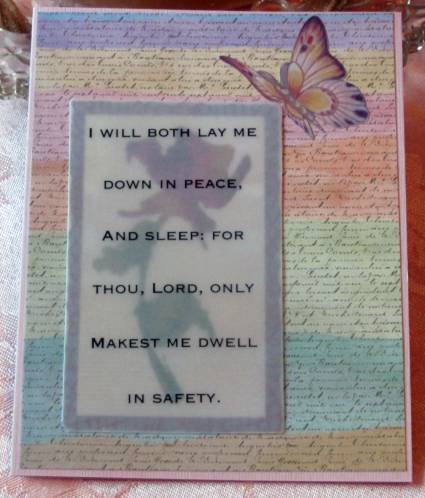
The first uses a printed scrapbook paper background and a butterfly sticker accent.
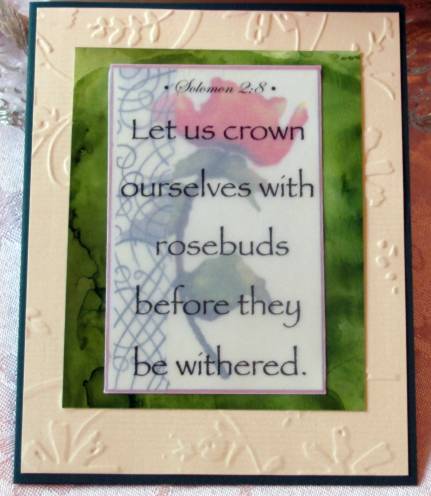
Here I used an embossed background and a panel of alcohol-ink background.
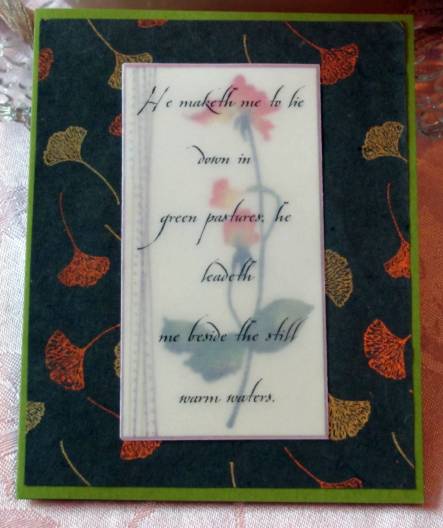
The next two use a backgound I got in a swap. It is mulberry paper that has been stamped with Versamark and rubbed with Pearl-Ex to imprint the leaves. They are actually metallic-looking.
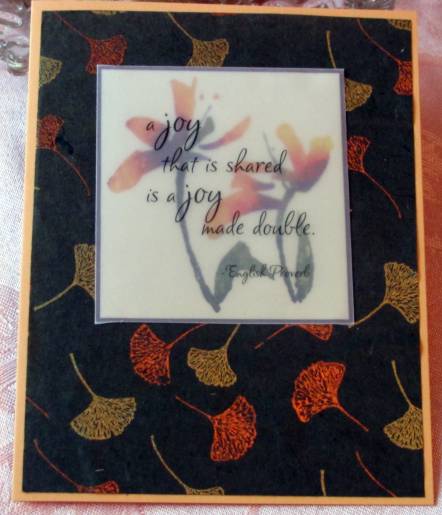
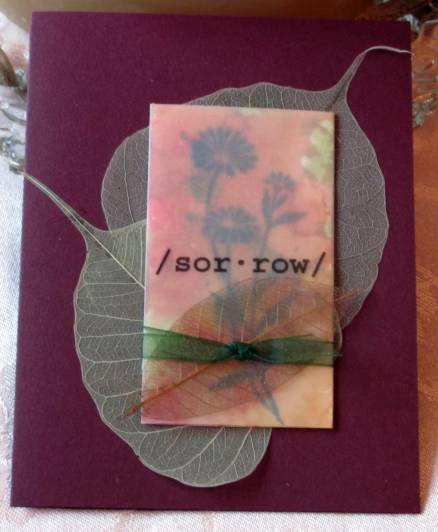
This last one is actually not a sticker, but a stamped silhouette over an inked background. But the vellum wrapping was done in the same way. I used skeleton leaves as a background element and added a band of sheer ribbon to the panel.
This is an easy technique to do and looks so elegant on the cards. I have many more of these stickers and vellum so you may see this again one fine day.
Ddd
