Topic: Paper Embroidery
Winding down on the embroidered alphabet!
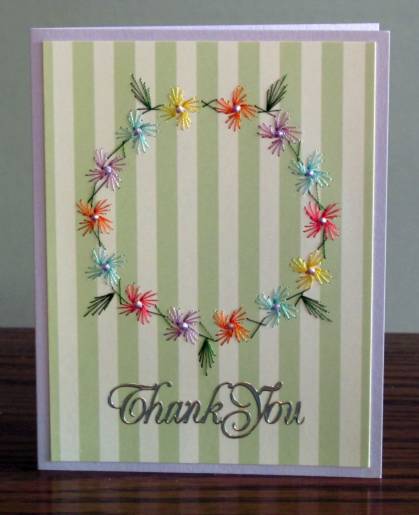
First up today we've got W is for Wreath. I grabbed a piece of striped glossy cardstock gleaned from the back of an old thank you card I had received. I changed up the stitching for this the way I always do as the original design is very pedestrian. I stitched using a variety of colors to make a very spring look. I added it to a lavender card base and used lavender Liquid Pearls to the center of each flower. It is finished off with a silver peel-off greeting.
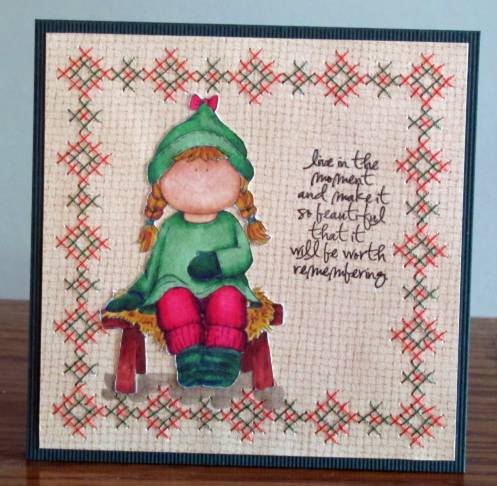
Then I went on to X is for X-stitch (X is a hard letter to illustrate!). I chose a printed paper that looks like aida cloth and selected green and red threads to stitch with. The Tilda image was received in a stamped image swap and I colored her with Copic markers to match the stitching. I trimmed her out with a craft knife and colored a little shadow for her stool. I created a text block with a stamp.
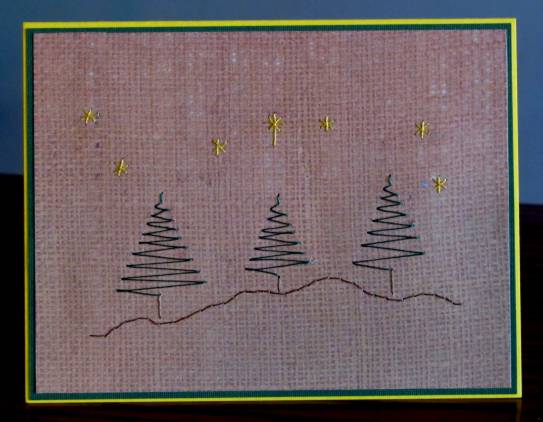
Finally, we have Z is for Zig-zag. I chose this pattern of zig-zag trees and a background of burlap printed paper. I would choose a darker color for the stars next time but I am basically satisfied with this. I used a frame of green like the trees and a yellow card base to bring out the stars. This is a very easy pattern to stitch up and I taught my grand-daughters (12 and 10) to do paper embroidery with this as the beginning design.
What's left? Just the letter Y and this series will be finished.
Ddd
