Topic: Multi-Technique
I noticed on lots of the blogs I follow that people are offering a year-in-review highlighting their favorite projects of the year. Thought I'd do the same and, WOW, is it hard! First I came up with a list of favorites that was way too long and then started paring it down. I even solicited help from family but finally ended up doing the last cuts by myself. It's like saying one of your kids are not among your favorites!
So I finally ended up with the top ten, plus a bonus! I couldn't cut one more! LOL!
In no particular order:
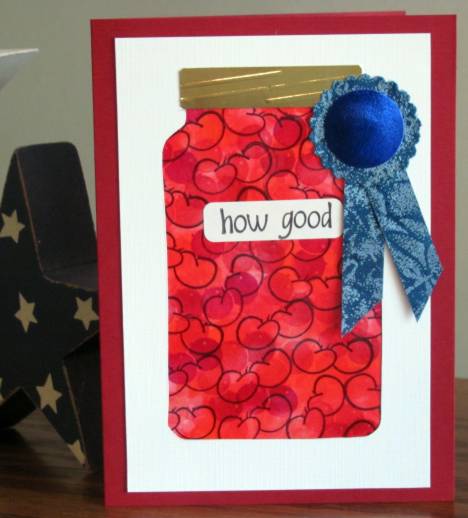
PROJECT 1: I like this one for the combination of techniques used to construct it. I used alcohol inks to color transparency, layered it over stamping on pink paper with multiple images of cherries, placed under a jar-shaped aperture, added a scored gold jar lid and a blue ribbon of fabric, and stamped a text label.
PROJECT 2: This card features atechnique using a scoring mat to create 'tiles'. I scored white cardstock, stamped with flowers and butterfies in blue, colored with more blue, and used blue distress ink on the background. I embellished with an embossed and diecut butterfly and a stamped diecut.

PROJECT 3: I created these sheep from embossed diecut scallops after sketching a slide illustration at church (yes, I sketch all over my church bulletin). They were one of those things that came out exactly as I envisioned (love it when that happens). Used diecut letters for the text.

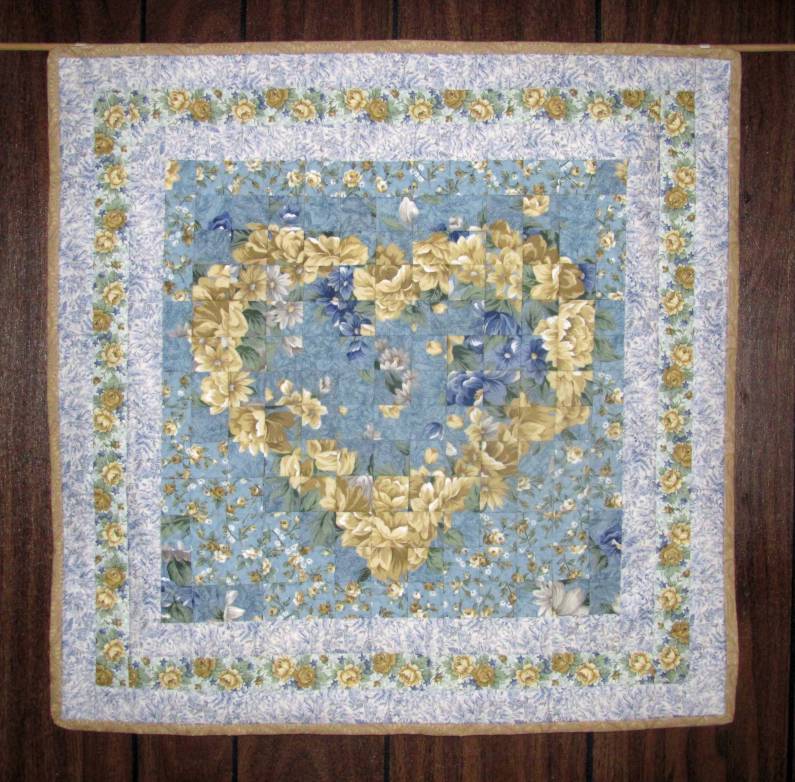
PROJECT 4: I have admired watercolor quilts for many years and even made a faux one with 1-inch squares of wallpaper from a sample book (many years ago). However, this project was when I was very new to quilting and used a grid-marked press on interfacing. One cuts the fabrics to 2-inch squares and lay them out on the grid and press. Then the whole thing is folded on the grids and stitched with 1/4-inch seams. Voila! I also learned to do stippling for the quilting on this one which won a red second-place ribbon later in the year.
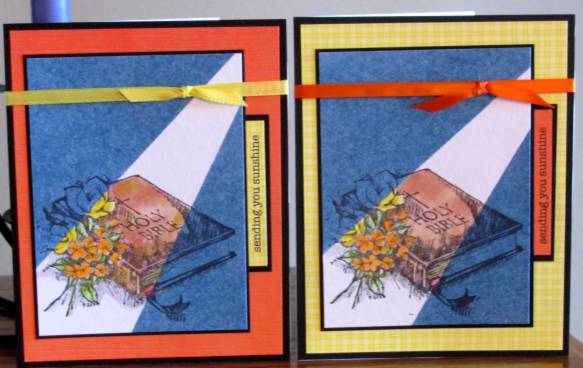
PROJECT 5: I love this technique that creates a shaft of sunlight effect. Stamp the image, mask the light shaft, apply blue ink to the corners, color the image in the light area. The black borders and bright colors in the framing really enhance the effect.
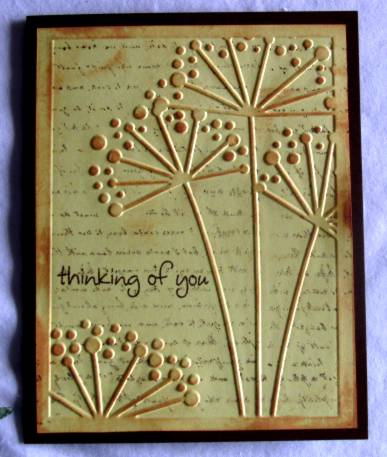
PROJECT 6: This effect is created by stamping on the inside of an embossing folded before impressing the image. I used distress ink to showcase the embossing. The rest is just layering and stamping a greeting.
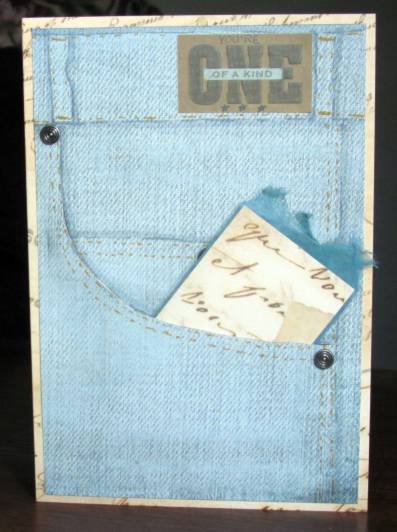
PROJECT 7: A test of my drawing skills. This started with a plain piece of paper with a denim print on it. I used markers to draw all the jeans details and cut a slit for the pocket opening. The rivets are brads and the belt label is a sticker. Printed paper mounted behind gives a nice lining to the pocket which was used to hold a gift card.
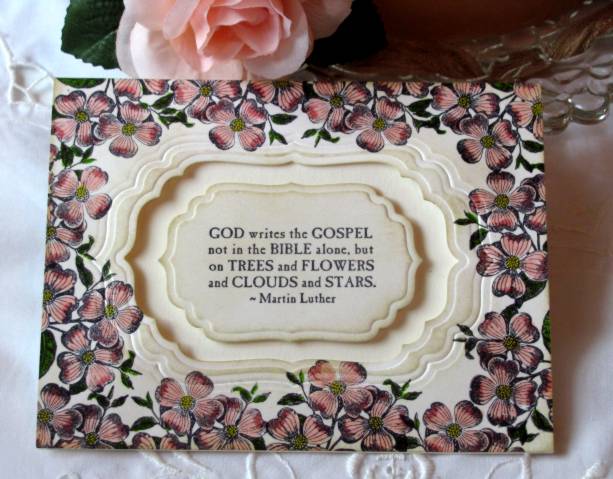
PROJECT 8: Ooooh, how I love this one! A stamp with dogwood blossoms was stamped repeatedly around the edge and colored with markers. I used multiple sizes of a Nestabilities die to cut and emboss the aperture and stamped inset. All layers/pieces were distressed with 'old paper' ink.
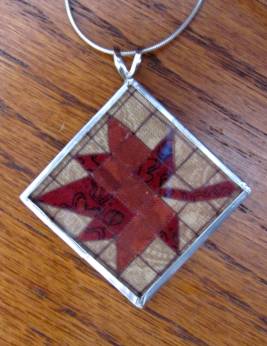
PROJECT 9: This necklace is made up of 1/4-inch squares of actual fabric adhered to a backing fabric with Steam-a-Seam2 and enhanced with threads in the 'ditch'. It is sandwiched between 2 pieces of microscope glass and bound with foil tape.
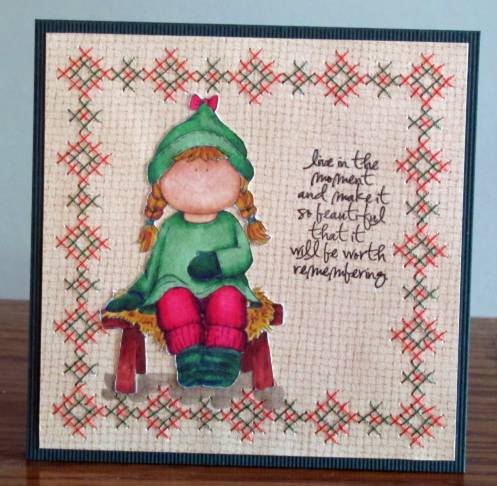
PROJECT 10: This project shows my best work on Copic coloring. I used an image from a swap and colored her to match the stitched background.
BONUS PROJECT: And here is the bonus project. I reprised my paper teapot making with 'one more for a friend' (the original won a blue ribbon at the County fair in the fall). I designed a cup to go along with the teapot. The color is off, but this is purple (her favorite color) and includes a rose (her favorite flower). The teapot (she collects them) features a rose-shaped button on the top for a knob on the lid.

Hope you enjoyed this trip down memory lane. Happy New Year!
Ddd
