Topic: Stencils
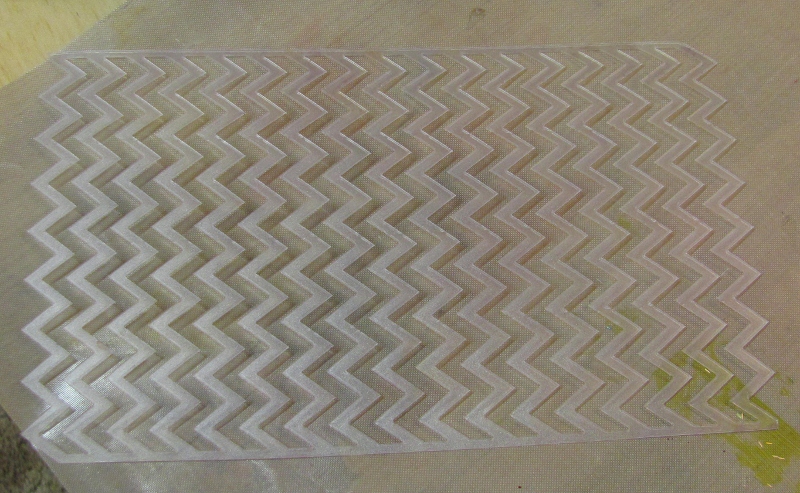
The other new stencil I picked up is this zig zag
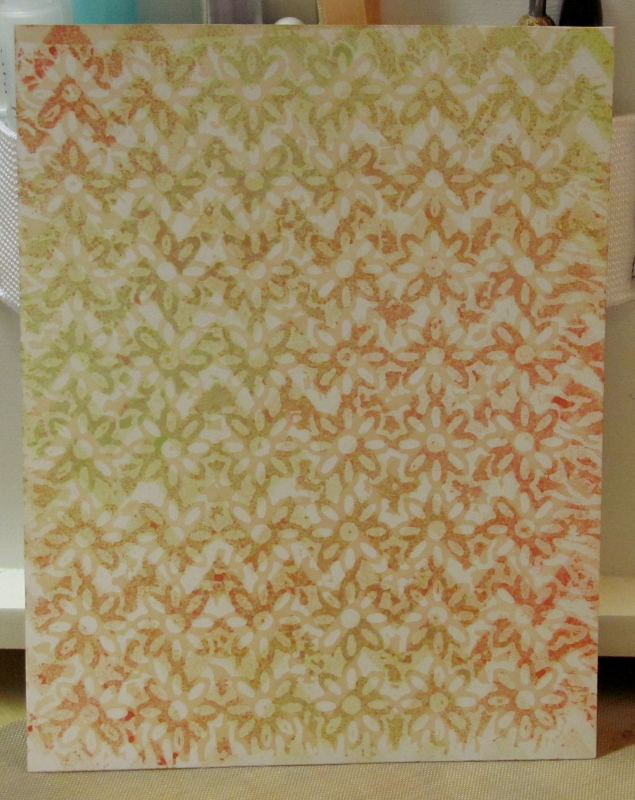
I started with a floral waxed paper cardstock and laid on the stencil. Then I sprayed with two colors of shimmer sprays. I dried it but the color did not burnish off the pattern. I thought I would use Distress ink to make the background pattern visible. This actually made the simmer mists migrate, too, so I began to see the background pattern over the whole thing. It made the zig zag very subtle.
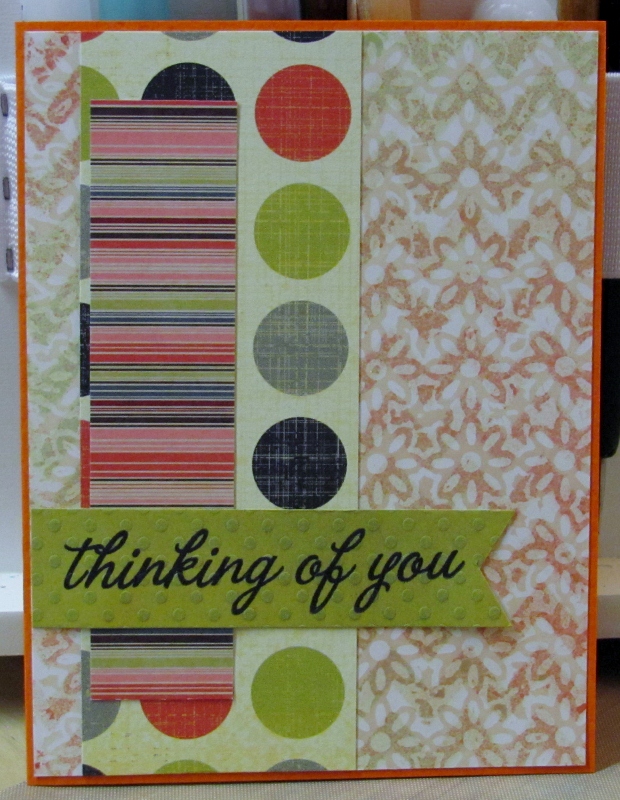
I chose some table scraps that went well with the colors of shimmer spray. These were layered and an orange card base added. The stamped greeting was on yellow so I added soem light blue Distress ink to bring it into the right green range.
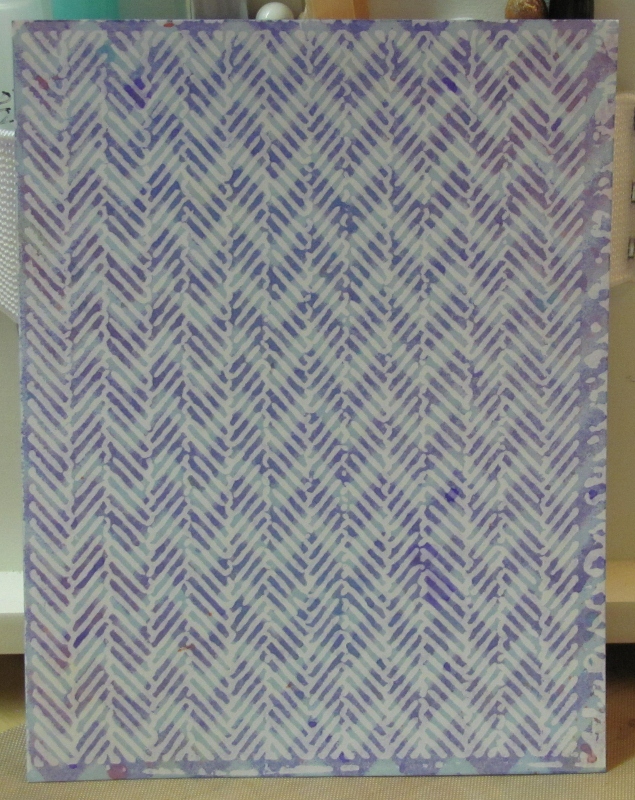
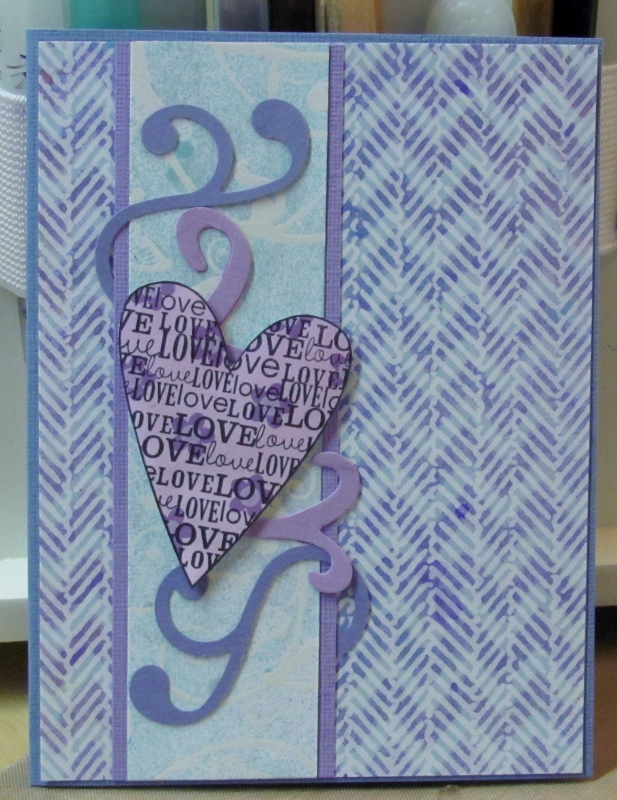
Next I went with a herringbone waxed paper background and used a dark purple simmer spray. A light blue Distress ink over the top keeps the pattern visible and reinforces the herringbone.
I added a strip of violet under a blue ColorMe strip and dropped on some diecut swirls. One of those stamped hearts (yes, another one) is popped up on foam tape.
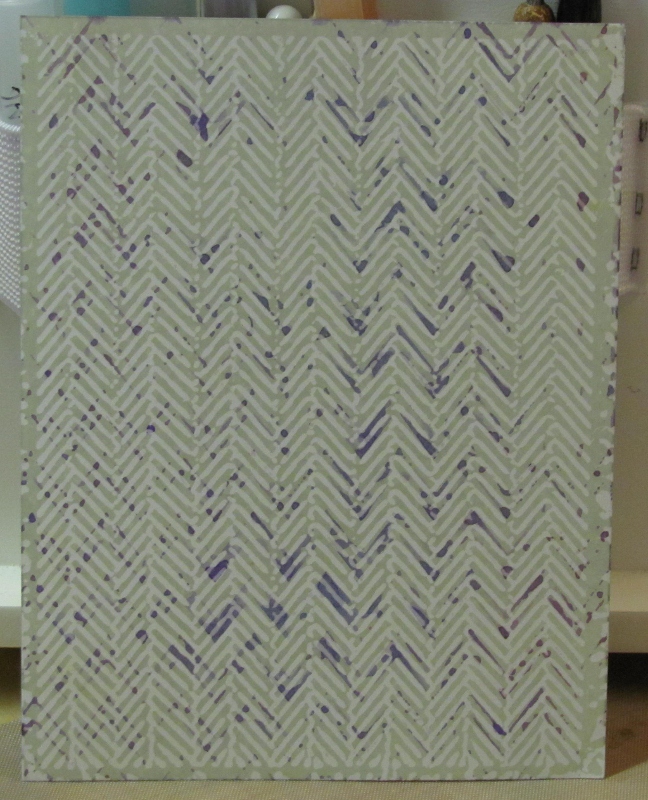
I turned the still-wet stencil over and pressed it to another herringbone background. After drying it I used a sage Distress ink to bring out the background. Not very exciting.
I had a sheet of stickers in the right color range so I really went to town with them and created a little scene, along with the sticker text.
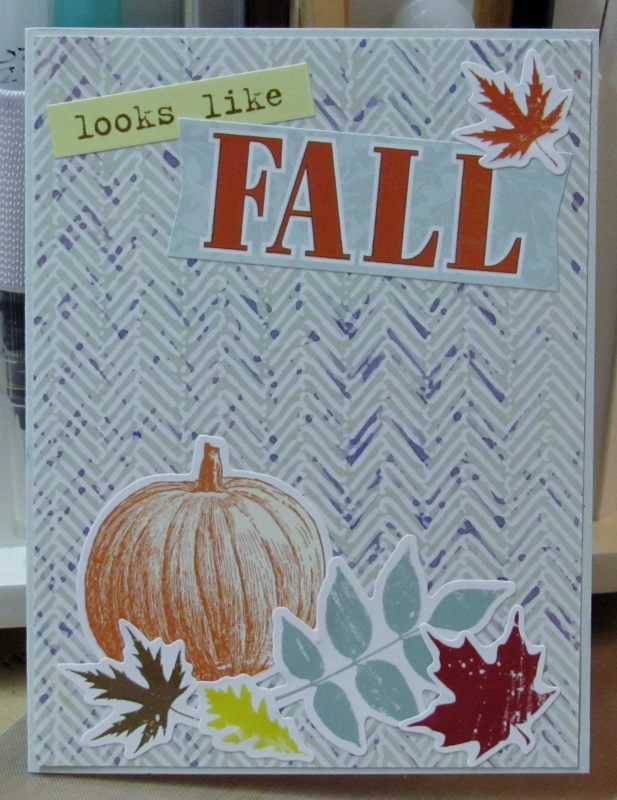
Much better as a card than as a blank background.
Ddd
