« September 2012 »
S M T W T F S
1
2 3 4 5 6 7 8
9 10 11 12 13 14 15
16 17 18 19 20 21 22
23 24 25 26 27 28 29
30
You are not logged in. Log in
Entries by Topic
All topics  «
3D paperwork
A - Z challenge 5
A - Z challenge 7
A - Z challenge round 4
A to Z challenge round 3
A to Z round 2
A to Z round 6
A-Z round 1
Around the House
Art Challenges
Artist Trading Cards
Backgrounds
Beads
Bible Journaling
Books
Boxes
Collage
Color Challenge
Coloring
cookbook
Die Cuts
Digital Projects
Digital Stamps
Drawing
Dry Embossing
Fabric Stuff
Fantastic Folds
Field Trip
Home Decor
How Does Your Garden Grow?
Hymnal Art
In The Kitchen
In the studio
Jewelry
Lettering
Links
Multi-Technique
Music to Work By
Musings
Nail Art
New Work
Online Class
Other Hobbies
Other Projects
Painting
Paper Embroidery
Paper Piecing
Photo
Pretty Paper
Quilting
Random
reading
Scrap Recovery
scrapbooking
Sewing
Sketch Challenge
Some Backlog
Stamping
Stencils
Stickers
Supplies
Teabag Folding
Techniques
Testing
tips and tricks
Tutorial
Web resources
Welcome to my Blog
Work By My Friends
workflow
Writing
Blog Tools
Edit your Blog
Build a Blog
RSS Feed
View Profile
Group One
In & Out of Studio 3D
Thursday, 20 September 2012
Waxing Poetic
Topic: Backgrounds

While I had the waxed paper background papers and the Distress inks out I did simple coloring on three more pieces and turned them into cards.

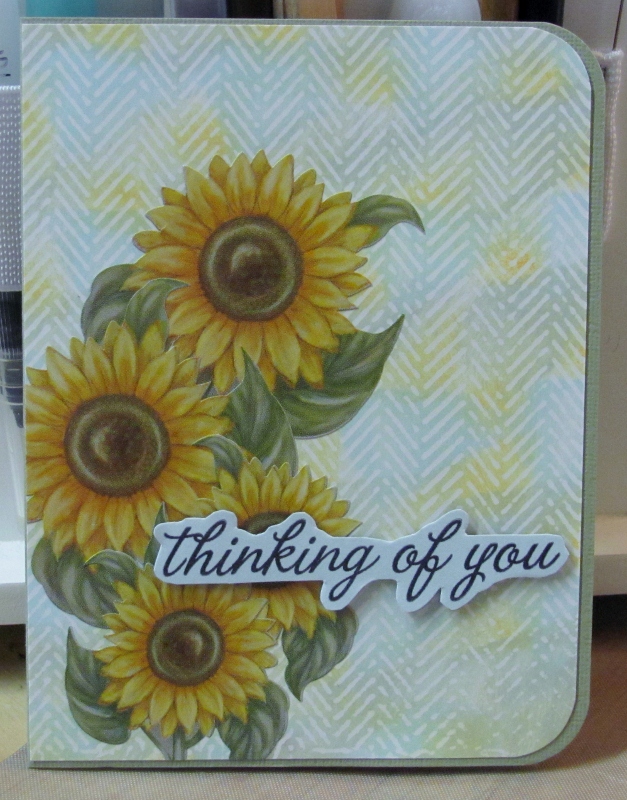
The first is this herringbone that I colored with both a blue and a yellow and burnished to blend and create a green.


I got out some sheets of floral stickers and layered some blossoms on this. Then I rounded only the right side and mounted flush to the left edge of the of a sage green card base. The prestamped greeting was trimmed out and mounted on foam tape.

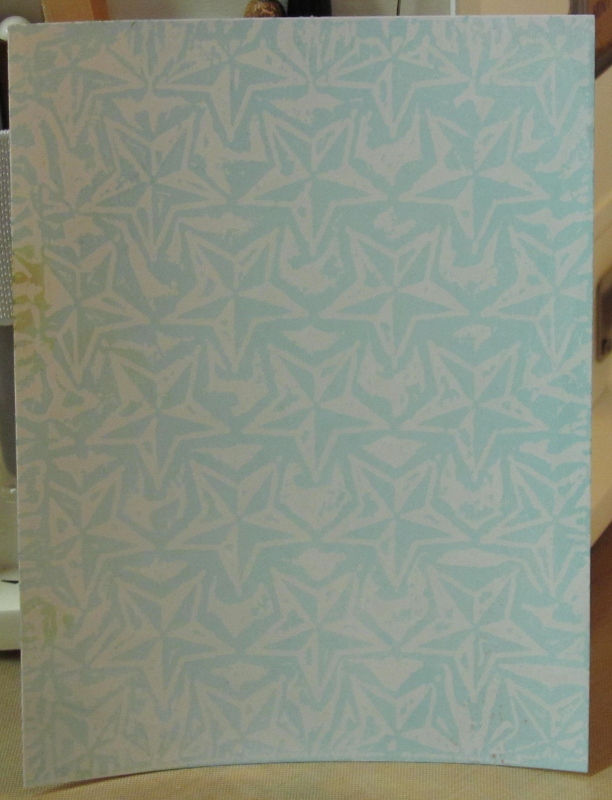
For the star background I used a blue ink


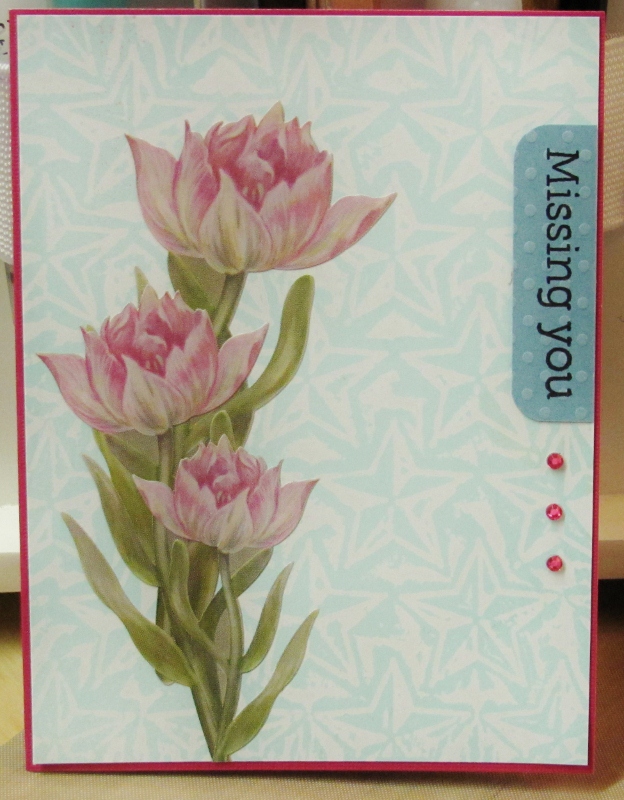
I used more of the floral stickers and added the prestamped greeting along the outer edge. Three pink rhinestone stickers match the card base.


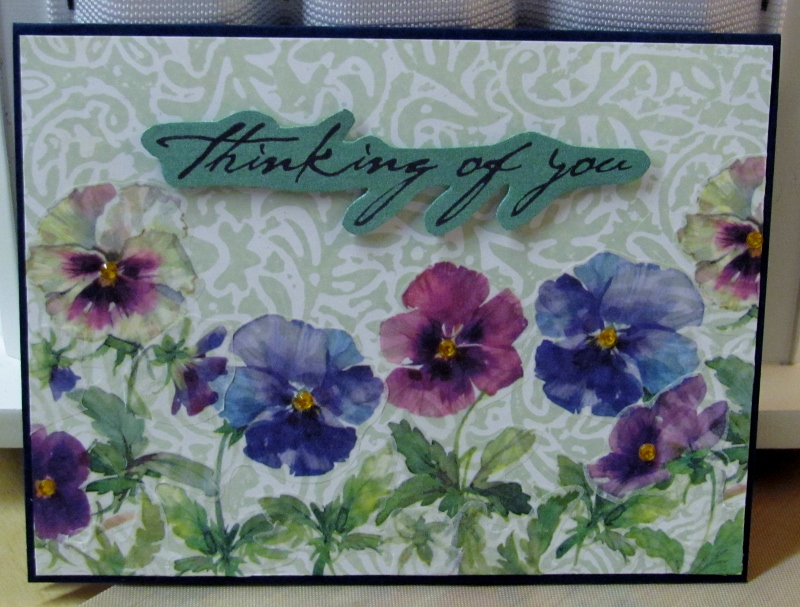
The swirl background got sage green Distress ink.

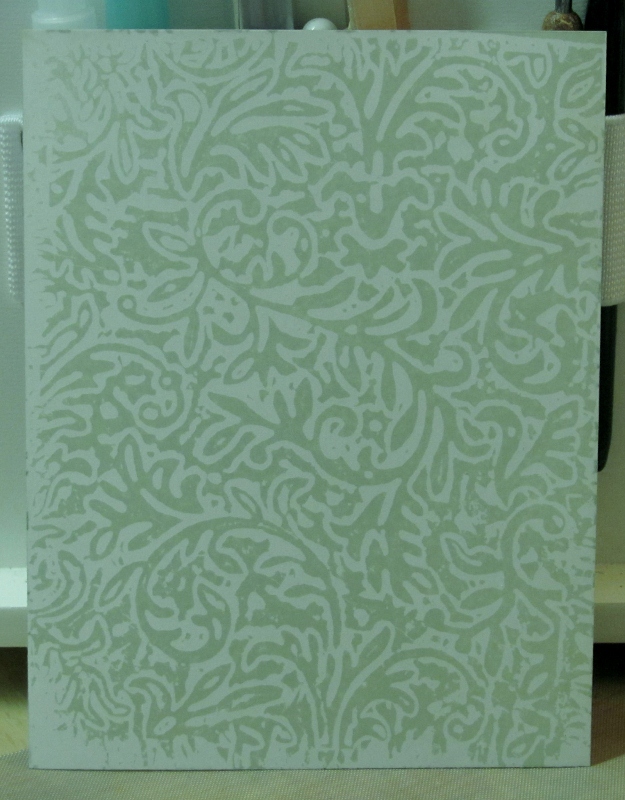
For this one I had several sheets of vellum stickers with pansies. I added them randomly across the bottom and then added more of the leaves at the bottom. By letting them run off the edges it looks like a slice of a larger scene. I added a prestamped greeting that I trimmed down and mounted on foam tape. Then I placed a golden rhinestone in the center of each flower.


What's next?

Ddd


Posted by studio3d@ccgmail.net at 12:01 AM PDT
Updated: Thursday, 13 September 2012 11:10 PM PDT

View Latest Entries