Topic: Sewing
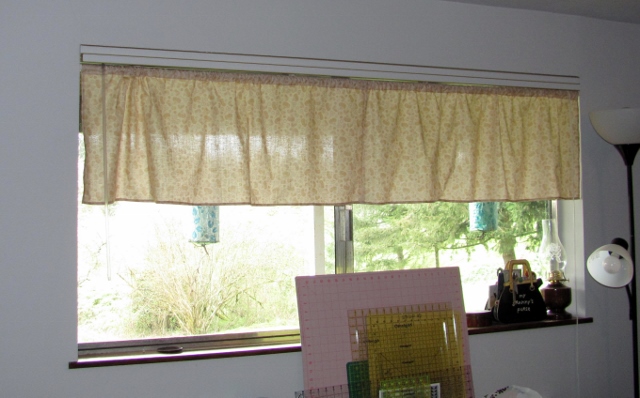
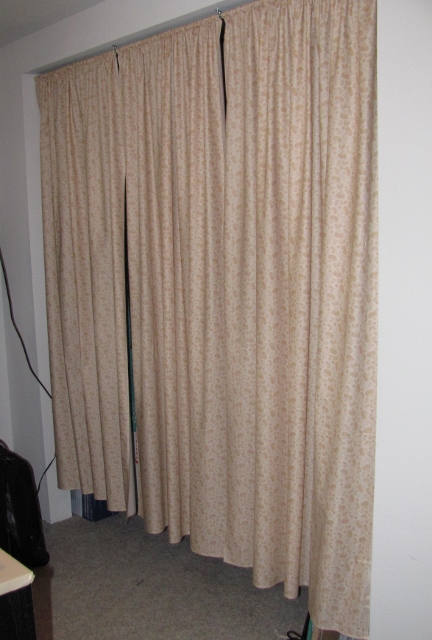
In order to clean up the look in my quilt studio I decided to make curtains to cover the closet opening. While I was at it I made a matching valance for the window.
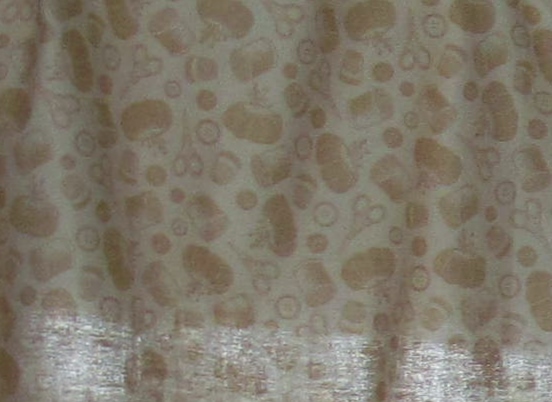
I found this wonderful fabric in the discount room at the fabric store and bought the end of the bolt. As you can see, it has sewing supplies printed all over it thread, buttons, scissors, pin cushions, and thimbles.

Because there were two separate pieces at the end of the bolt it pre-determined the amount of fabric I had for the window (just one yard.) I cut it into two pieces of 18 inches, joined them at the center and created a pocket for the rod. Hemmed all around. If I were to do this again I would make the valance shorter and fuller by making three sections of 12 inches.

The rest of the fabric was cut into three panels, rod pockets sewn and the ends hemmed. I did not join the sides of these as I wanted to be able to go in and out of the closet at more than just the ends. The pre-determined length leaves them a little short at the bottom but it will allow for some air flow so things don't get stale in there.

Both of the curtains are installed on extension rods. The closet curtains were a bit heavy causing some bowing of the rod so I put in some U-brackets at the intervals between the panels.
Ddd
