Topic: Stamping
I have a set of clear stamps that is strictly text - individual words. These can be mounted on a single acrylic block to form sentiments and phrases. I had an idea to use multiple words to make a frame for joyous occasions.
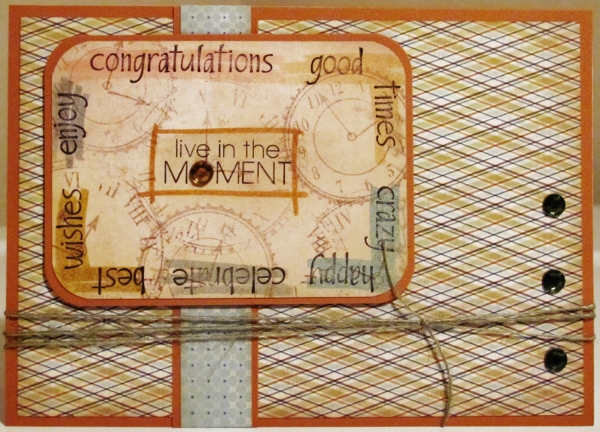
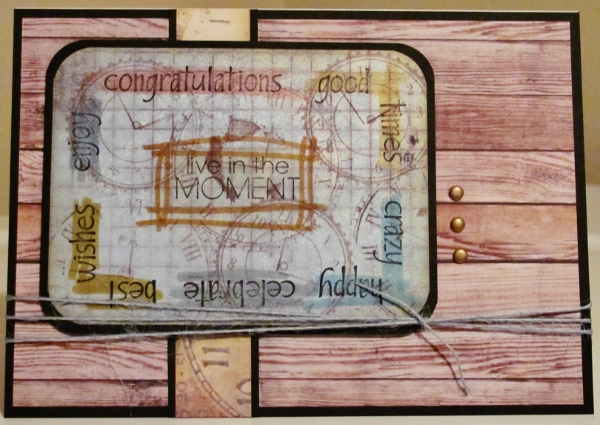
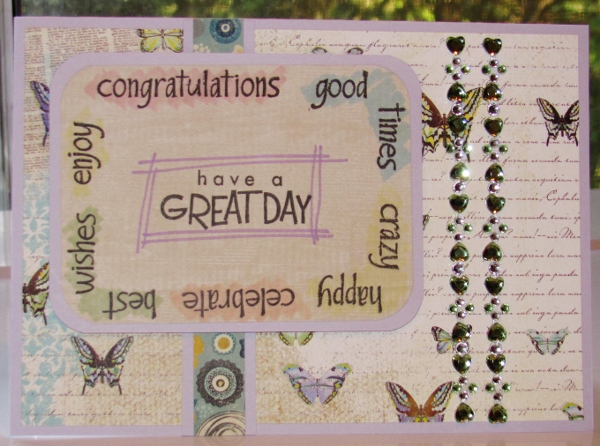
I placed the words with three corners being made of two word phrases. After I stamped this it wasn't clear that it was not one big run-on sentence so I used markers to color block them. I also used marker to frame the center sentiment which is from a different set entirely.
On two of the cards I used two clock images to do second generation stamping in brown ink to create a background, rounded the corners and distressed the edges with old paper distress ink. The last card has no distressing or background stamping.
After that it was just the mounting. I cut a 6" paper apart so I could spread it to go to the ends of my 5x7 card base (with a thin border exposed). Then I cut and bordered an accent strip to cover this gap. I tied colored twine (on two of them), mounted the bordered sentiment on foam tape and added some bling to finish it off.
This first one I sent as a graduation card for a young lady:

And the second one was a birthday card for a man

The third one was also a birthday card but for a woman. I used a different center sentiment on this one, too.

I think this makes a good mix of masculine/feminine, non-specific celebration occasions, and vintage/modern.
Ddd
