Topic: Online Class
The first technique shared on day 11 of class was called Layered Heat Embossing. I made 4 cards with this technique.
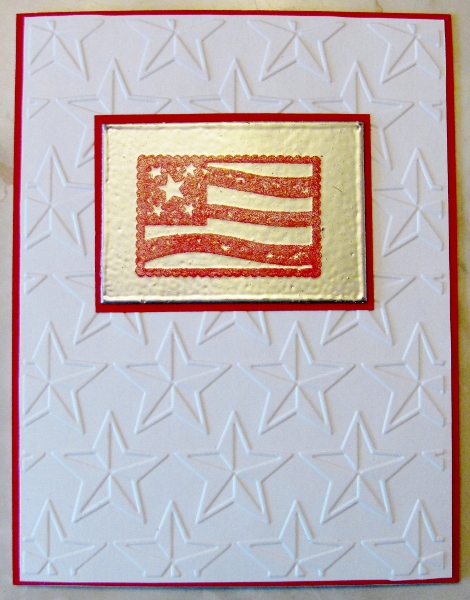
First I cut piece of tagboard and inked the edges with Versamark and dipped them in silver embossing powder. I melted this with a heat gun. Then I covered the face of the chipboard with Versamark. I covered this with and silver embossing powder and heated it. This was repeated to get even coverage.
I used the anti-static bag on the piece. Then I stamped the flag with Versamark and sprinkled on cherry red embossing powder. this was heated carefully to melt only the red.
I bordered with red cardstock and layered it on white cardstock which was dry embossed with a star folder.
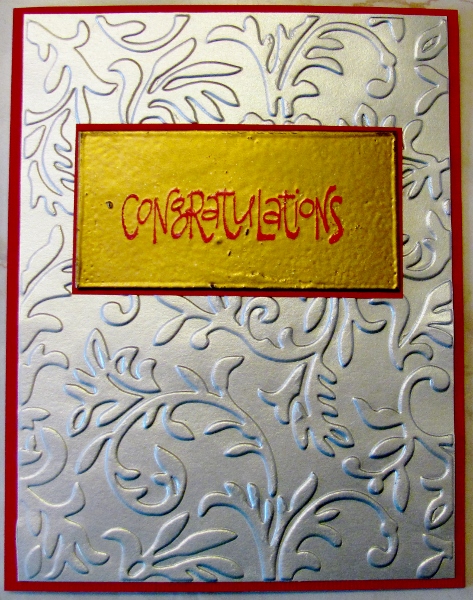
I used the same process to creare a gold and red block and layered it on silver cardstock bordered in red.
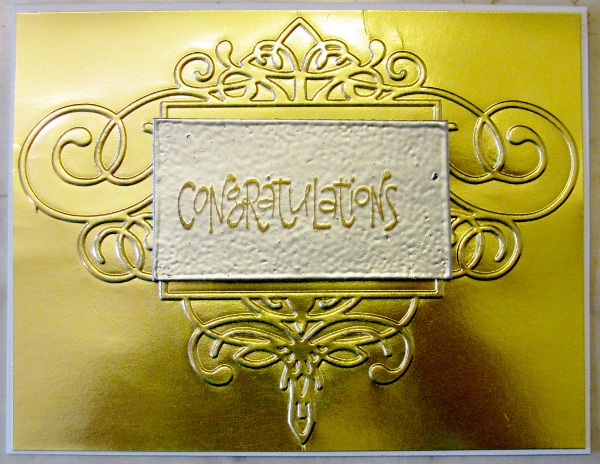
The next panel was embossed with silver and gold which was layered on a gold cardstock embossed with a frame folder.
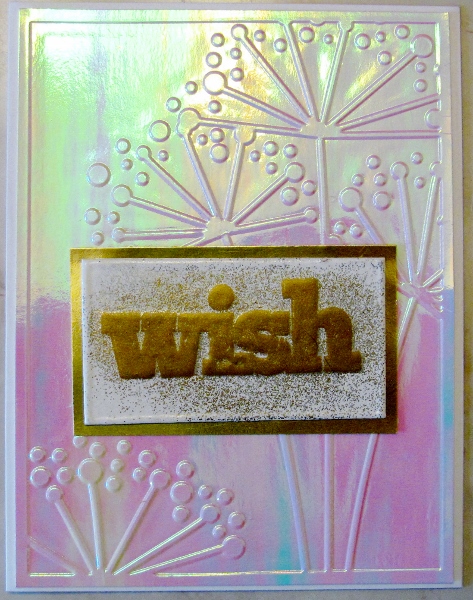
Oh, my. The white embossing powder used on the next block stayed slightly sticky so some of the powder stuck to the background. I embossed the stamping in silver first and it wasn't enough contrast to I stamped over that with gold.
I chose an irridescent cardstock to emboss with a dandelion folder for the background.
I can't see using this technique again. Well... maybe.
Ddd
