Topic: Stencils
I have some fabulous new stencils from My Favorite Things that I have been playing around with. So over the next several days I will show a wide variety of techniques with my five new toys!
As soon as my order was in I started brainstorming a list of techniques I wanted to try - some generic and some inspired by the stencils themselves!
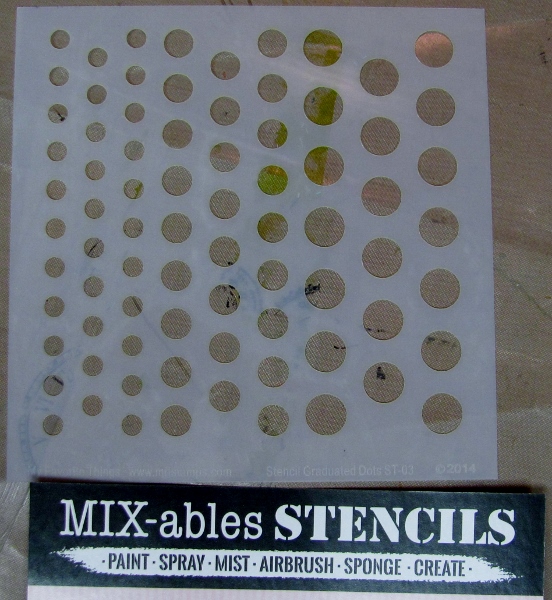
Once I had the these stencils in hand I was very satisfied with my order because they are heavy enough to lay flat but still flexible so they can manouver around lumpy things on projects. They do not crease easily and there are a good variety of designs to choose from.
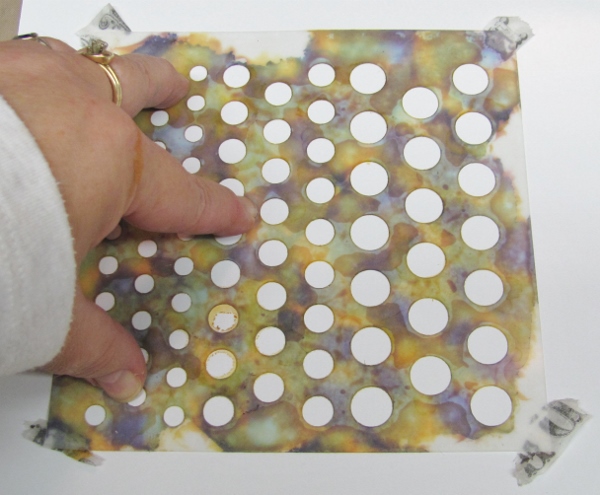
The stencil I'm using today is graduated dots which has three sizes of dots on one sheet.
The technique is alcohol ink print-making and the supplies I used are:
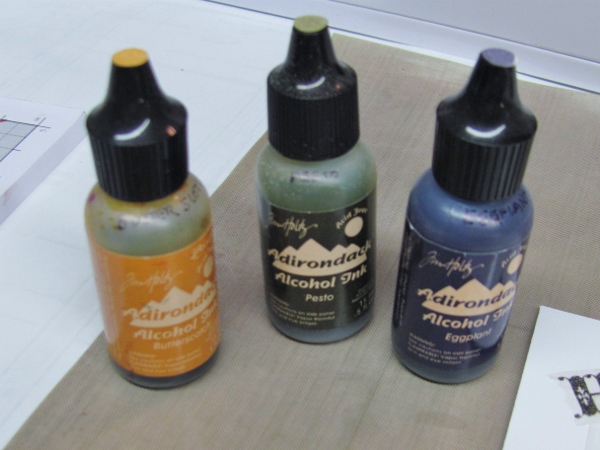
Ranger alcohol inks in three colors
and a blending tool with a felt pad.
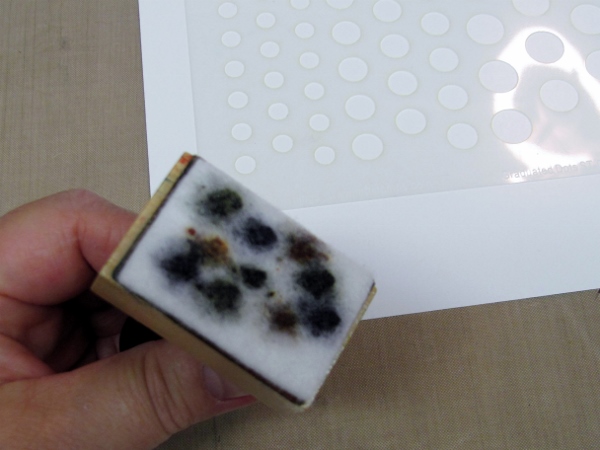
I taped the stencil to a glossy cardstock with tissue tape.
Then I inked up the felt pad with multiple drops of each alcohol ink and pounced over the stencil.

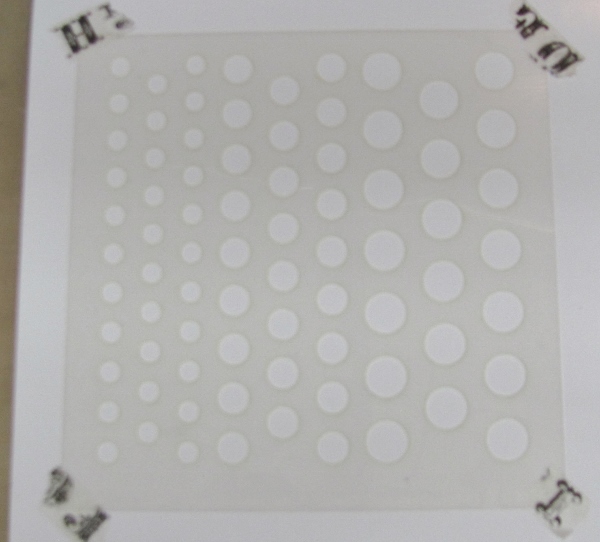
Nice rich color fills all the holes.
Then I put some rubbing alcohol in a spray bottle:

I used this to spray the stencil which acrivates the color left on the surface. By pressing this to the cardstock I got a lighter impression to use as a fill.
Like this

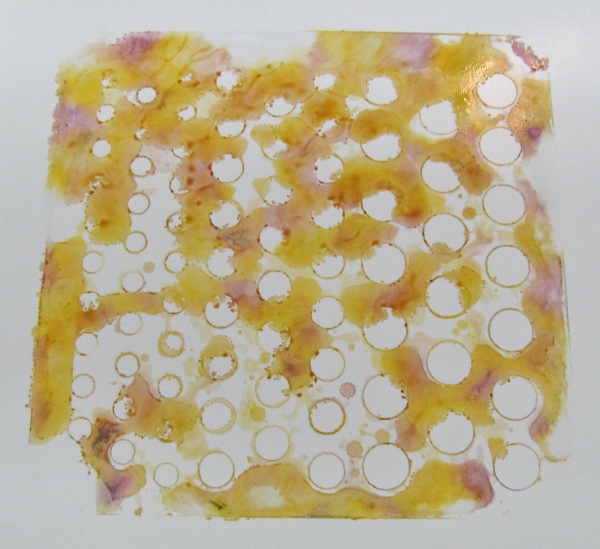
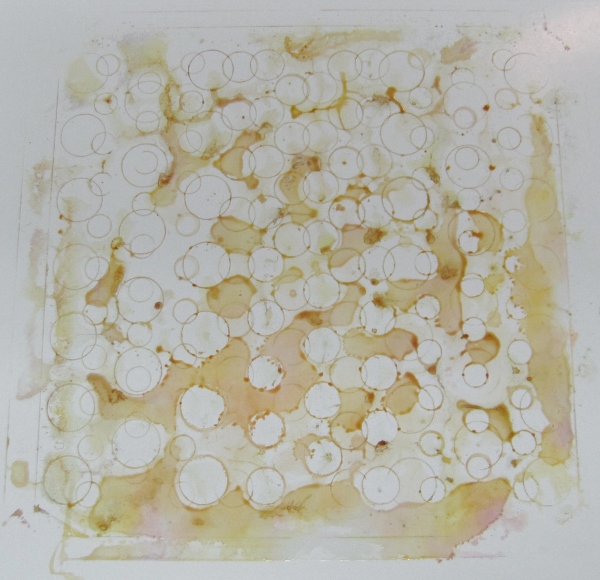
I was able to get three prints, spraying alcohol between each impression.
From the initial print (directly tapping the ink through the stencil) I made this card:
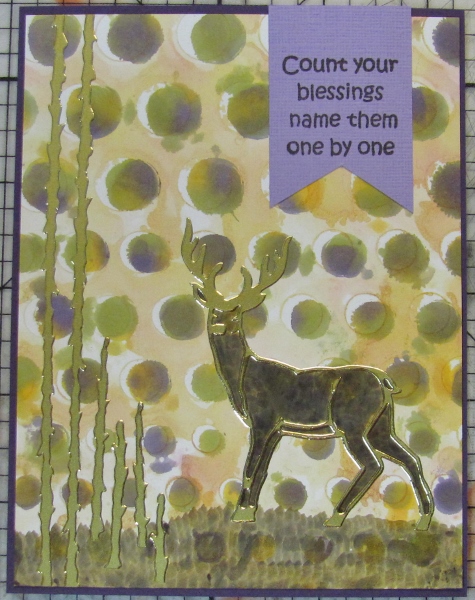
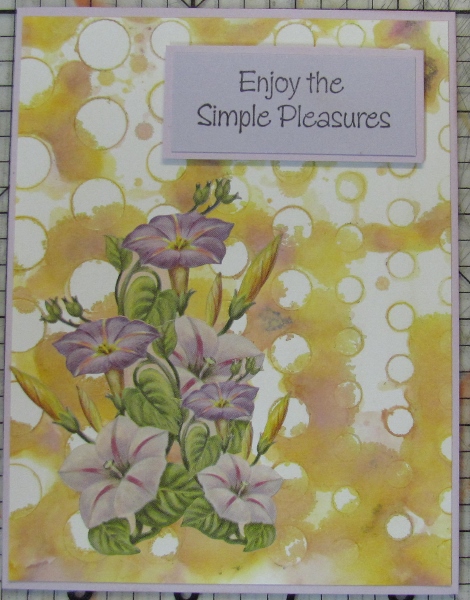
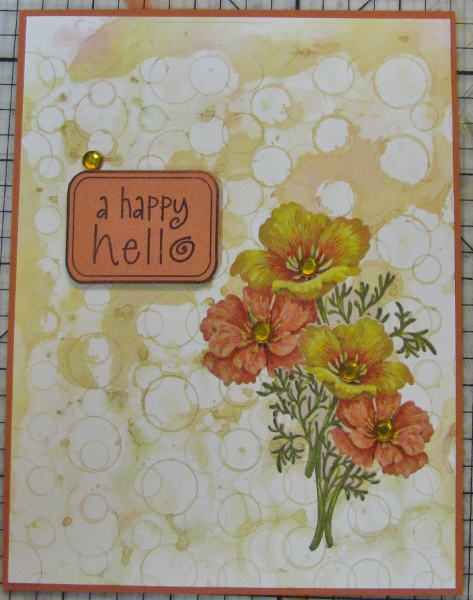
The trims were stickers, stamped sentiments and rhinestones from my stash of supplies and colored card bases for bordering.
Ddd
