« October 2015 »
S M T W T F S
1 2 3
4 5 6 7 8 9 10
11 12 13 14 15 16 17
18 19 20 21 22 23 24
25 26 27 28 29 30 31
You are not logged in. Log in
Entries by Topic
All topics  «
3D paperwork
A - Z challenge 5
A - Z challenge 7
A - Z challenge round 4
A to Z challenge round 3
A to Z round 2
A to Z round 6
A-Z round 1
Around the House
Art Challenges
Artist Trading Cards
Backgrounds
Beads
Bible Journaling
Books
Boxes
Collage
Color Challenge
Coloring
cookbook
Die Cuts
Digital Projects
Digital Stamps
Drawing
Dry Embossing
Fabric Stuff
Fantastic Folds
Field Trip
Home Decor
How Does Your Garden Grow?
Hymnal Art
In The Kitchen
In the studio
Jewelry
Lettering
Links
Multi-Technique
Music to Work By
Musings
Nail Art
New Work
Online Class
Other Hobbies
Other Projects
Painting
Paper Embroidery
Paper Piecing
Photo
Pretty Paper
Quilting
Random
reading
Scrap Recovery
scrapbooking
Sewing
Sketch Challenge
Some Backlog
Stamping
Stencils
Stickers
Supplies
Teabag Folding
Techniques
Testing
tips and tricks
Tutorial
Web resources
Welcome to my Blog
Work By My Friends
workflow
Writing
Blog Tools
Edit your Blog
Build a Blog
RSS Feed
View Profile
Group One
In & Out of Studio 3D
Monday, 19 October 2015
12 Tags of 2015 - October
Topic: Multi-Technique

I can't believe we're up to October already with this year-long challenge!

Here is the inspiration piece from Tim. He went with a distinctly Halloween tag, but I am NOT all about Haloween.
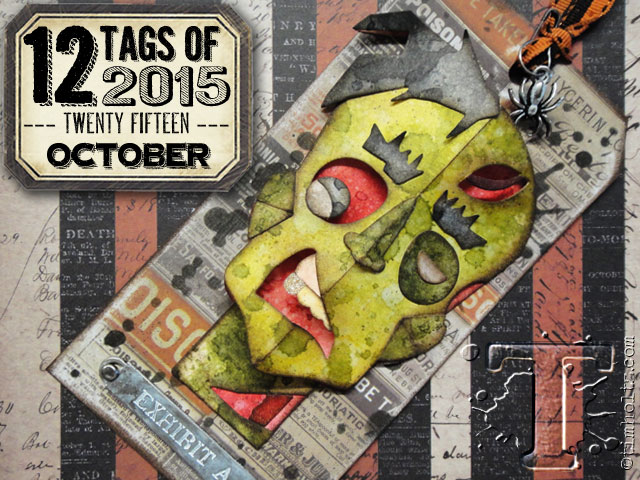

I went back to the very basic idea that Tim used and focused on 1) wrinkle-free distress backgrounds 2) layering diecuts made from those backgrounds 3) a word feature. Granted, I used diecuts that are nothing like Tim's and worked on a large showpiece instead of a tag, but the process is similar and led to a project I am proud of (much more than if I had made a Halloween tag).

Here are the steps I used:

- create wrinkle-free distress background in 6 color-ways

- diecut and punch various 'scene' parts from the backgrounds

- ink edges of each piece with Distress Ink using a foam blender

- attach a piece of copper ColorMe paper to a heavy base layer

- use Distress Ink and blending foam to color background

- ink edges using Distress Ink

- add large distressed background over the ColorMe background

- assemble diecut parts into a 'scene' using foam tape to raise in successive layers

- diecut a script word from distress background paper

- layer word over fancy diecut label
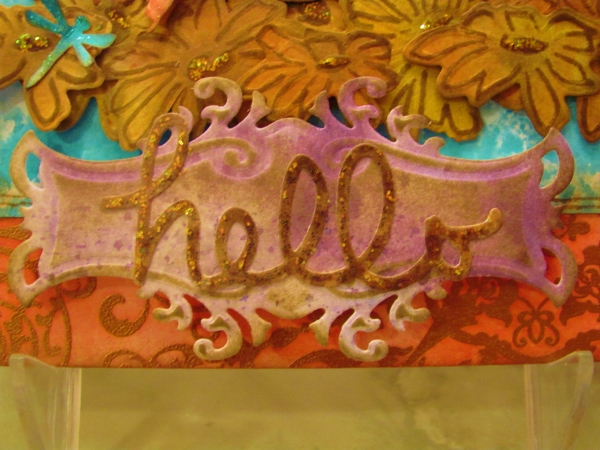
 

- attach to main piece using several layers of foam tape

- use various colors of Stickles to decorate elements of the scene
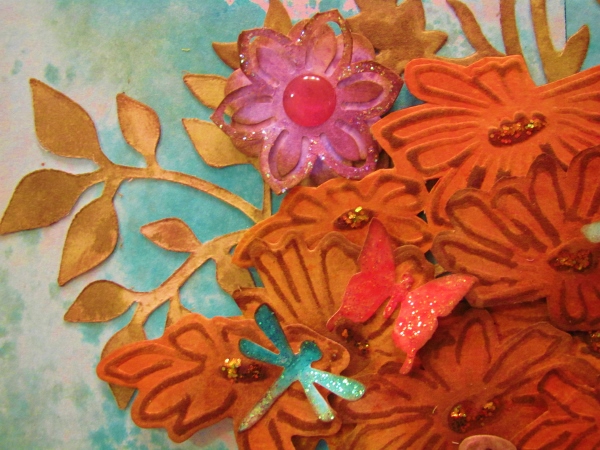
 

- add a double line around the main piece with the fine tip of a Distress marker

- present on a picture holder stand

Here is the finished piece:
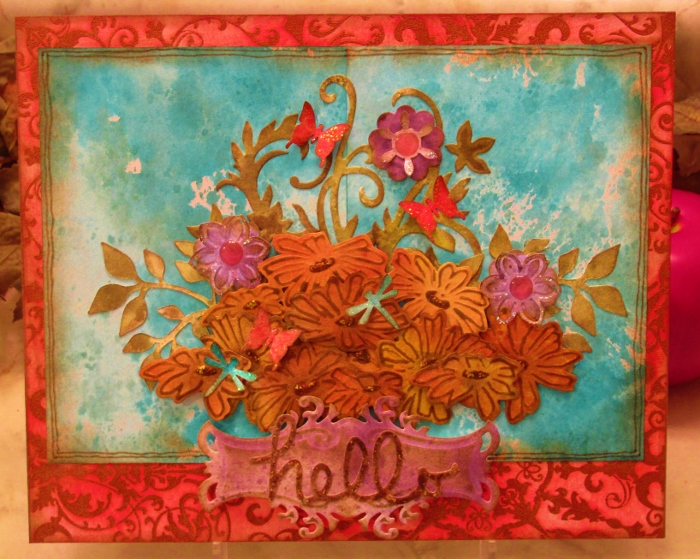
Ummm, yeah. That is NOT a Zombie Head Tag!

Ddd


Posted by studio3d@ccgmail.net at 12:01 AM PDT

Wednesday, 21 October 2015 - 9:57 AM PDT

Name: "Lagene"
Home Page: http://inkylageney.wordpress.com/

AWESOME project!  I love the beautiful bouquet!  I am not fond of halloween and loved seeing your entry!

Thursday, 22 October 2015 - 6:34 AM PDT

Name: "Karen P"
Home Page: http://karenscrafting.blogspot.co.uk/

That is such a beautiful background - so perfectly layered with inks and sploges of water.  You really rocked the technique here.  Your layered die cut and coloured flowers are beautiful and I love what you did with Tim's techniques.  I made my first ever Halloween tag as we don't celebrate it much in the UK so have never done that before.  The whole point of us doing this is learning and interpreting and I think you did that perfectly here your whole piece is beautiful Karen x

View Latest Entries