Topic: Multi-Technique
This is SO not a tag!
Tim Holtz works on tags to demonstrate his techniques but I rarely do. I mean, what do you do with a tag you've decorated? Tim recognizes that not everyone wants to work on tags but he is really just teaching technique ans encourages people to make the project their own.
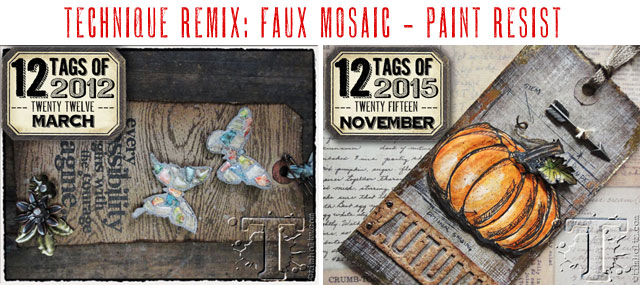
Here are the two tags he selected to combine in April:
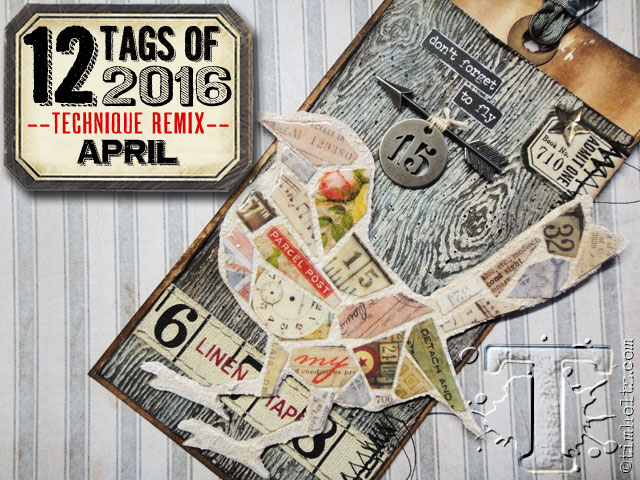
And the tag he made with these techniques:
Here are the steps I used to create my project:
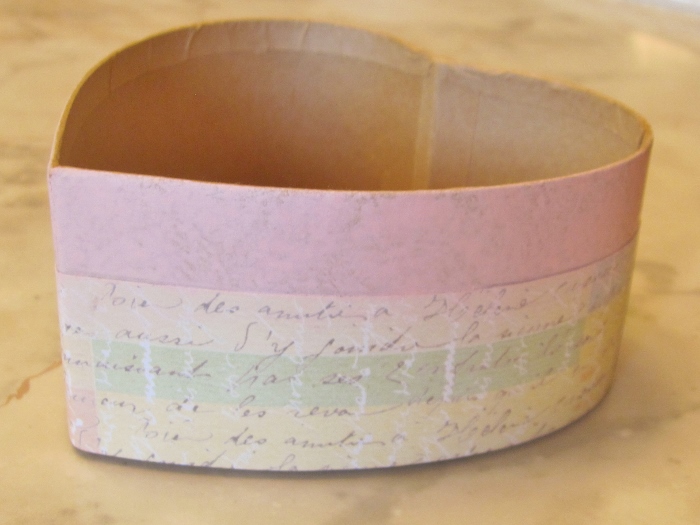
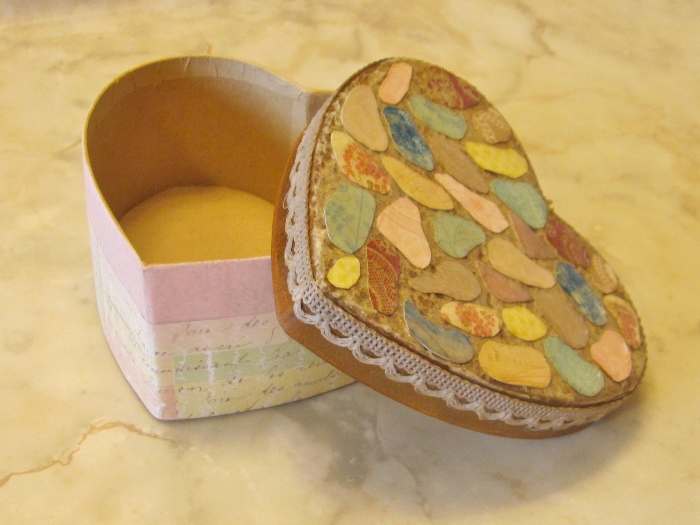
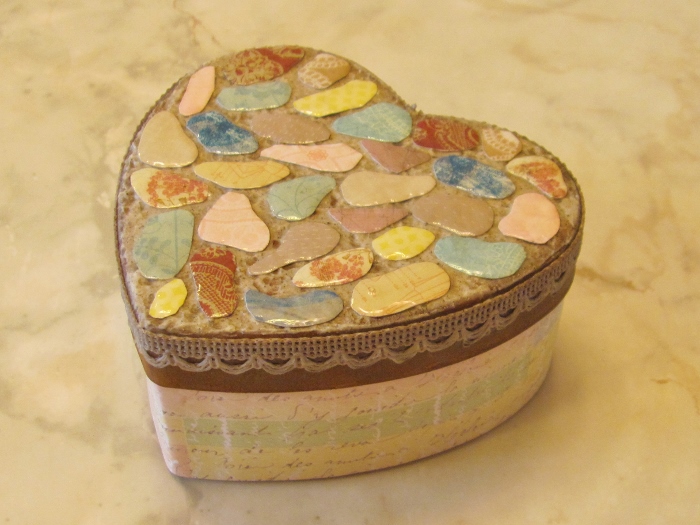
- Selected a shaped container with a removable metal lid
- Stir some sand into a little modeling paste.
- Apply a layer to the top surface of the box with a palette knife. Smooth out
- Allow to dry completely
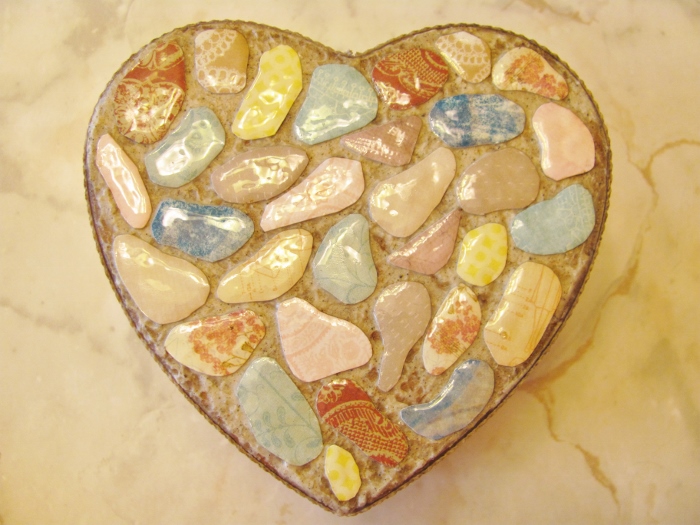
- Cut decorative papers into mosaic shapes with rounded corners
- Glue shapes to box top using matte medium, leaving a small space between shapes
- Top coat with matte medium
- Allow to dry completely
- Top each shape with Glossy Accents
- Allow to dry completely
- Sponge Distress ink to tint the 'grout'
- Buff the tiles to remove ink
- Use matte medium as glue to attach trim to sides of lid
- Coat trim with matte medium
- Allow to dry completely
- Sponge Distress ink on trim to tint
- Place lid back on the container and mark where the lid stops
- Remove lid
- Use Distress Paint on upper part of the box base (above the marked line)
- When dry, add printed cardstock to the area below the line using Xyron ahesive for good adhesion
- Allow to dry completely
- Use finger to cover paint and paper with Microglaze (to protect the box from grime)
- Buff off extra Microglaze with a paper towel
- Place lid on box and admire your work!
Ready for the big reveal?
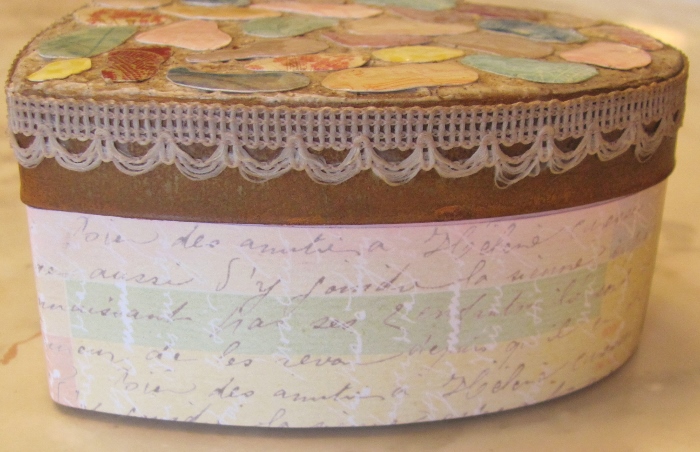
See? REALLY not a tag!
Ddd
