Topic: Scrap Recovery
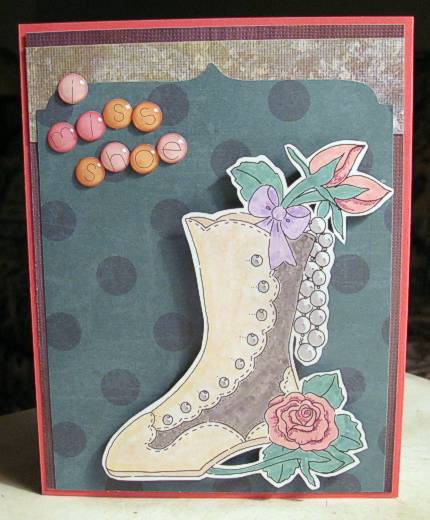
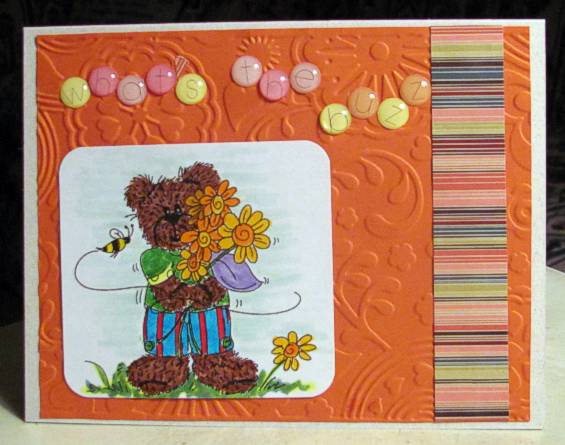
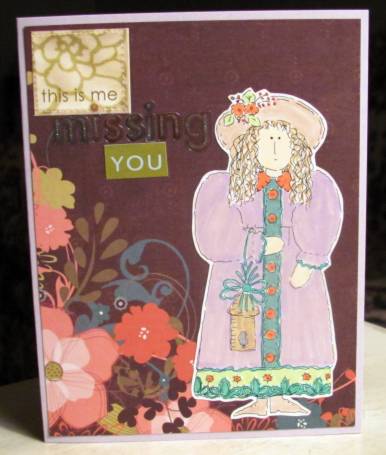
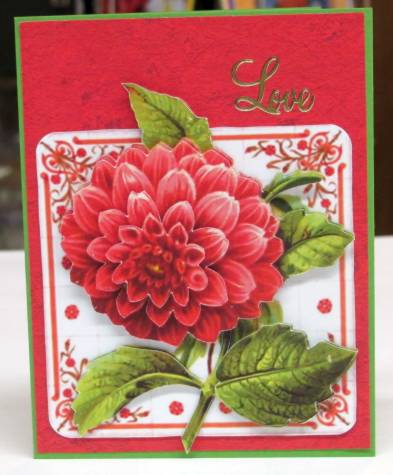
Dots on the background echo the dots in the illustration and is repeated in the brad centers in the fabric flowers.
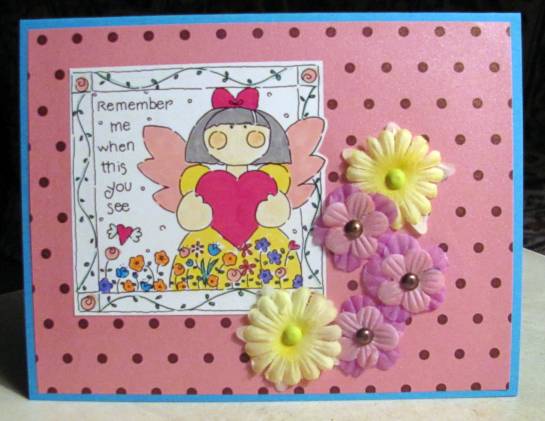
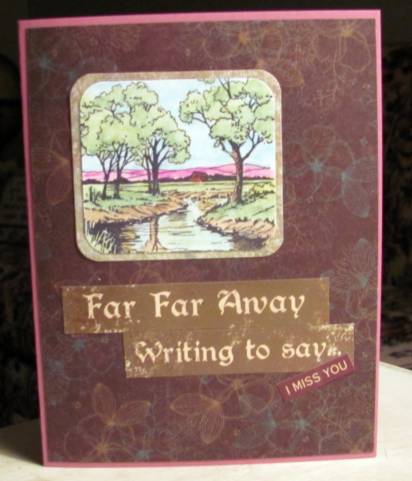
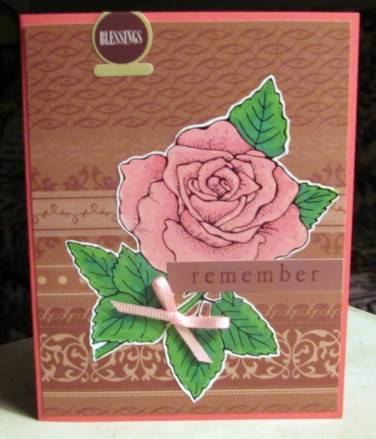
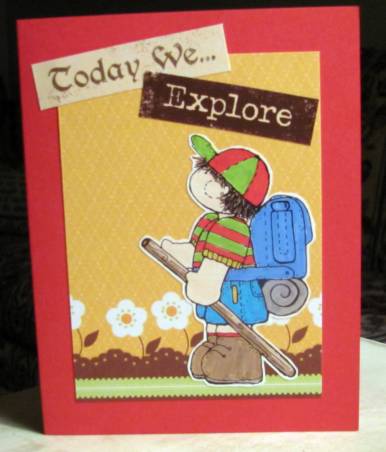
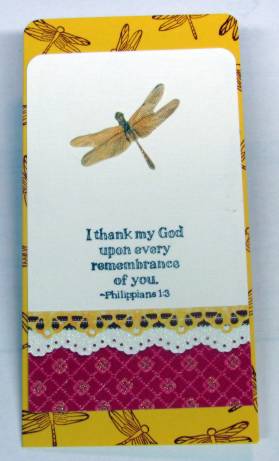
This image is from the stamp catalog and colored with watercolor markers.
Ddd
Posted by studio3d@ccgmail.net
at 6:00 AM PDT