12 Tags of 2015 - November
Topic: Techniques
Time for a new 'tag' from Tim Holtz's 12 tags of 2015 series. I can hardly believe that I have kept up with this challenge all 11 months, to date. Only one month to go. This has worked out so well, I will strongly consider continuing if Tim keeps up the challenge.
Here is Tim's version:
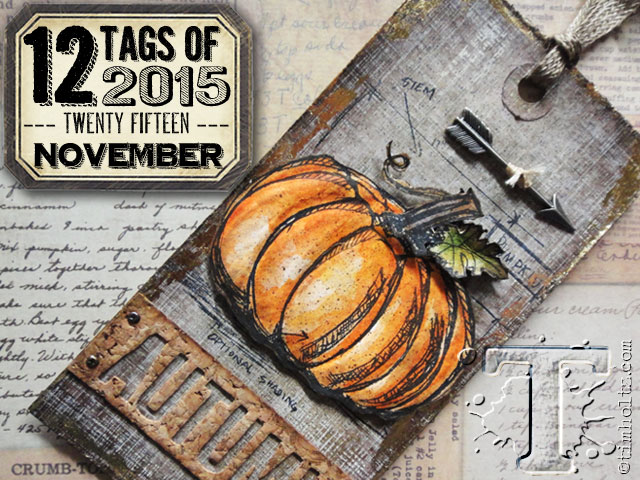
Fair warning: my version looks nothing like this (as usual)!
Here is the process I followed for my project...
- cut a piece of kraft cardstock for the front of a card
- place a dot of metallic pearl acrylic paint on non-stick craft sheet
- roll a brayer over paint to apply a thin coat to the roller
- apply paint to a background stamp with the brayer (I used a script stamp)
- stamp onto the cardstock and immediately clean brayer, craft sheet and stamp with soap and water
- dry image with heat tool
- use distress inks on craft sheet to create a 'wrinkle-free' background (I used crushed olive, peeled paint and frayed burlap)
- dry with heat tool
NOTE: the stamped acrylic paint resists the distress ink
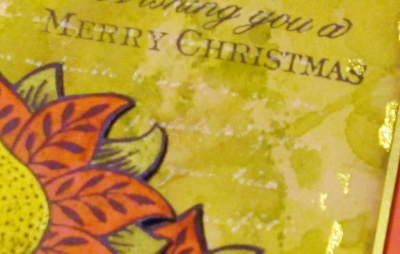
- ink the edges with foam tool and distress ink (I used frayed burlap)
- sprinkle with water droplets, let stand shortly, blot and dry with heat tool
- use black archival ink to stamp the outline of what will be the feature image
- use tape runner to apply gold foil along the edges
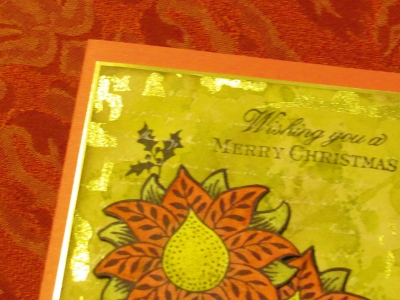
- stamp the feaure image onto watercolor paper using black archival ink
- use distress markers as ink to watercolor paint the image (I used festive berry and aged mahogany, peeled paint and forest moss, mustard seed and shabby shutters)
- dry with heat tool
- use bulb sprayer to spritz a dark marker over the image (I used gathered twig)
- hold to light and trace image lightly with pencil on the BACK of the paper
- spritz back with water and use a ball tool to burnish outlines over craft foam
- dry with heat tool
- cut out image
- use black marker to color the cut edges
- use foam tape to mount to card front over the stamped outlines
- use black archival ink to stamp greeting and auxillary images
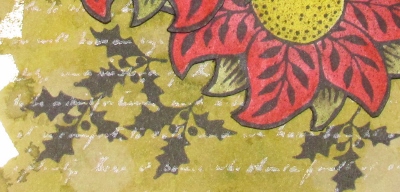
NOTE: the image above is the best color rendition
- adhere created panel to bordering gold cardstock
- adhere to folded card base with foam tape (I used a dark pink to match the poinsettias
And here is the completed card:
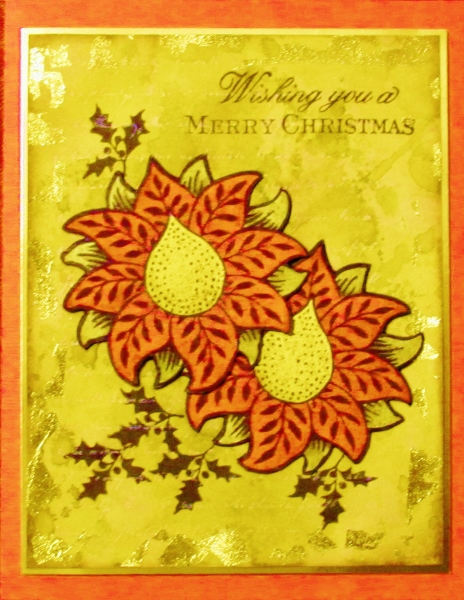
The image I used is actually an art deco flower stamp but I turned it into a poinsettia with my color choices. I stamped, colored and cut the blossoms separately and layered them on the card front.
Ddd
Posted by studio3d@ccgmail.net
at 12:01 AM PST
