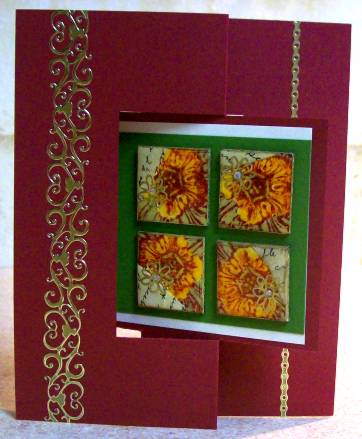
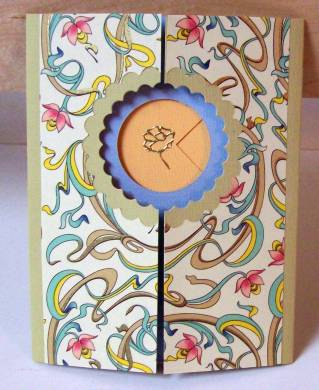
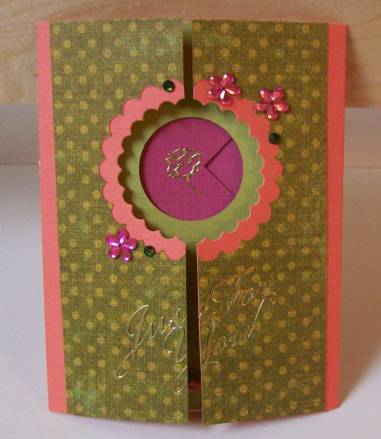
« March 2010 »
S M T W T F S
1 2 3 4 5 6
7 8 9 10 11 12 13
14 15 16 17 18 19 20
21 22 23 24 25 26 27
28 29 30 31
You are not logged in. Log in
Entries by Topic
All topics  «
3D paperwork
A - Z challenge 5
A - Z challenge 7
A - Z challenge round 4
A to Z challenge round 3
A to Z round 2
A to Z round 6
A-Z round 1
Around the House
Art Challenges
Artist Trading Cards
Backgrounds
Beads
Bible Journaling
Books
Boxes
Collage
Color Challenge
Coloring
cookbook
Die Cuts
Digital Projects
Digital Stamps
Drawing
Dry Embossing
Fabric Stuff
Fantastic Folds
Field Trip
Home Decor
How Does Your Garden Grow?
Hymnal Art
In The Kitchen
In the studio
Jewelry
Lettering
Links
Multi-Technique
Music to Work By
Musings
Nail Art
New Work
Online Class
Other Hobbies
Other Projects
Painting
Paper Embroidery
Paper Piecing
Photo
Pretty Paper
Quilting
Random
reading
Scrap Recovery
scrapbooking
Sewing
Sketch Challenge
Some Backlog
Stamping
Stencils
Stickers
Supplies
Teabag Folding
Techniques
Testing
tips and tricks
Tutorial
Web resources
Welcome to my Blog
Work By My Friends
workflow
Writing
Blog Tools
Edit your Blog
Build a Blog
RSS Feed
View Profile
Group One
In & Out of Studio 3D
Monday, 1 March 2010
Inch By Inch
Topic: Collage

Now I do believe this is my new favorite! I needed to make a card with 'inchies' for a swap. These were left over from last spring and I built everything around them.

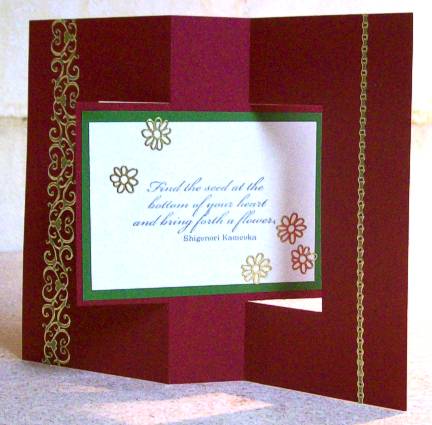
I started with a beige card and added layers of torn scrapbook paper and printed papers of music and script. I used 'old paper' distress ink to bring the tones all in line and unify it. Then I used an antiwue postcard text stamp with the same ink to stamp over the whole surface.

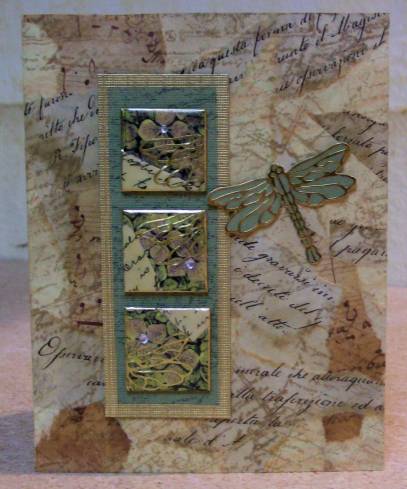
The green panel was stamped with the postcard script in black and I then used a gold paint pen to border the edges. I mounted a gold dragonfly outline sticker on more of the green and trimmed off the extra. It is adhered with raised wings using folded glue dots.

The inchies are mounted with glue dots for strength of bond.

Ddd


Posted by studio3d@ccgmail.net at 6:00 AM PST
Sunday, 28 February 2010
In the Swing of Things
Topic: Fantastic Folds

Challenge time again. This assignment was to 'make a swing card'. I used the directions on Splitcoaststampers and decorated it with some inchies I made last spring. 


I stamped the inside with one of my favorite text stamps.


The side borders were trimmed up with gold peel-off borders and I added gold peel-off flowers to the stamped panel.

Ddd


Posted by studio3d@ccgmail.net at 6:00 AM PST
Saturday, 27 February 2010
Verigated Dragonfly
Topic: Paper Embroidery

Verigated threads used to stitch up the dragonfly pattern really change the look of it. I cut a scalloped circle into quarters and embossed with the Cuttlebug to create some corner elements. Gold trim and text finish it off.

Ddd


Posted by studio3d@ccgmail.net at 6:00 AM PST
Friday, 26 February 2010
Peony 3D
Topic: 3D paperwork

Oh my, it's another 3D - FREE of course. When I print these on white cardstock and cut them out I end up with white edges. I carefully color those edges with matching watercolor marker.

On this one I put the gold trim directly on the image, right over the printed border. A text sticker finishes it.

Ddd


Posted by studio3d@ccgmail.net at 6:00 AM PST
Thursday, 25 February 2010
Tulip 3D
Topic: 3D paperwork

This 3D cutting is a commercial one someone sent me in a swap a while back. It is another that looked complicated so I set it aside until now. It wasn't nearly as bad as I imagined it would be.

I used a scrap cut out from those recent thank you cards as a backing for this grouping and added gold trim and text.

The butterfly is also 3D and is part of the original sheet.

Ddd


Posted by studio3d@ccgmail.net at 6:00 AM PST
Wednesday, 24 February 2010
Delicate Dragonfly
Topic: Paper Embroidery

Oh look! The dragonfly is back. 

This time I used metallic green for the leaves and stems, bronze metallic for the cattails, purple metallic for the bug body, and irridescent metallic lavender for the wings.

I used a folded cardstock base and sheer ribbon bow to match the wings.

The text is a clear sticker.

Ddd


Posted by studio3d@ccgmail.net at 6:00 AM PST
Tuesday, 23 February 2010
Flower Vine Hello
Topic: Paper Embroidery

Oh, how I love free patterns! This flower vine looks like the petals are made of little hearts so, appropriate for February!

I trimmed and texted with silver peel-offs.

Ddd


Posted by studio3d@ccgmail.net at 6:00 AM PST
Monday, 22 February 2010
Too Much Gold
Topic: Paper Embroidery

Hard to stitch, hard to see, looks MUCH better at an angle or while moving it around. Obviously, you're not getting that effect here!

This is stitched in alternating gold and bronze threads on paste paper I made some time ago.

Trimmed up with borders and text in gold peel-offs.

Ddd


Posted by studio3d@ccgmail.net at 6:00 AM PST
Sunday, 21 February 2010
Dragonfly - Just Because
Topic: Paper Embroidery

This pattern is one of the free ones I downloaded. I pricked it out on scrapbook paper with a mottled print and stitched entirely in brown. A couple of strips of gold peel-off and a gold greeting keep it looking clean and simple.

Ddd


Posted by studio3d@ccgmail.net at 6:00 AM PST
Saturday, 20 February 2010
Sunflower 3D
Topic: 3D paperwork

A 3D cutting from a sheet I got on the internet. This cutting comes complete with the decorative background and I grabbed a cardstock scrap from my desk for the card base.

I trimmed around the illustration with gold peel-off border and added a peel-off greeting.

Ddd


Posted by studio3d@ccgmail.net at 6:00 AM PST
Friday, 19 February 2010
Best Wishes in Blue
Topic: Paper Embroidery

The paste paper used for background on this temari makes it difficult to individualize the threads in the stitching. Even so, I like the card.

I added a gold peel-off greeting and gold trim close around the front panel. 

The gold rose in the center is also a peel-off sticker.

Ddd


Posted by studio3d@ccgmail.net at 6:00 AM PST
Thursday, 18 February 2010
Sympathy Marquee
Topic: Fantastic Folds

Are you excited that tomorrow you will get to see something different? LOL!

This is the last of the marquee cards and I have made this one into a sympathy card. 


Ddd


Posted by studio3d@ccgmail.net at 6:00 AM PST
Wednesday, 17 February 2010
Birthday Marquee
Topic: Fantastic Folds

Oooooh, this is a beautiful paper! I have been saving it for years for just the right project. Tah Dah! 

I got all the 'thank you' cards done and had two constructions left, so I made a birthday card of this one.


Ddd


Posted by studio3d@ccgmail.net at 6:00 AM PST
Tuesday, 16 February 2010
Purple Floral Marquee
Topic: Fantastic Folds

I love how changing up the colors really makes the cards look different. I particularly like this combination. 


Ddd


Posted by studio3d@ccgmail.net at 6:00 AM PST
Monday, 15 February 2010
Green Dot Marquee
Topic: Fantastic Folds

More than halfway there!

 You may recognize this green dot paper from projects past. I still love it and this is almost the last piece of it. This makes me sad... where will I ever find more of it?


Ddd


Posted by studio3d@ccgmail.net at 6:00 AM PST
Sunday, 14 February 2010
Blue Floral Marquee
Topic: Fantastic Folds

Little blue flowers + silver sentiments = one cute thank you card.


Ddd


Posted by studio3d@ccgmail.net at 6:00 AM PST
Saturday, 13 February 2010
Green Gear Marquee
Topic: Fantastic Folds

Now THIS is different, don't you agree?

Same concept but, oh that paper! What can I say, the colors were right.


Ddd


Posted by studio3d@ccgmail.net at 6:00 AM PST
Friday, 12 February 2010
Lavender Dot Marquee
Topic: Fantastic Folds

These cards with the simple dot paper really look so cute, I think. It lets the focus remain on the mechanics of the card rather then so much of the decorative elements. 


Ddd


Posted by studio3d@ccgmail.net at 6:00 AM PST
Thursday, 11 February 2010
Floral-Front Marquee
Topic: Fantastic Folds

The construction of this card is exactly the same as yesterday's but it looks so different because of the selection of paper for the front. I also changed from silver to gold details. 


Ddd


Posted by studio3d@ccgmail.net at 6:00 AM PST
Wednesday, 10 February 2010
Blue Dot Marquee Card
Topic: Fantastic Folds

One of the blogs I read regularly had a fantastic video tutorial back in August for a card with mechanics. It is called a marquee card. I have been meaning to get around to trying since I first saw it.

Since I was asked to provide some "thank you" cards for an upcoming event, I decided today was the day! I cut all the parts for 9 cards and put them together assembly line style. This is my way of getting around my aversion to doing the same thing over and over. I just do step one on all of them, then step 2 on all of them, and so on until I'm done. It is easier for me than doing one all the way through and then thinking to myself "One down, only 8 more to go". That is so depressing.

And, here is the result of card 1 (yes you are going to get them one-per-day until they are all shown.

The card, when closed, shows a scalloped window with a cutout circle behind it. I decorated the front with scrapbook paper, a peel-off greeting and some stick-on rhinestones.

As the front panels are opened, the pieces behind the cutout circle slide left and right to reveal a greeting in the back.

I also added a ribbon knotted around the inside panel.

Isn't this a clever structure? You can watch the video on construction here: http://stampspaperscissors.typepad.com/stamps_paper_scissors/2009/08/the-marvelous-magical-marqee-card-video-tutorial.html

Ddd


Posted by studio3d@ccgmail.net at 6:00 AM PST

Newer | Latest | Older