« December 2013 »
S M T W T F S
1 2 3 4 5 6 7
8 9 10 11 12 13 14
15 16 17 18 19 20 21
22 23 24 25 26 27 28
29 30 31
You are not logged in. Log in
Entries by Topic
All topics
3D paperwork
A - Z challenge 5
A - Z challenge 7
A - Z challenge round 4
A to Z challenge round 3
A to Z round 2
A to Z round 6
A-Z round 1
Around the House
Art Challenges
Artist Trading Cards
Backgrounds
Beads
Bible Journaling
Books
Boxes
Collage
Color Challenge
Coloring  «
cookbook
Die Cuts
Digital Projects
Digital Stamps
Drawing
Dry Embossing
Fabric Stuff
Fantastic Folds
Field Trip
Home Decor
How Does Your Garden Grow?
Hymnal Art
In The Kitchen
In the studio
Jewelry
Lettering
Links
Multi-Technique
Music to Work By
Musings
Nail Art
New Work
Online Class
Other Hobbies
Other Projects
Painting
Paper Embroidery
Paper Piecing
Photo
Pretty Paper
Quilting
Random
reading
Scrap Recovery
scrapbooking
Sewing
Sketch Challenge
Some Backlog
Stamping
Stencils
Stickers
Supplies
Teabag Folding
Techniques
Testing
tips and tricks
Tutorial
Web resources
Welcome to my Blog
Work By My Friends
workflow
Writing
Blog Tools
Edit your Blog
Build a Blog
RSS Feed
View Profile
Group One
In & Out of Studio 3D
Wednesday, 4 December 2013
The Bloom of Christmas
Topic: Coloring

The stamp used on the card today is one of 4 on a large cube. They are all Christmas images: poinsettia, pinecones (showing later this week), holly, and something I've forgotten now. The poinsettia works best as a self-contained unit so I stamped once on the watercolor paper for coloring. I used the Distress marker ink in three reds, two greens, and a yellow.

The first impression did not stamp very darkly so is not as well-defined.

The other got a better inking and is much easier to 'read'.

I decorated both the same - glittered strip, red borders on card base and strip and then an acid green border on the rounded cornered feature panel. It is also popped up on foam tape.

Both got the same gold peel-off greeting.

Ddd


Posted by studio3d@ccgmail.net at 12:01 AM PST
Tuesday, 3 December 2013
Cardinal Colors
Topic: Coloring

Continuing with the watercoloring on stamps I went back to the image of the two birds in the pines. I have colored these up as bluejays before since that is what we have locally, but for Christmas I decided to go with the cardinals as the stamp is designed for.

I used the ink from Distress markers again, three reds and two greens. I used a dark yellow directly from the marker for the beaks.


The first one got sage bordering and a strip of glittered stripe as an accent. I used aplastic sticker for the sentiment.

The second one uses the same background paper and strip but I bordered with dark green and added a gold peel-off sentiment.

These birds are very time consuming to paint but the result is very regal.

Ddd


Posted by studio3d@ccgmail.net at 12:01 AM PST
Monday, 2 December 2013
Furry Friend Greetings
Topic: Coloring

Time to get serious about making Christmas cards! I decided to do some sets of stamped/colored images and started with a small pad of watercolor paper.

The first set I did was by combining a little polar bear with a decorated tree, stamped three times.

I used ink from Distress markers and an aquabrush to watercolor the image. The bear and snow have just a touch of blue shading.

On the one above I added three silver stars in the sky. Below I added the stars to the tops of the trees.


I bordered with dark red and added a silver peel-off greeting.

Ddd


Posted by studio3d@ccgmail.net at 12:01 AM PST
Friday, 22 November 2013
The Three (er, Four) Bears
Topic: Coloring

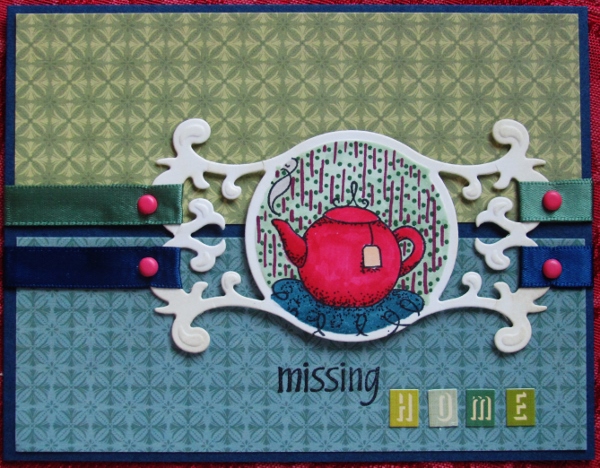
I grabbed another set of those free digital images to color up for cards. These are again colored with alcohol markers.

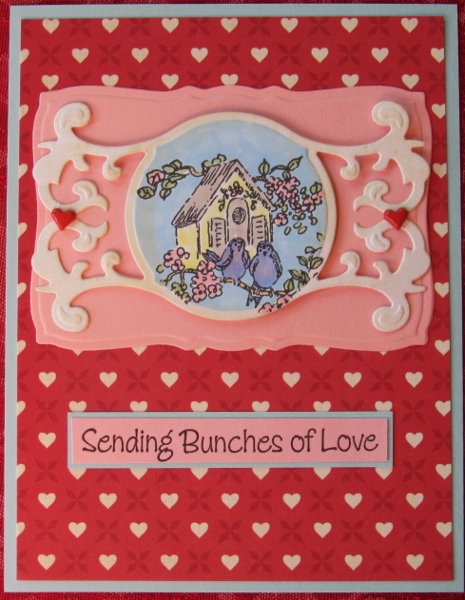
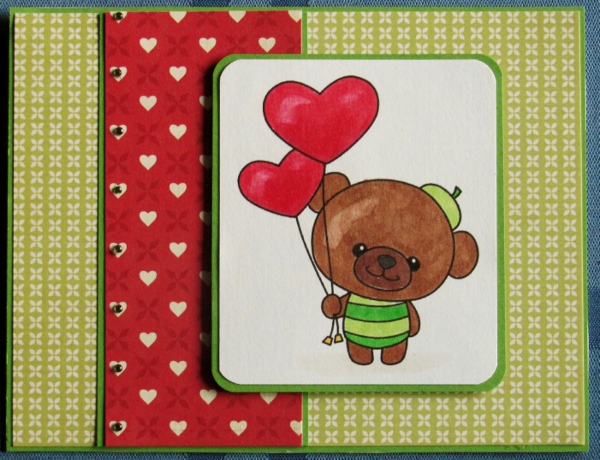
I used the same two reds for the balloons on all of them and then pulled some color off with the colorless blender to create 'shine' to make them look 3-dimensional.

I colored each of the bears with a different set of two browns and gave each a different outfit color using two coordinating markers. Each bear was trimmed into a rectangle and the corners rounded. Then I chose a background to go with the bear colors and accents to pick up on the other parts of the stamp.

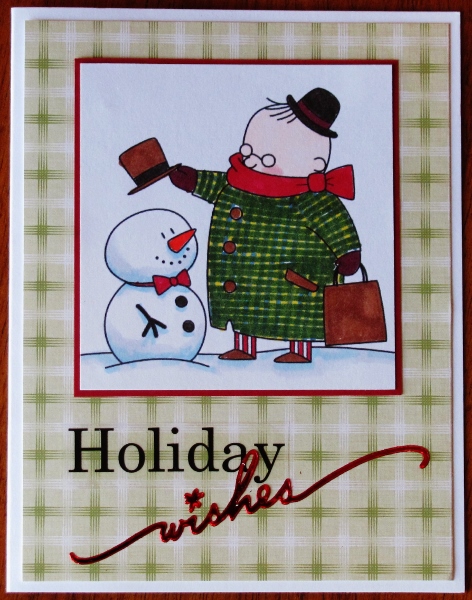
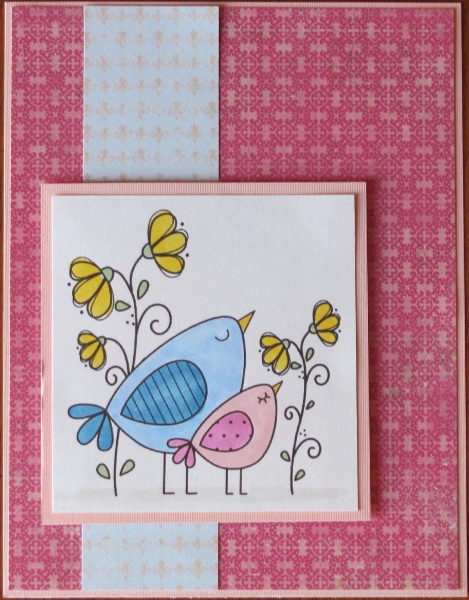
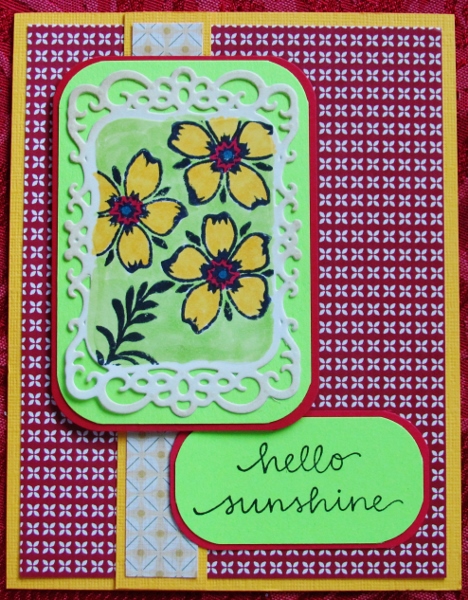
First bear actually got a green background and bordering to go with the clothing. The hearts paper repeats the heart balloons and I added some tiny green rhinestones down the left edge of hearts as an accent.


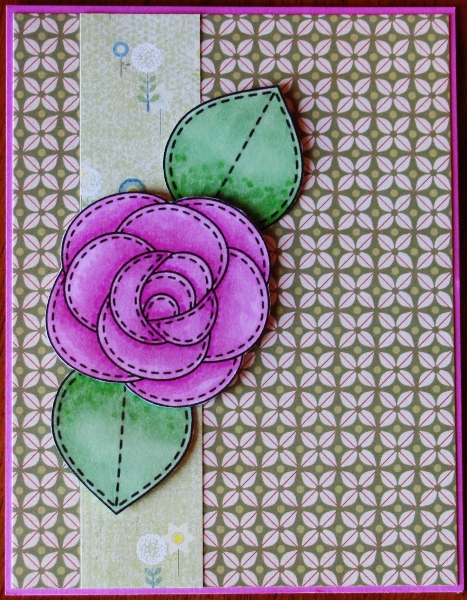
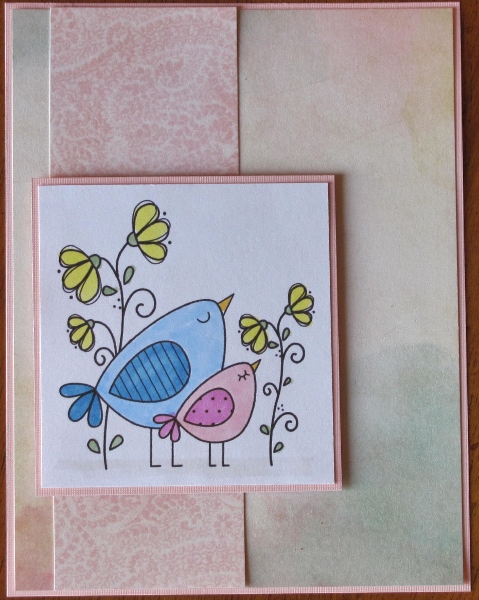
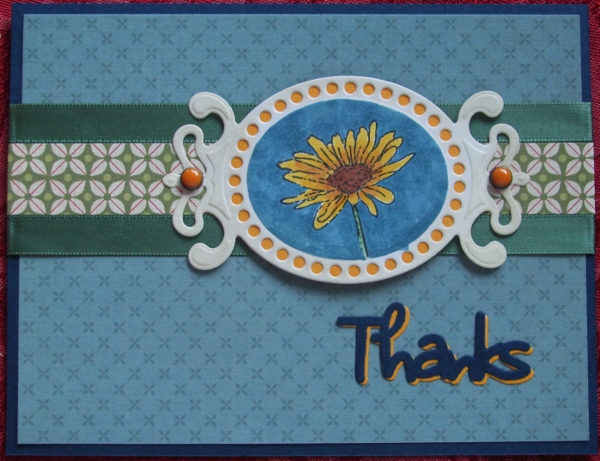
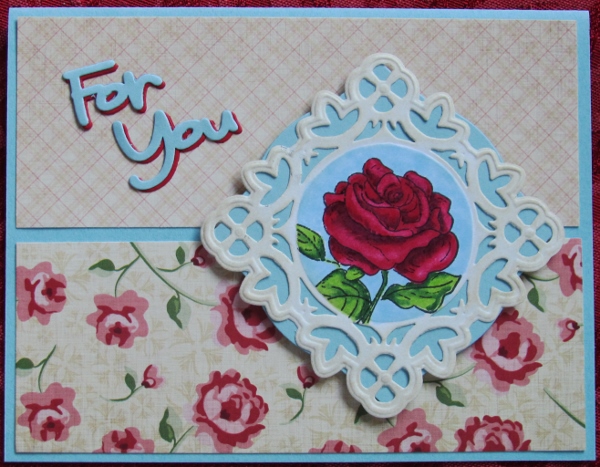
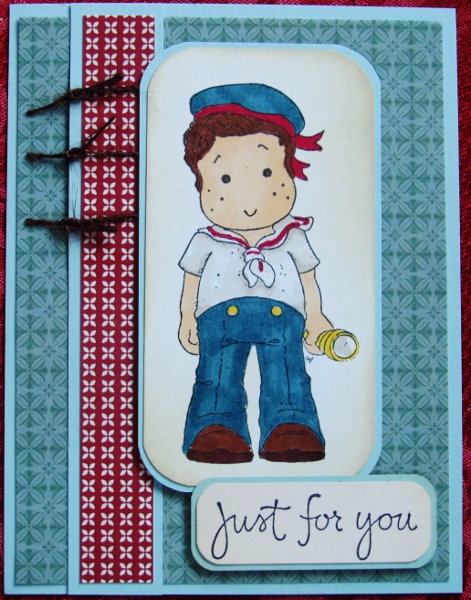
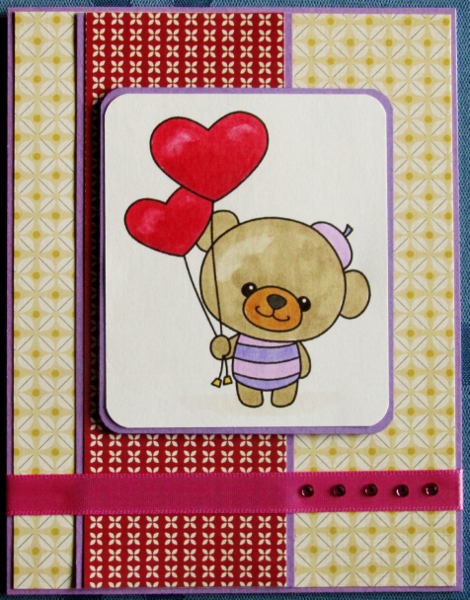
Bear two is dressed in purple so the bordering paper is also. I used red accent paper to echo the balloons and a strip of self-stick ribbon to pull some of the pink from the outfit. 5 rhinestones in pink are the accent.


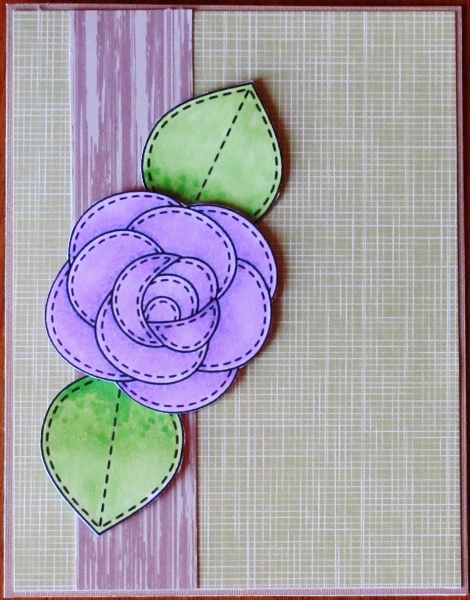
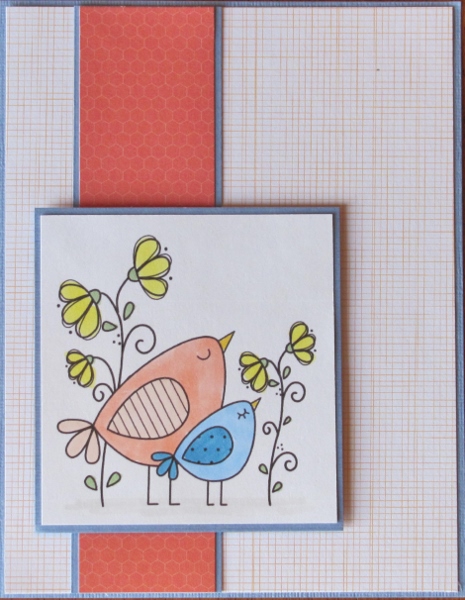
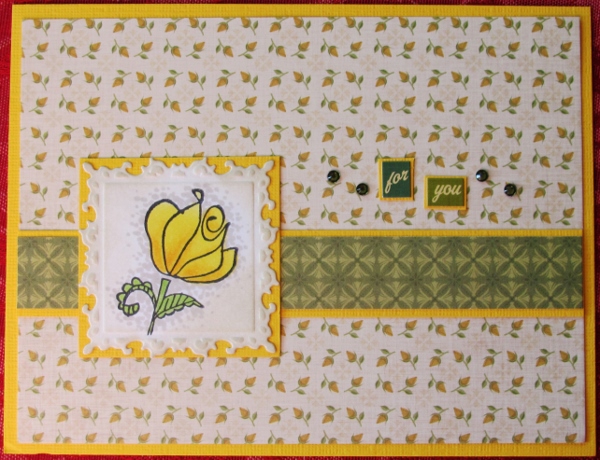
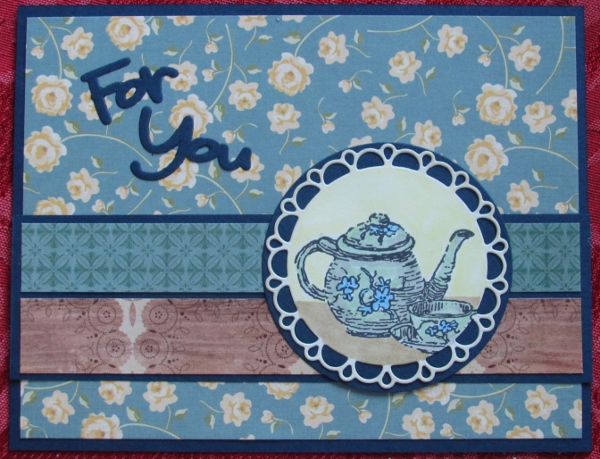
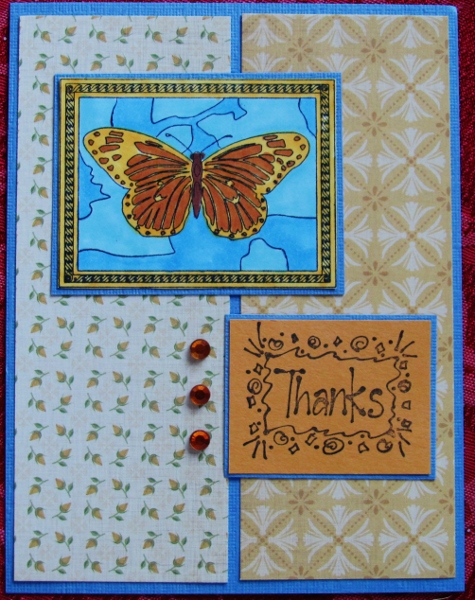
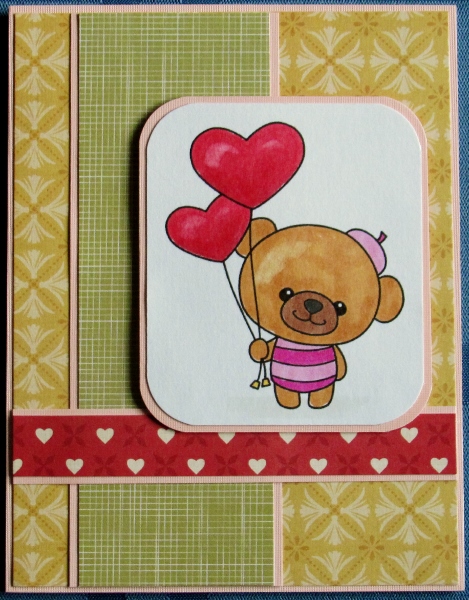
I didn't want to go too bold with the fuschia of the outfit so I used the honey color of the bear, red hearts like the balloons ad then added a soft green accent strip. The light pink bordering gives nod to the outfit colors without competing for attention.


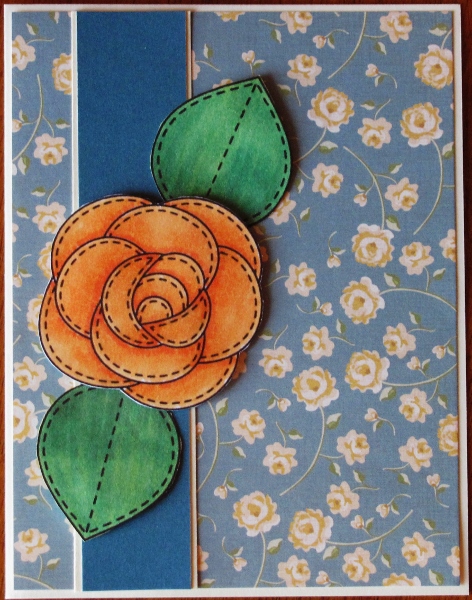
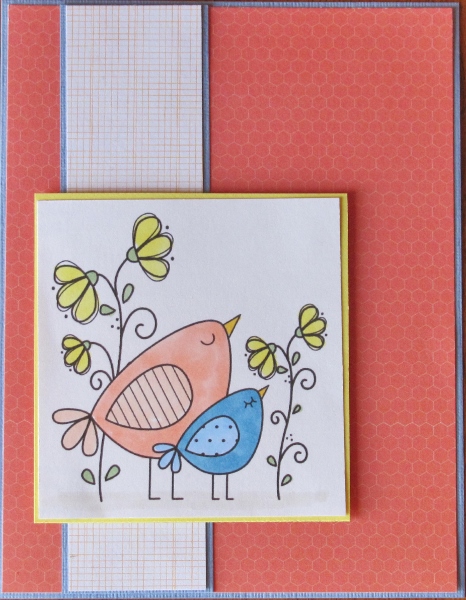
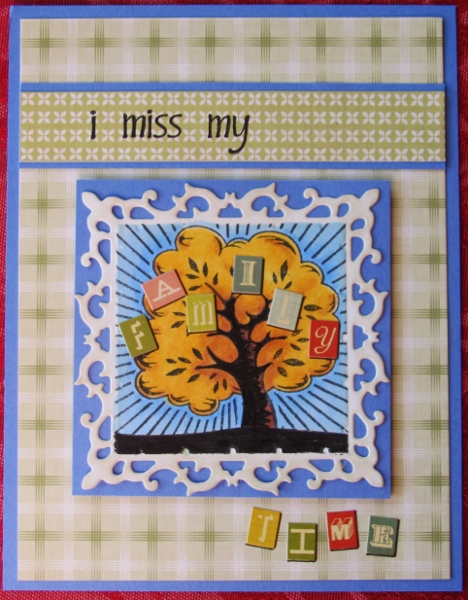
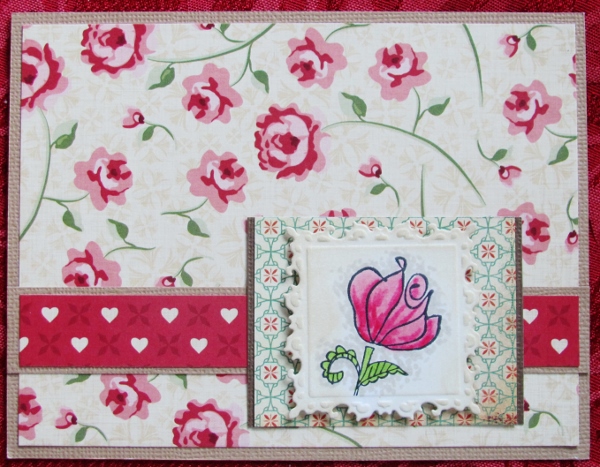
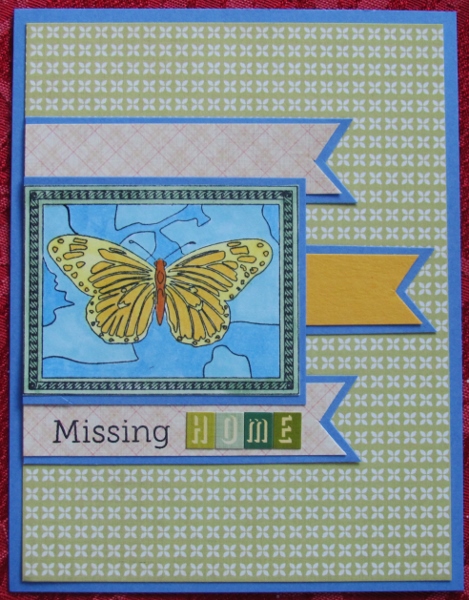
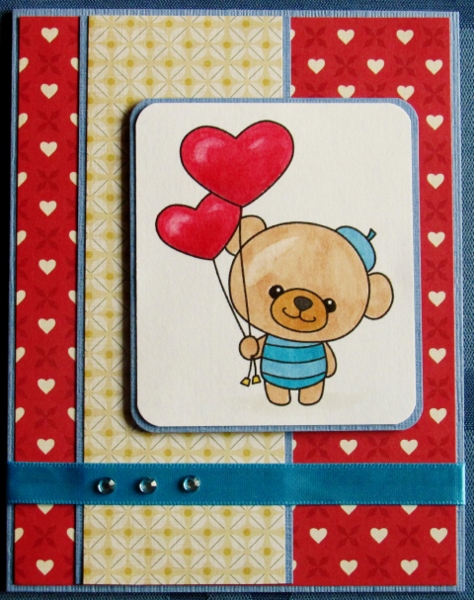
Lots of red hearts to key off the balloons on this one. I used the bear color for the accent strip and a strip of blue self-stick ribbon to echo the stripe in the outfit. Three blue rhinestones finish it off.


These cards will go to Operation Write Home to be used as 'Love', Valentines' or 'Kids' cards.

Ddd 


Posted by studio3d@ccgmail.net at 12:01 AM PST
Wednesday, 20 November 2013
Blocky The Snowman
Topic: Coloring

This free digital image is self-contained in that the frame is part of the image file. I colored the frame in red, the sky in blue - using care to NOT color the snowflakes, the trees in green, and the scarf, hat and nose in traditional colors. The image was then trimmed close to the border.


I used a red, busy print for the background since the image was so simple. The image was backed with dark blue with rounded corners. Finally, I tied a length of dark green ribbon around the base.

Ddd


Posted by studio3d@ccgmail.net at 12:01 AM PST
Tuesday, 19 November 2013
I Believe This Is Yours
Topic: Coloring

A couple of the free digitials I downloaded were winter images. Love little snowmen!

This image has a snowman whose hat got blown away. Fortunately ther is a helping hand available.

I used blue marker and a bit of light gray for shading on all the snowy elements. The man's overcoat was made into a plaid with markers, striping first one way then the other.

I bordered the image in burgundy to match the neckscarf and added a plaid background paper to echo the overcoat.


The greeting is a combination of a clear sticker and a foil sticker.

Ddd


Posted by studio3d@ccgmail.net at 12:01 AM PST
Monday, 18 November 2013
These Roses Are Only Sew-Sew
Topic: Coloring

More of the free digitals I downloaded for coloring. These roses and leaves come as separate images so they can be colored, cut and mounted individually.

I started with two tones of red-violet for the rose and two grassy greens. I used a red-violet for bordering the card covered with two green patterned papers. The leaf tips and whole rose are on foam tape. Leaf bases are flat to the card face.


This one is brighter than the camera depicts. The rose is two-toned purple, the leaves are yellow-green, the backing paper is olive and the wood strip is NOT purple as it appears but a soft milk-chocolate brown.


Green is the bordering for this card tomatch the leaves. I chose the rosebud print to go with the yellow rose and accented with some old striped paper in bright colors.


Larger cream-colored roses on the backing paper echo the orange feature piece. The greens on the leaves are darker so I went with a dark blue accent strip. 

Cream color for the bordering echoes the rose-print paper.

Ddd 


Posted by studio3d@ccgmail.net at 12:01 AM PST
Sunday, 17 November 2013
Little Papa Bird
Topic: Coloring

Today's cards are companions to yesterday's. This time I colored them up with the big bird as Papa.

The first uses background papers in yellow and pink patterns and bordering in blue.


I used pink bordering and background paper for this one along with a yellow patterned paper strip.


This background paper has a very subtle watercolor effect and I added a light pink lacy print strip. Bordering in pink again.

Digitals are a good way of having an image available in the size you need it. I resized these to get exactly the proportions I wanted on the card.

Ddd


Posted by studio3d@ccgmail.net at 12:01 AM PST
Saturday, 16 November 2013
Little Mama Bird
Topic: Coloring

I recently got a link to a site with digital images. They had several that were freebies so I scooped them up and printed multiples to color with alcohol markers.

The first was this little bird pair. I colored three of them up like the big birds are the Mama. On the first one I used blue as the bordering color and a light patterned background. I added a strip of coral patterned paper and popped the image panel up on foam tape.


For the second one I reversed the papers and then bordered the image panel with yellow to pick up color from the flowers.


For the last one I replaced the strip of paper with two lengths of sticky-backed ribbon in blue.


I went for a very simple coloring on these, without any shading.

Ddd


Posted by studio3d@ccgmail.net at 12:01 AM PST
Monday, 11 November 2013
Birdhouse of Love
Topic: Coloring

This is the last in the project of stamping images on fancy diecuts and coloring them with the custom palette for the Cosmo Cricket Tea For Two kit.

The image of two lovebirds in front of their house sent me right to the red paper covered with hearts. There was not enough definition behind the bracket portion of the diecut when placed on the patterned paper so I added a diecut panel of pink. The center is popped up on foam tape and I tacked the edges down with red heart brads.


Borderin of blue to pick up the sky in the image is continued around the stamped pink sentiment panel. The pink was choses to match the pink flowers in the stamped image.

So... what's next?

Ddd


Posted by studio3d@ccgmail.net at 12:01 AM PST
Sunday, 10 November 2013
Family Time
Topic: Coloring

When I colored up this image I was thinking 'fall' but the first person who looked at it immediately thought of 'genealogy'. So I changed the focus of the card to a family tree and took the project in a different direction than I had initially intended.

I used blue bordering papers to go with the sky in the image. Green backing papers coordinate with the letter stickers I pulled from the Tea For Two kit.


I stamped the top phrase using separate word stamps from a set. Each of the letter stickers got a bottom and right side line drawn in to create a drop shadow.

The image panel and its border are popped up on foam tape.

Ddd


Posted by studio3d@ccgmail.net at 12:01 AM PST
Saturday, 9 November 2013
Roses For You
Topic: Coloring

Back to stamping and coloring images on fancy diecuts... For today's card I stamped the simple rose and colored it up in yellows from the custom palette. One of the papers in the Tea for Two kit is covered with tiny yellow rosebuds so that was a natural background choice.

I used bright yellow for bordering and accented with a green strip from the kit.


Grey dots around the image mimic some in the backing paper and I used two stickers from the kit for the sentiment. Green rhinestones anchor the sentiment.

Ddd


Posted by studio3d@ccgmail.net at 12:01 AM PST
Friday, 8 November 2013
A Sunny Bit Of Thanks
Topic: Coloring

A diecut was stamped with a sunflower for the card today. I am still using the custom palette to go with the Tea For Two 6x6 pad.

I used a large patterned paper for the background and had just a narrow strip as an accent. I saw the ribbon from yesterday still on the desk so I bordered my narrow paper with two pieces of the green.


The yellow of the flower was echoed by backing the diecut so the dark yellow showed through the holes. I carried this further by adding dark yellow enamel brads on each end of the diecut.

The sentiment was diecut from two papers and layered with a drop shadow.

Ddd


Posted by studio3d@ccgmail.net at 12:01 AM PST
Thursday, 7 November 2013
In Ceramics
Topic: Coloring

Oh, look! Another teapot image! This time it is a whimsical pot and I added to the casual feel by drawing in my own wallpaper behind it.

Similar colors of patterned paper from the Tea For Two 6x6 pad echo the layout and I used some peel-and-stick ribbon to anchor the diecut to the card. The rose brads pick up color from the ceramic teapot.


I used some stickers from the kit and a word stamp to construct the sentiment.

Ddd


Posted by studio3d@ccgmail.net at 12:01 AM PST
Wednesday, 6 November 2013
Rose On Point
Topic: Coloring

Today's card reminds me of a Victorian parlor with rose wallpaper and lacy antimacassars. I had fun coloring up this rose, working on getting the shading just right.


I useda diecut for the blue backing piece behind the lacy diecut. Then I cut two colors of the sentiment with a die and layered them with a drop shadow.

Ddd


Posted by studio3d@ccgmail.net at 12:01 AM PST
Tuesday, 5 November 2013
China Teaset
Topic: Coloring

I finally used the Tea for Two papers with a 'teatime' image! This is one from a clear set that I colored with the custom palette.

The blend of colors lent themselves to being backed by papers that resemble wallpaper, tile and doilies which adds to the theme of a table set for tea.


I used a diecut set to cutout the sentiment and the circle behind the lacy circle.

Ddd


Posted by studio3d@ccgmail.net at 12:01 AM PST
Monday, 4 November 2013
Bed of Roses
Topic: Coloring

After yesterday's eyeball searing color, today's card is so restfull. I had colored up the single rose on a diecut and found that the overall rose pattern made a great backdrop for it. The red heart strip gives a place for the eye to rest and I surrounded the diecut with a bit of paper leftover from one of the other recently used pads.


This is a 'use it for anything' card so no sentiment is required.

Ddd


Posted by studio3d@ccgmail.net at 12:10 AM PDT
Sunday, 3 November 2013
Neon Flowers
Topic: Coloring

I needed more colored pieces to use with the 6x6 Tea For Two pad so I went back to stamping small illustrations inside fancy diecuts. The cuts were all stark white so they were toned with Distress Ink to go with the papers.

The card today turned out very LOUD! I used pretty bright colors on the flowers and their background so found that continuing in that vein with the papers and bordering actually worked well.


If anything, the photo is duller than the original. They yellow and green are actually neon colors.

The sentiment speaks to the brightness factor, too.

Ddd


Posted by studio3d@ccgmail.net at 12:01 AM PDT
Butterfly Boxes
Topic: Coloring

I have a long vertical stamp with butterflies and dragonflies in three boxes. I have only used it in its original for once. More often, I stamp it and then separate the boxes to use the images individually. That is what I did for the card today.

I colored the first one with light and medium yellows and blues from the custom palette. I selected a blue for bordering and two papers from the Tea For Two 6x6 pad. The sentiment is made up of a stamped word and four little letter stickers from the Tea For Two sticker sheet.


The second one was colored with medium and dark yellows and the same light and medium blues. I used papers that picked up more of the yellow tones and used a stamped sentiment panel as well.


Three amber rhinestones were added to enhance the color scheme.

Ddd 


Posted by studio3d@ccgmail.net at 12:01 AM PDT
Friday, 1 November 2013
Sailor Boy
Topic: Coloring

The illustration used today is a digital one but I don't remember where I got it - many many months ago. I used the custom palette and gave him a fairly standard coloring. Such a cute little guy.

I pulled papers from the Tea For Two 6x6 pad to maintain the Red, White and Blue theme and added a bit of brown twine to go with his shoes and maintain the masculine feel.


I rounded corners for a more casual feel and used Distress Ink to tone down the stark white.

Ddd


Posted by studio3d@ccgmail.net at 12:01 AM PDT

Newer | Latest | Older