Around The Neighborhood
Topic: Quilting
Warning: Today's blog entry is a L-O-O-O-N-N-N-G-G-G one. Really Long!
For quite some time I have wanted to make a quilt with a birdhouse theme. I searched on the internet and in books and magazines trying to find a pattern I liked but nothing just suited what I had in mind.
Then I found a pattern that I thought could be adapted to my own vision and I set about doing it.
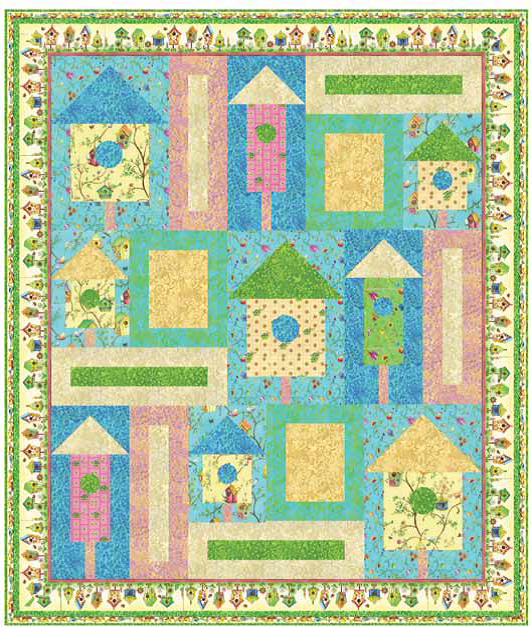
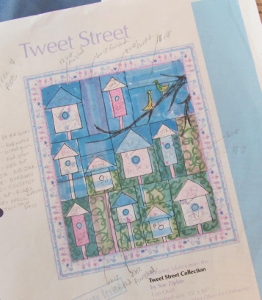
This free pattern I started with is from www.clothworkstextiles.com and is called Tweet Street. It uses their Tweet Street Collection of fabrics.
This picture of the pattern instructions shows how I had already started sketching in changes.
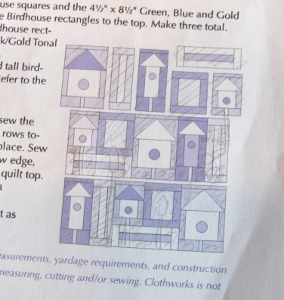
Then I went back to the colored version and inked in the changes and colored them.
I needed to see how these changes could be accomplished with the actual block sizes since I was adding several birdhouses to replace those banded solid blocks. So I redrew each of the birdhouse sizes to scale on graph paper.
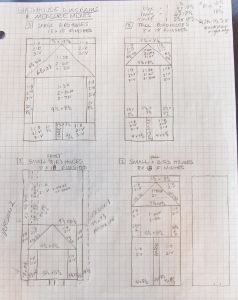
There are two versions of the medium sized house (at the borrom) as some would be set at the top of their block and some at the bottom. Then I photocopied the page to have enough of each birdhouse block. There are three large, three tall, two top medium and two bottom medium.
These were pieced together on another sheet of graph paper and colored in the new scheme. The individual pieces of each block got cutting size notations.
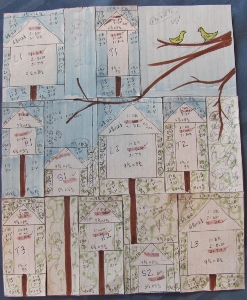
I assigned letter codes to each of the blocks on the map and used this along with the color map and piece notations to list out what fabric and cut size for every piece of the houses would be. Since I was working entirely from scraps it was important to measure and list everything before doing any cutting. I kept the houses in the browns and dark reds so they would stand out from the background. All of the posts were to be of a 'bark' print.
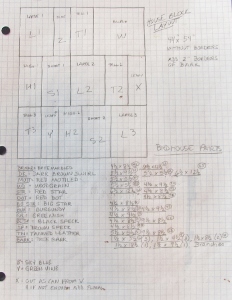
I then used the color plan to list out the sizes of every background patch that was needed from sky, floral and bushes materials and where they would be used.
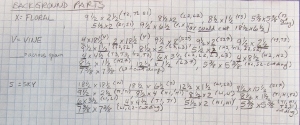
The background fabrics were also scraps so I made diagrams of the fabric I had and did a cutting chart of all the pieces. This is the cutting diagram for the bushes: (this one was complicated by the fact that the fabric was directional!)
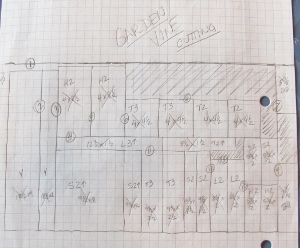
This is the cutting diagram for the floral:
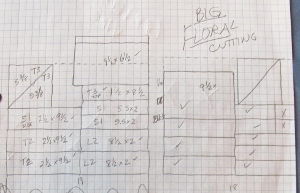
And this is the diagram for cutting the pieces for the sky:
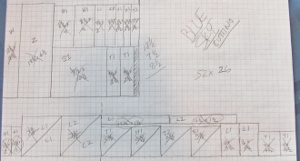
And then I cut all those pieces.....
And then I pieced all the birdhouse blocks...
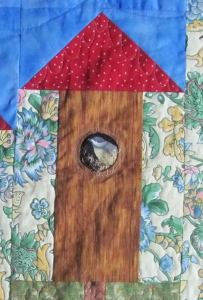
I decided that I wanted the holes in the houses to really be holes so I first created a cardboard template of a 2 inch circle.
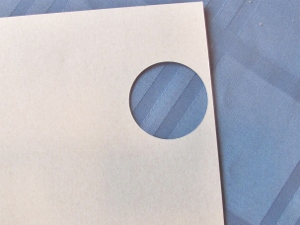
This was traced in white on black fabric which was then pinned on the center of a birdhouse. I stitched on the white line, trimmed out the center, clipped the seams and turned this black 'facing' to the inside. COOL!
On the back I laid Steam-A-Seam2 around the edge of the hole and added some eyelash yarn. Another piece of black fabric went over this and it was steam-pressed together. The last step was to free-motion stitch wonky circles around the holes to add definition and hold the facing in place. I went around three times and a fourth round would be added as part of the quilting.
As soon as I got one done a friend in my quilting group gifted me with some scraps of fabric she was using that had birds printed on it. They were exactly the right size to fussy cut and fuse to the black backing before putting it behind the hole. So 8 of the 10 birdhouses have someone 'at home'.
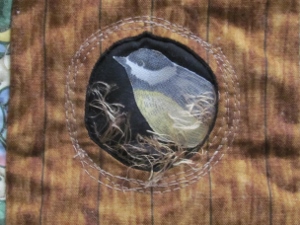
Two of the houses are empty
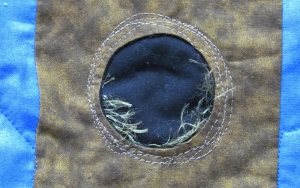
The quilt was then pieced. It contains three houses in the large size:
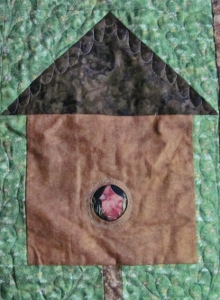
Four in the medium size:

And three in the tall size:
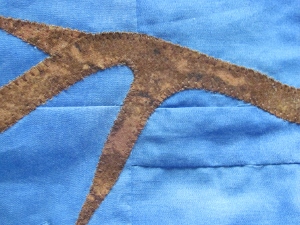
Before attaching the borders, I created some free-form tree branches of 'bark' print fabric and attached them with Steam-A-Seam2. Then I used a blanket stitch to applique the edges.
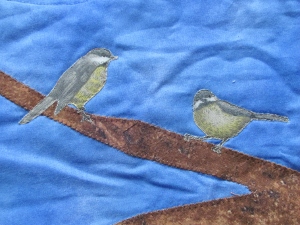
I placed the two birds from the empty houses in a tree branch.
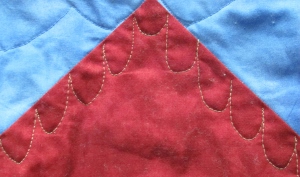
The quilting was done by area. I already mentioned the holes getting one more round of stitching. The roof lines got a row of scalloped trim.
The sky was quilted with large clouds.
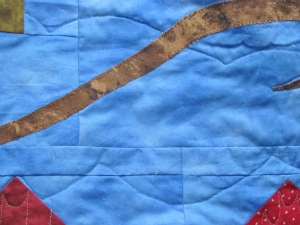
The floral were quilted with free-motion outlining:

And the bushes were quilted with 'feathers'. These are the first feathers I have ever done!
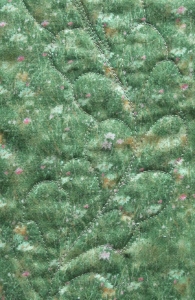
When I got to this point I decided I wanted the recipient to have the option of using the quilt for a throw or a wall hanging so I added a sleeve.
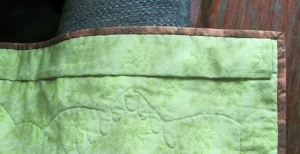
With all THAT being said (and shown), are you ready for the big reveal?
First, a reminder of the original pattern:

And here is MY version:
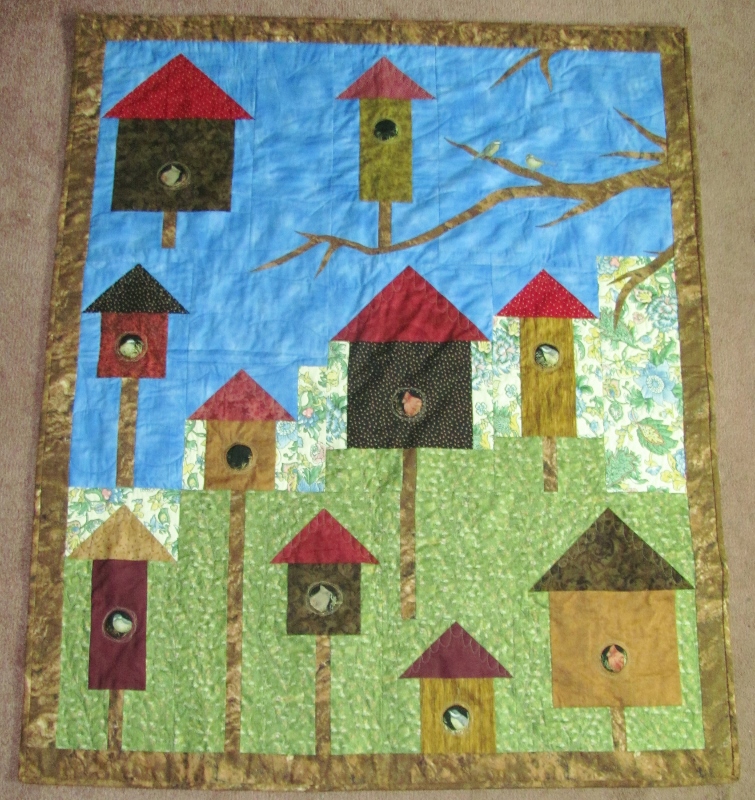
The finished size is 48 x 58 inches.
Ddd
Posted by studio3d@ccgmail.net
at 12:01 AM PST
