Topic: Dry Embossing
I had a bunch of small scraps in the patterned paper bin and cut them into 1 1/2 inch squares. I then paired them in sets. For each set I chose a patterned paper backing and a color to use for bordering.
Each of the patterned papers was run through the Cuttlebug with an embossing folder and then the texture was either sanded to reveal white or sponged to color the raised pattern.
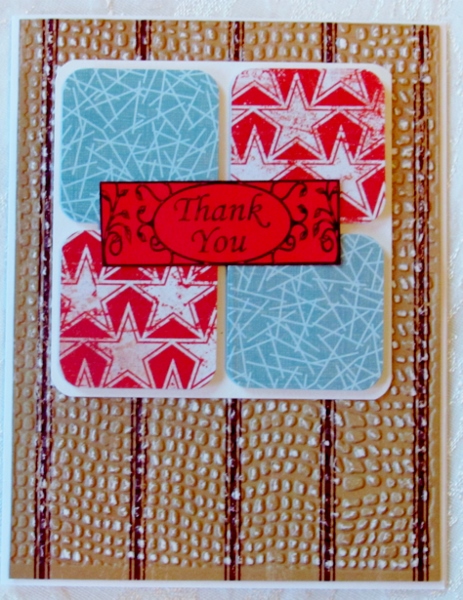
For this first set I used a 1/4 inch corner rounder on all four corners of the little squares. This one uses a 'mesh' embossing folder and sanding. All bordering in white to continue the red, white and blue theme.
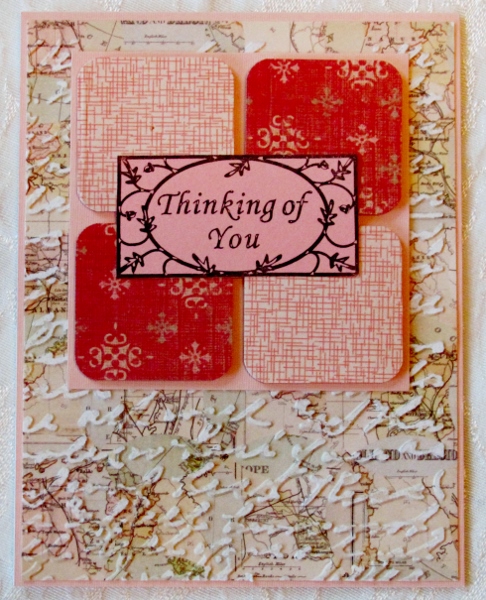
For this one I chose a map background and a script embossing folder, sanded. All pink bordering and stamped sentiment.
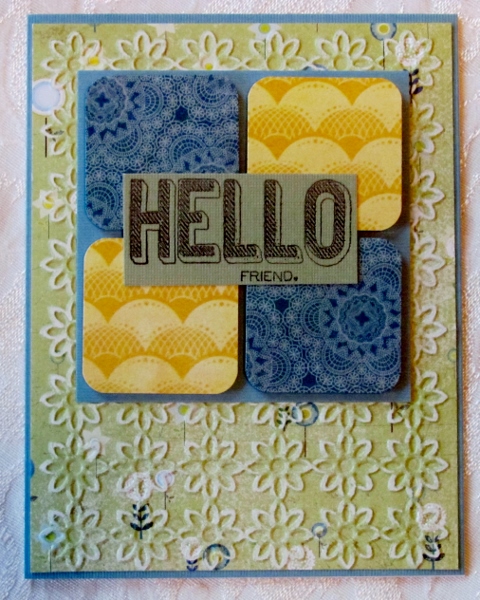
The last of this style has a floral background with a daisy embossing folde, sanded. All bordering in blue and a green sentiment to pull color from the background.
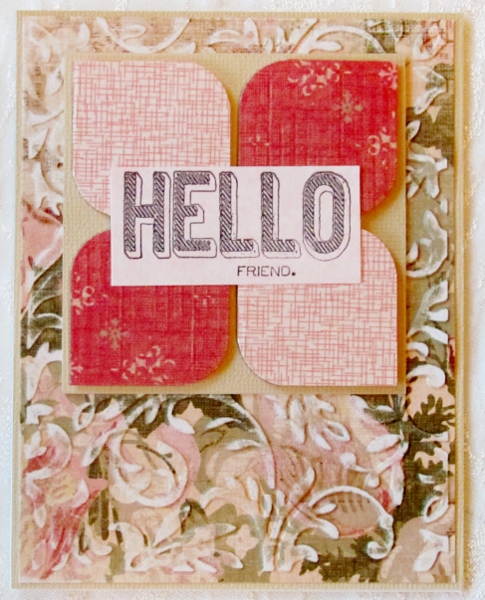
For the remaining cards I rounded opposite corners of the little squares with a 1/2 inch corner punch. The placement of these with the points outward make them look like a flower. The first one uses a floral print with a leafy scroll embossing folder. I sanded this one, too and used kraft for the bordering.
I followed this with an inked scroll embossing folder on a tiny floral paper. Bordering with green picks up color from thebackground and provides contrast for the feature elements.
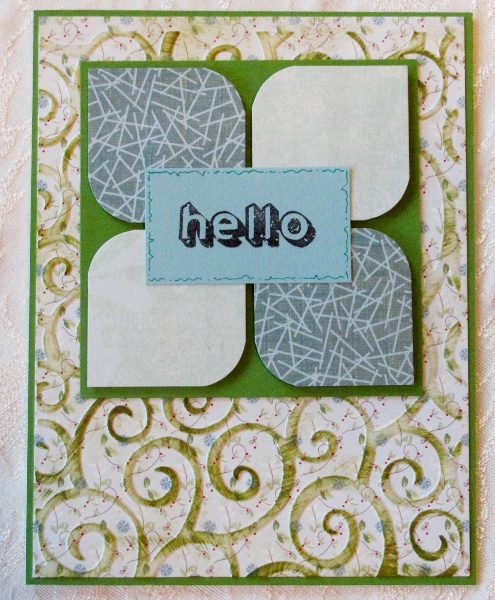
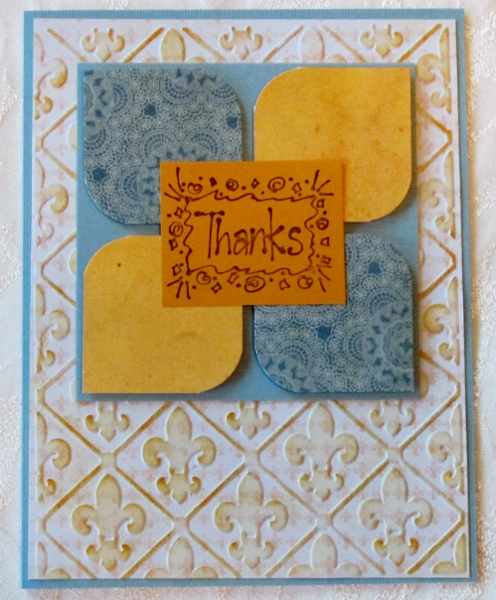
There's more contrast in this one. I started with a blue patterned paper with tiny fleur-de-lis in gold. I used a fleur-de-lis embossing folder and inked it with gold. Bordering in blue and an fold sentiment finishes this classy card.
And finally, an all-green card. The background paper was embossed with vines and birds and then I sanded it to reveal the pattern. The sentiment is a grayed green to echo the background paper.
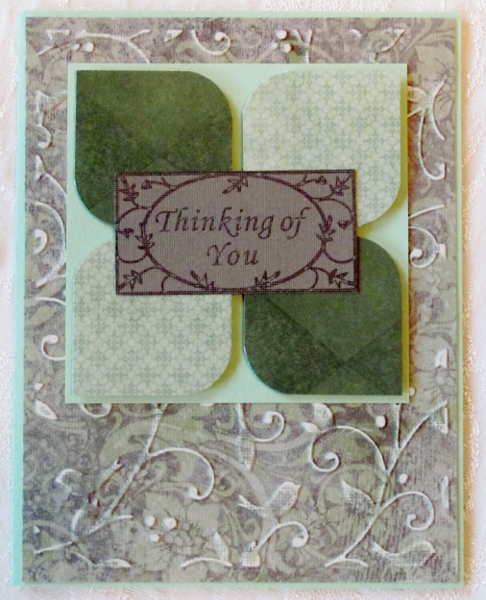
By now you've probably noticed the 4 squared on every card are popped up on foam. The sentiments are all glued directly to the face of the squares.
Ddd
